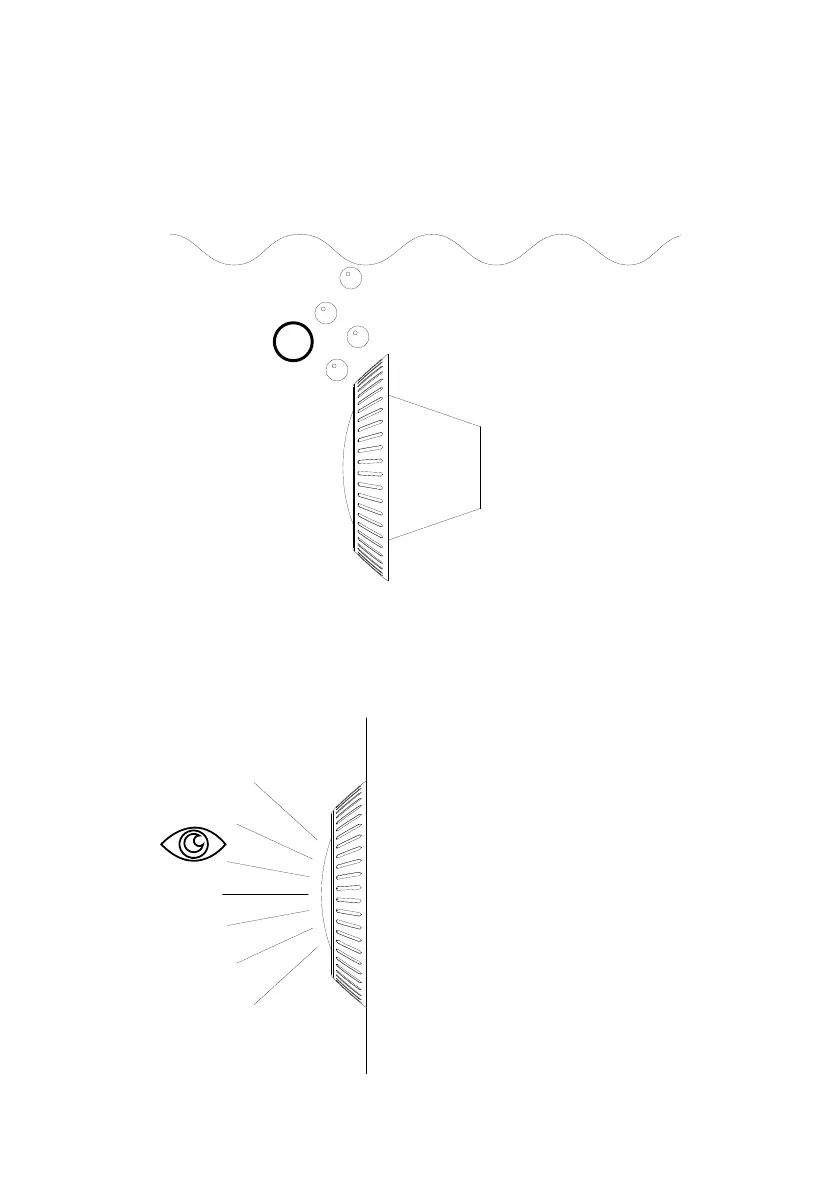
STEP 7
Submerge the assembled light xture in the water and visually check that
air bubbles are not escaping from the gasket area or at the power cord
entrance. If bubbles appear, immediately remove the light xture from
the water and re-seat the gasket and lens. Continue the installation only if
there are no air leaks.
STEP 8
Turn power ON to the Bulb at the main panel. With the light ON, check for
air bubbles exiting the light xture. Leave the Bulb on for 30 minutes and
continue to inspect. If there are no air bubbles, the xture is watertight
and installation is complete.
!