J
Julia ElliottAug 13, 2025
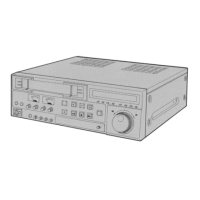
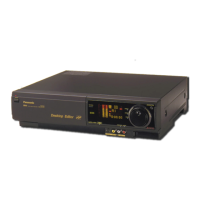
Why is there noise on the playback screen of my Panasonic VCR?
- CCarrie GonzalesAug 13, 2025
Noise and disrupted audio during playback can occur if the tape is damaged. Try replacing the cassette. It can also happen if the head is dirty; in that case, clean it with a dedicated head-cleaning tape.