Do you have a question about the Panasonic AG-DVC200 and is the answer not in the manual?
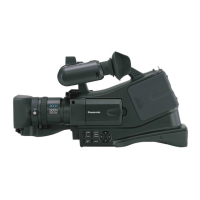
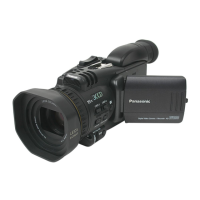
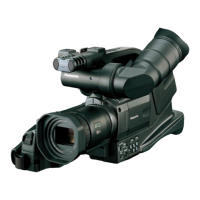
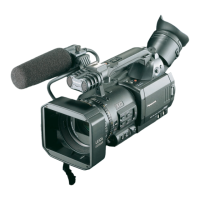
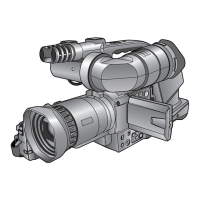
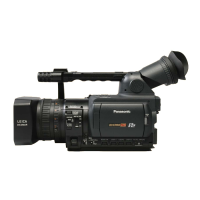
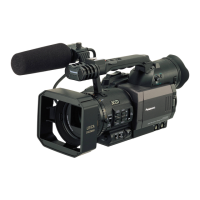
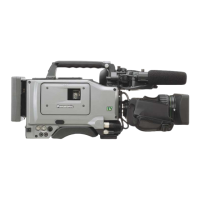
Details camera's 3-CCD, digital processing, lens system, and filters.
Details VTR's DV format, tape drive, system capabilities, continuity, and time code features.
Controls the main power ON/OFF for the unit.
Switches power modes for tape protection and standby.
Adjusts video gain levels (L, M, H) to control image brightness.
Selects white balance memory A/B or preset mode for color adjustment.
Selects video signals for output and controls the AUTO KNEE circuit for better background reproduction.
Used for menu navigation, item selection, and setting adjustments.
Selects filters to match subject brightness and color temperature.
Controls fast forward and rewind playback at variable speeds.
Toggles the setting menu display ON and OFF.
Executes automatic white balance (AWB) and black balance (ABB) adjustments.
Controls the electronic shutter ON/OFF and speed selection.
Connects to digital video components or PCs for data transfer.
Procedure to adjust flange back for precise focusing, especially after lens replacement.
Step-by-step guide to perform manual white shading adjustment for optimal color reproduction.
Step-by-step guide to perform automatic white balance adjustment for accurate colors.
Instructions for performing black balance adjustment to ensure proper black levels.
Describes available shutter modes (Standard, SYNCHRO SCAN, SUPER V) and their speeds.
How to change the shutter mode and adjust shutter speed using the switch and JOG dial.
Explains how scene files store and recall camera setup values for different shooting conditions.
How to change scene file settings using the SCENE FILE dial and menu.
Step-by-step guide to start and stop normal recording operations.
How to select audio input sources (front mic, rear mic, line) using the AUDIO IN switch.
Steps to manually adjust audio recording levels for CH1 and CH2.
Checks recorded footage by automatically rewinding and playing back the last few seconds.
How to connect the unit to other DV devices using a DV cable.
How to connect the unit to a PC via DV cable for non-linear editing.
How to turn the main menu and sub-menus ON and OFF.
Steps for navigating menus, selecting items, and changing settings using the JOG dial.
| Recording Format | MiniDV |
|---|---|
| Sensor Type | 3CCD |
| Sensor Size | 1/4 inch |
| Lens | Leica Dicomar |
| Maximum Aperture | f/1.6 |
| Optical Zoom | 10x |
| Digital Zoom | 100x |
| Video Signal | NTSC |
| Viewfinder | Color LCD |
| Microphone | Stereo |
| Battery | Lithium-ion |
| Shutter Speed | 1/60 - 1/8000 sec |
| Gain | 0dB, +3dB, +6dB, +9dB, +12dB, +18dB |
| White Balance | Auto, Manual |
| Audio Format | 16-bit PCM |
| LCD Screen | 200, 000 pixels |
| Input/Output | FireWire, Composite, S-Video, Audio |
| LCD Screen Size | 3.5-inch |