33
H
D
*
*
S
M
T
W
T
F
S
D
*
*
*
*
U
O
U
E
H
R
A
A
D
*
*
*
N
N
E
D
U
I
T
Y
A
*
*
*
0
0
0
–
–
–
–
–
I
*
[
S
–
–
–
–
–
–
–
–
L
T
P
T
–
–
–
–
–
–
–
–
Y
U
R
A
:
:
:
:
:
:
:
:
*
E
O
R
–
–
–
–
–
–
–
–
S
*
G
T
–
–
–
–
–
–
–
–
E
W
R
*
:
:
:
:
:
:
:
:
T
E
A
S
–
–
–
–
–
–
–
–
*
D
M
T
–
–
–
–
–
–
–
–
*
*
*
O
:
:
:
:
:
:
:
:
*
T
T
P
–
–
–
–
–
–
–
–
*
H
I
*
–
–
–
–
–
–
–
–
*
U
M
*
*
*
*
*
*
*
*
*
*
*
E
S
–
–
–
–
–
–
–
–
S
F
R
P
–
–
–
–
–
–
–
–
U
R
]
D
–
–
–
–
–
–
–
–
N
I
*
*
–
–
–
–
–
–
–
–
*
*
*
*
1
6
5
–
–
–
–
–
M
S
*
P
–
–
–
–
–
–
–
–
O
A
*
G
–
–
–
–
–
–
–
–
N
T
*
M
–
–
–
–
–
–
–
–
*
*
*
*
S
M
T
W
T
F
F
M
*
*
*
*
U
O
U
E
H
R
R
O
D
*
*
*
N
N
E
D
U
I
I
N
A
*
*
*
0
0
0
–
–
–
–
–
I
*
[
S
–
–
–
–
–
–
2
*
L
T
P
T
–
–
–
–
–
–
1
*
Y
U
R
A
:
:
:
:
:
:
:
:
*
E
O
R
–
–
–
–
–
–
0
*
S
*
G
T
–
–
–
–
–
–
0
*
E
W
R
*
:
:
:
:
:
:
:
:
T
E
A
S
–
–
–
–
–
–
*
0
*
D
M
T
–
–
–
–
–
–
*
8
*
*
*
O
:
:
:
:
:
:
:
:
*
T
T
P
–
–
–
–
–
–
*
0
*
H
I
*
–
–
–
–
–
–
*
0
*
U
M
*
*
*
*
*
*
*
*
*
*
*
E
S
–
–
–
–
–
–
*
–
S
F
R
P
–
–
–
–
–
–
*
–
U
R
]
D
–
–
–
–
–
–
*
4
N
I
*
*
–
–
–
–
–
–
*
8
*
*
*
*
1
6
5
–
–
–
–
–
M
S
*
P
–
–
–
–
–
–
*
R
O
A
*
G
–
–
–
–
–
–
*
P
N
T
*
M
–
–
–
–
–
–
*
T
*
*
*
*
S
M
T
W
T
F
F
S
*
*
*
*
U
O
U
E
H
R
R
A
D
*
*
*
N
N
E
D
U
I
I
T
A
*
*
*
0
0
0
–
–
–
–
–
I
*
[
S
–
–
–
–
–
–
2
*
L
T
P
T
–
–
–
–
–
–
1
*
Y
U
R
A
:
:
:
:
:
:
:
:
*
E
O
R
–
–
–
–
–
–
0
*
S
*
G
T
–
–
–
–
–
–
0
*
E
W
R
*
:
:
:
:
:
:
:
:
T
E
A
S
–
–
–
–
–
–
*
–
*
D
M
T
–
–
–
–
–
–
*
–
*
*
*
O
:
:
:
:
:
:
:
:
*
T
T
P
–
–
–
–
–
–
*
–
*
H
I
*
–
–
–
–
–
–
*
–
*
U
M
*
*
*
*
*
*
*
*
*
*
*
E
S
–
–
–
–
–
–
*
–
S
F
R
P
–
–
–
–
–
–
*
–
U
R
]
D
–
–
–
–
–
–
*
–
N
I
*
*
–
–
–
–
–
–
*
–
*
*
*
*
1
6
5
–
–
–
–
–
M
S
*
P
–
–
–
–
–
–
*
–
O
A
*
G
–
–
–
–
–
–
*
–
N
T
*
M
–
–
–
–
–
–
*
–
*
*
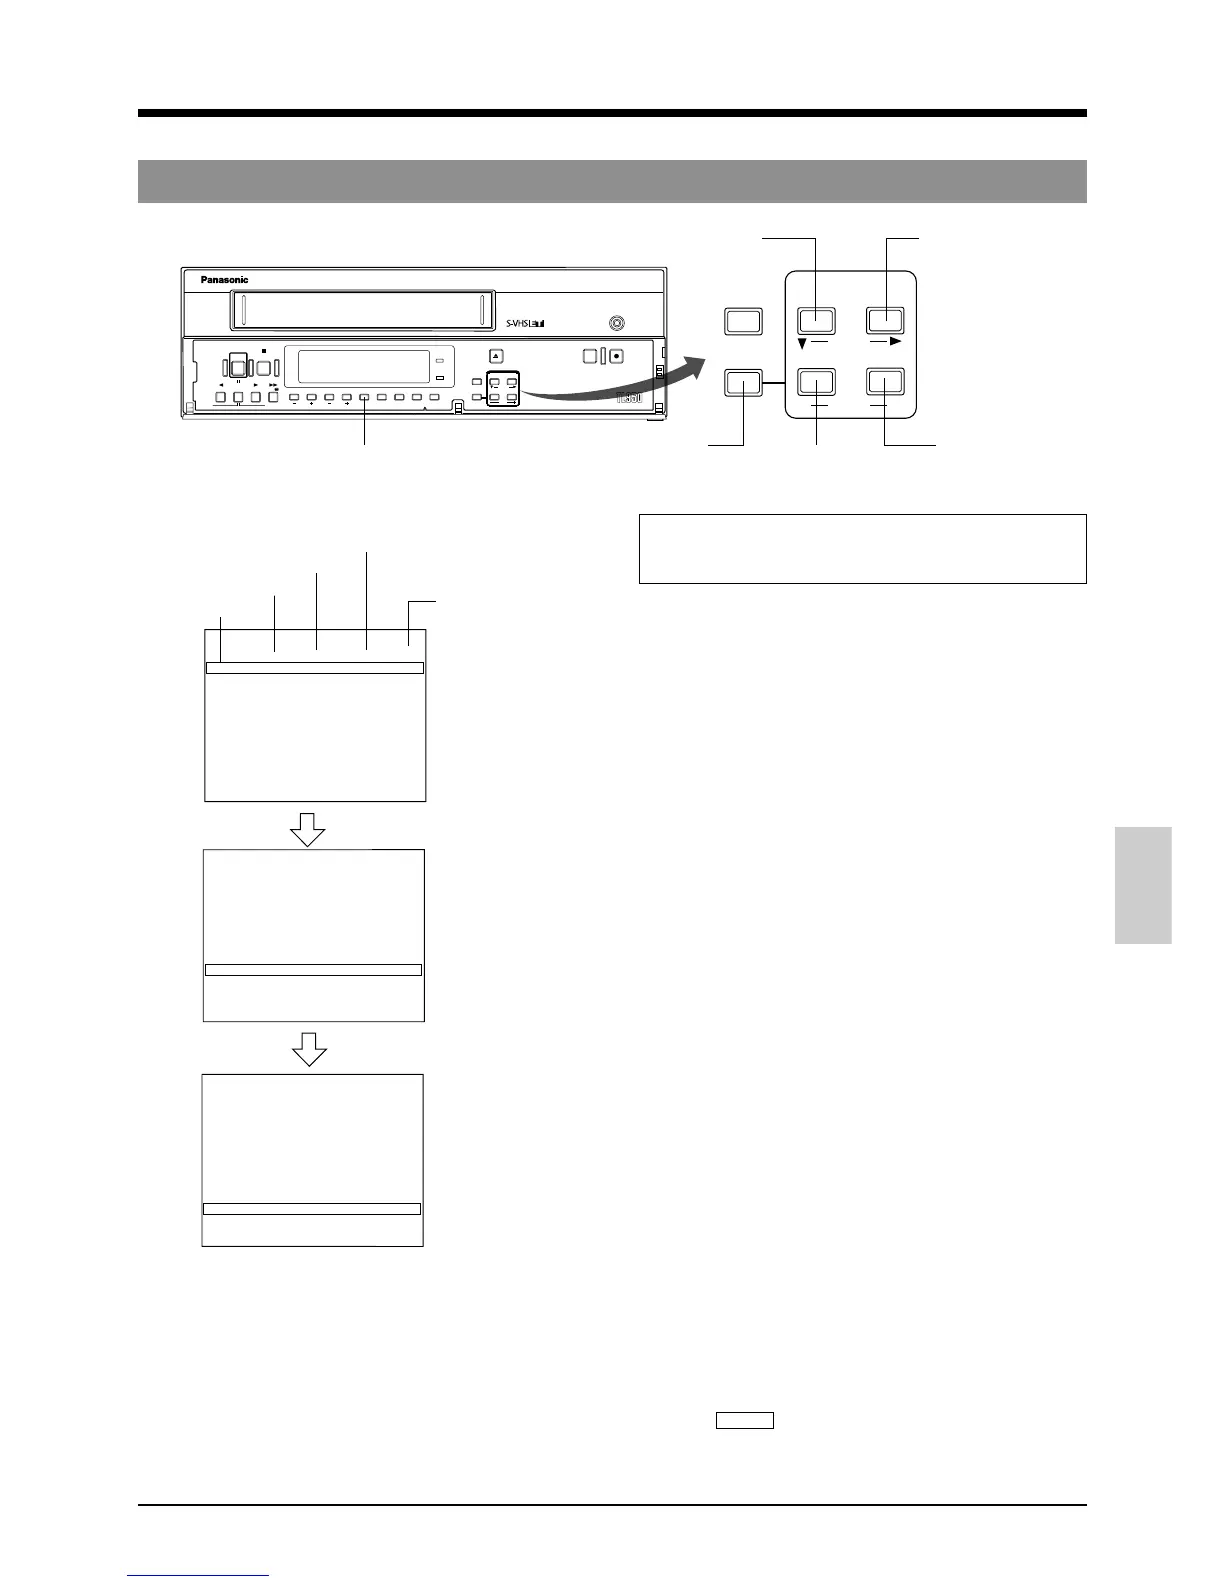
RESET/
CANCEL
MENU
TIME MODE
SHIFT
ON SCREEN
SET
–
+
REC
EJECT
REC REVIEW REC
PAUSE/
STILL
MENU TIME MODE
SET
ON SCREEN
SHIFT
PLAY FF/
REV PLAY
TRACKING
V. LOCK
TIMER
SEARCH COUNTER
LOCK CNT RESET
RESET
/
CANCEL
STOP
FWD ADV
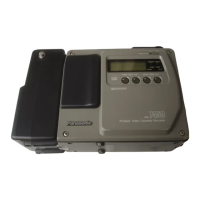
POWER
HDR
POWER
AG-
6-3 Timer Recording
6 RECORDING
[TIMER] button
[SHIFT f] button
[SET –] button
[SET +] button
[SHIFT 7] button
[MENU] button
5 Programming timer recording for more than 24 hours
(Example)
HDR is performed with the 48-hour recording speed from
9:00 p.m. on every Friday to 8:00 a.m. on every Monday.
1 Follow steps 1 to 5 in “Timer Recording Program
Setting” on pages 31 and 32.
2 Press the [SHIFT 7] button so that the 7th line “SAT” blinks
on the <PROGRAM TIMER>. Programs lasting for more
than 24 hours can only be set on the seventh line.
3 Press the [SET +/–] button to set the day of the week to
“FRI” and press the [SHIFT f] button.
[“Hour” for the start time blinks.
4 Press the [SET +/–] button to set the hour of the start
time to “21” and press the [SHIFT f] button.
[“Minute” for the start time blinks.
5 Press the [SET +/–] button to set the minute of the start
time to “00” and press the [SHIFT f] button.
[“Hour” for the stop time blinks.
6 Press the [SET +/–] button to set the hour of the stop
time to “**”.
[“**:** **** **” is shown for the items after “STOP”,
the “DAY” on the 8th line changes to the next day of
the week (SAT) automatically and “**:**” is shown for
“START”.
7 Press the [SHIFT 7] button so that the day of the week
on the 8th line blinks.
8 Press the [SET +/–] button to set the day of the week to
“MON” and press the [SHIFT f] button three times.
[“Hour” for the stop time blinks.
9 Press the [SET +/–] button to set the hour of the stop
time to “8”.
0 In the same way, press the [SHIFT f] button and [SET
+/–] button to set the minute of the stop time to “00”, the
recording speed to “H/D 48” and “PGM” to “RPT”.
! End timer program setting.
Press the [MENU] button twice.
[The normal screen is restored.
@ Press the [TIMER] button.
[The TIMER indication and program number “7” light
on the display and the operating mode is
automatically turned off to engage the Timer-
Recording Standby mode.
PROGRAM TIMER screen
OFF : Operation is
disabled.
1ST : 1st week
RPT : Every week
Recording speed
Stop time
Start time
Day of the week