Do you have a question about the Panasonic BL-C111A and is the answer not in the manual?
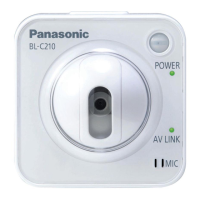
This document outlines the integration of Panasonic BL-C111A and BL-C131A (wireless) network cameras with the OneHome™ management and control system. It provides a comprehensive guide for installation, configuration, and feature utilization, specifically for OneHome software versions below 5.2.
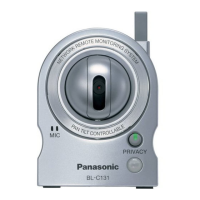
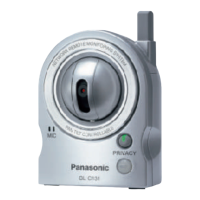
The Panasonic BL-C111A and BL-C131A cameras offer a range of functionalities designed to enhance home security and monitoring. A key function is their Pan/Tilt capability, allowing users to remotely adjust the camera's viewing angle to monitor various locations, such as a driveway or pool. This flexibility ensures comprehensive coverage without needing multiple fixed cameras. Complementing this, the cameras support Presets, enabling users to save specific viewing positions for quick recall. This feature is particularly useful for frequently monitored areas and requires OneHome software version 4.0 or later to function.
For installation flexibility, the cameras include an Image Flip feature, which ensures that the image appears normal regardless of whether the camera is mounted with its base up or down. This simplifies installation in diverse environments. Furthermore, the cameras are equipped with Built-in Audio, allowing for audio monitoring from the camera's microphone, a feature supported in OneHome version 4.0 and later.
A significant security feature is Motion Detection. These cameras can detect motion and trigger events within the OneHome system, providing an alert mechanism for unusual activity. This capability is crucial for proactive security monitoring. However, it's important to note that these specific Panasonic models do not support optical zoom, meaning users cannot digitally zoom in on images within HomeLogic.
The installation process for the Panasonic camera is structured into three main steps:
Camera Configuration is performed using the EasyConfig.exe software, which must be run from a Windows computer connected to the same network as the camera. Several important notes guide this process:
The configuration process involves several steps within the EasyConfig software:
Camera Settings are adjusted through the camera's browser interface after logging in:
Motion Detection for HomeLogic DVR Configuration: To utilize motion detection with the HomeLogic DVR tab, users must access the camera's web configuration via its IP address and log in.
HomeLogic Configuration Details provides a table outlining the settings used in the HomeLogic Configurator. Key variables include:
No Communication Device is needed for these cameras; simply add them as Video Cameras in HomeLogic.
| Camera Type | Network Camera |
|---|---|
| Resolution | 640 x 480 |
| Connectivity Technology | Wired, Wireless |
| Optical Zoom | No |
| Digital Zoom | 4x |
| Power Supply | DC 5V |
| Frame Rate | 30 fps |
| Power Consumption | 3.5 W |
| Operating Humidity | 20% to 80% (non-condensing) |
| Lens | Fixed |
| Features | Motion detection |
| Protocols | HTTP, SMTP, FTP |
| Network Connectivity | Ethernet |
| Audio | Two-way audio |
| Compression | JPEG |
| Operating Temperature | -10°C to 50°C |
| Field of View | 53° (horizontal), 40° (vertical) |