49
2 Remove the cover of control board and holder
Removal Procedure For Electronic Controller
4. Release the lead wire CN-FM, CN-VF, CN-STM, CN-DISP and
earth wire(Yellow/Green). Take out the sensor from the socket.
Pull out the whole electronic controller.
Removal Procedure For the Discharge Grille
1. Separate the drain hose and the drain plate(Fig.10)
Fig 10
2. Pull out the discharge grille slightly (Fig. 11)
Fig. 11
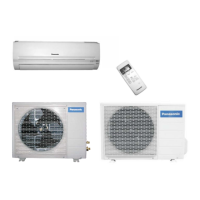
CS-PC12DKD / CU-PC12DKD / CS-PA12DKD / CU-PA12DKD
3 Break off the earing ,release the holder slightly.
Be sure to avoid cracking of the holder.
1 Remove indicador complete
Afer removing the front grille, loose the screw behind the indicator,
the whole indicator can be released.
5. Remove the whole control board
Loose the screw s of control board,earings slightly, then the whole
control board can be pulled out.
Indicator Complete
Holder
Earing
Fig 6
Fig 7
Fig 8
Fig 9
 Loading...