28
WARNING
15. Disassembly and Assembly Instructions
High Voltages are generated in the electrical parts area by the capacitor. Ensure that the capacitor has discharged sufficiently before proceeding
with repair work. Failure to heed this caution may result in electric shocks.
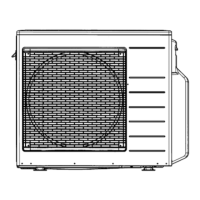
15.1 Outdoor Unit Removal Procedure
Caution! When handling electronic controller, be careful of electrostatic discharge.
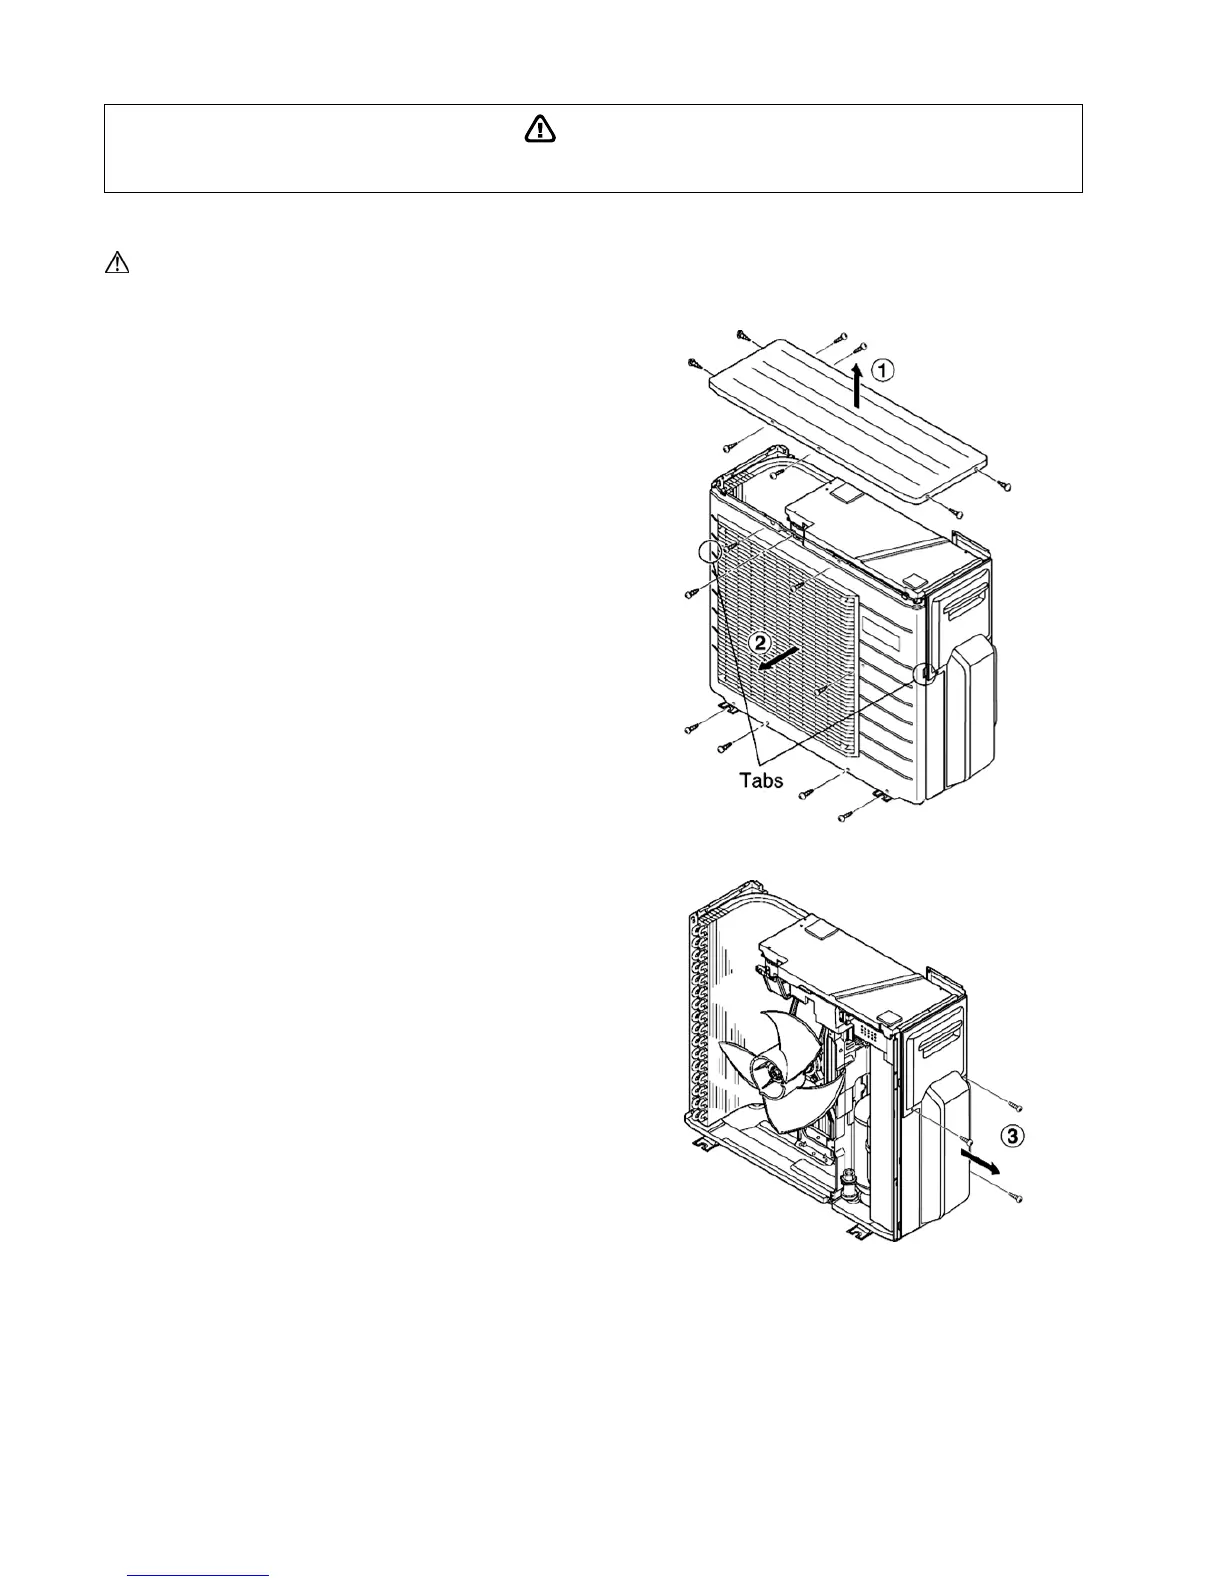
15.1.1 Removing the Cabinet Top Plate and Cabinet Front Plate
1. Remove the cabinet top plate (remove the 8 screws).
2. Remove the 8 screws (1 on the center, 3 at the top and 4
at the bottom) securing the cabinet front plate, release
the 2 hooks (1 each at the left and right), and pull the
cabinet front plate toward front side.
15.1.2 Remove the Control Board Cover and Particular Plates
3. Remove the control board cover (remove 3 screw).
4. Remove the particular plate (remove 2 screw).
5. Remove the particular plate (remove 2 screw).