8.3.1. Remove the Chassis Locking
Bracket and screws.
• Unscrew and remove the Chassis Locking Bracket from the
front of the Cabinet. Remove the two screws from the rear
of the Cabinet (For transportation purpose only).
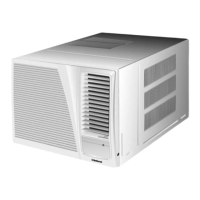
8.3.2. Slide the Chassis out from the
Cabinet.
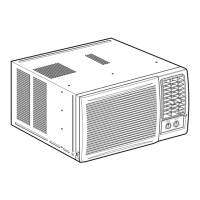
8.3.3. Place Cabinet into the installation
hole, then secure it with wood
screws or nails.
• Note: Tilt down for better drainage (max. 10 mm).
8.3.4. Slide the Chassis back into the
Cabinet.
8.3.5. Lock the Chassis to the Cabinet
reusing the Chassis Locking
Bracket and screw.
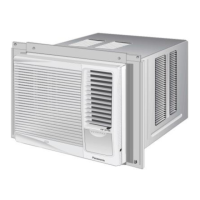
8.3.6. Attach the Front Grille to the
Cabinet and fasten it with screws.
• Note: Depending upon the location of the AC outlet, route
the AC cord to either the left or right side while installing the
Front Grille.
8.3. Installation Procedure.
14
 Loading...