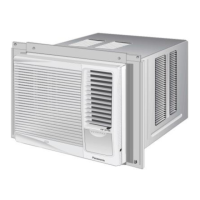
8.5. Condensed Water Drainage.
This air conditioner employs a “Slinger-Up System” which is
designed to splash the condensed water on the condenser coil
for maximum cooling efficiency, thus producing a splashing
sound. If the splashing sound annoys you, you can provide an
outside drainage by using the following procedure which may,
however, cause a small loss of performance.
Note: If the unit is installed at coastal area, drainage of
condensed water is recommended to prevent the condenser
being corroded easily.
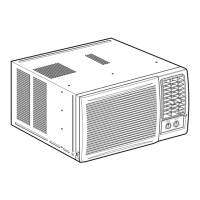
1. Slide the Chassis out from the Cabinet.
2. Remove the rubber plug from the Base Pan (If any).
3. Install the Drain Pan at the right corner of the Cabinet with
2 screws.
4. Connect the drain hose to the outlet of Drain Pan bottom.
5. Slide the Chassis back into the Cabinet.
Note: Drain hose or tubing can be purchased locally to satisfy
your particular needs.
8.6. E+Filter Installation (Optional).
1. Attach the E+Filter (Part No. CZ-SF6P) to the frame (Part
No. CZ-SFW6P).
2. Slot in the E+Filter and the frame to the Front Grille.
Note: The E+Filter and the frame can be obtained from your
nearest service centre.
16
 Loading...