English
11
SQT1378
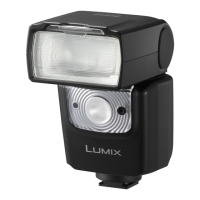
Placing Wireless Flash Units
Since the communication is performed with the flash
emission of the camera, the flash positioning range varies
with the camera. Refer to the camera operating instructions
for details about the flash positioning range.
1 Attach the supplied stand.
• Slide the lock lever in the direction
opposite to that indicated by the
[LOCK 1] icon (1) and slide the
flash onto the stand until it clicks
securely into place (2).
• Slide the lock lever to the [LOCK 1] position to latch
the flash in place.
• To remove the flash, slide the latch in the direction
opposite to the [LOCK 1] arrow and slide it from the
stand.
2 Position the flash with the
wireless sensor (A) facing
the camera.
≥ We recommend using a single group
of up to three remote flash units.
≥ Flash may not fire due to the angle
or distance between the camera and
the object.
Fixing the Irradiation Angle
Point the flash head at a wall or ceiling
for bounce flash photography.
Rotate the flash head.
Using the Wide Panel
Use the supplied wide panel for
flash photography when the
focal length of the lens is wider
than 12 mm.
Attach the wide panel to
the flash.
≥ The lighting angle will be the same as the angle of view of
a lens with a focal distance of 7 mm.
Take a test shot after
positioning.
90º
SQT1378_ENG.fm 11 ページ 2016年4月22日 金曜日 午後6時0分
 Loading...