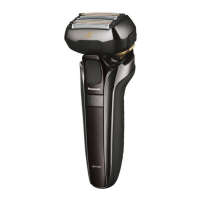
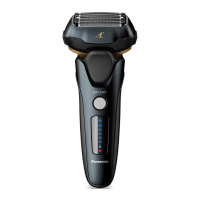
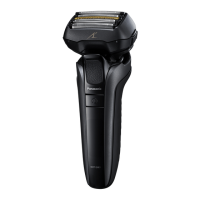
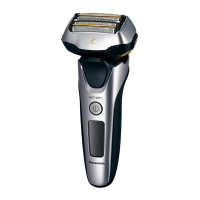
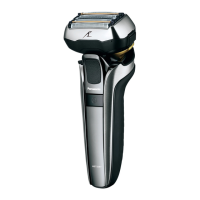
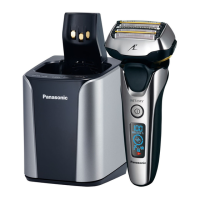
Maintenance
Lubrication
To maintain shaving comfort for a long time, it is
recommended that the oil provided with the shaver is used.
1. Switch off the shaver.
2. Apply one drop of oil to each of the outer
foils.
3. Raise the trimmer and apply a drop of
oil.
4. Switch the shaver on, and run it for
approximately five seconds.
5. Switch off the shaver, and wipe off any
excess oil from the outer foils with a soft
cloth.
Replacing the system outer foil and the inner
blades
appears on the LCD panel once a year. (This will differ
depending on usage.) We recommend checking the system
outer foil and the inner blades when it appears.
Press the Power switch for more than 30 seconds to turn off
.
system outer foil once every year
inner blades once every two years
Replacing the system outer foil
1. Press the foil frame release buttons
[D4] and lift the outer foil section [B]
upwards.
2. Press the system outer foil release
buttons [B3] and pull down the system
outer foil [B2].
3. Align the foil frame mark (
) and
the system outer foil mark ( ) and
securely attach together.
The system outer foil cannot be
reversely attached.
Always insert the system outer foil to
the foil frame when attaching to the
shaver.
4. After turning the foil frame mark
( ) to the front, securely attach the
outer foil section [B] to the shaver until it
clicks.
•
•
Replacing the inner blades
1. Press the foil frame release buttons
[D4] and lift the outer foil section [B]
upwards.
2. Remove the inner blades [
C] one at a
time.
Do not touch the edges (metal parts) of
the inner blades to prevent injury to your
hand.
3. Insert the inner blades [
C] one at a time
until they click.
•

 Loading...