ENGLISH-7
Lens calibration
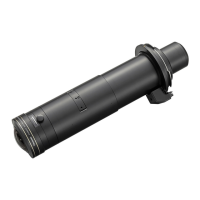
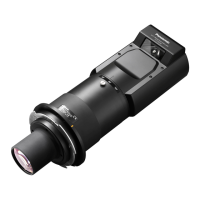
Perform lens calibration after attaching the lens.
The lens calibration procedure differs depending on the projector you are using and the main version of the
rmware.
z
PT-RQ32K / PT-RZ31K / PT-RS30K: Main version is 3.00 or later
Refer to “Case 1” (
Page 7).
z
PT-RZ21K / PT-RS20K: Main version is 2.00 or later
Refer to “Case 1” (
Page 7).
z
PT-RQ13K / PT-RZ12K / PT-RS11K / PT-DZ21K2 / PT-DS20K2 / PT-DW17K2 / PT-DZ16K2 / PT-DZ13K /
PT-DS12K / PT-DW11K / PT-DZ10K
Refer to “Case 2” (
Page 9).
■
Case 1
z
PT-RQ32K / PT-RZ31K / PT-RS30K (main version of the rmware is 3.00 or later)
z
PT-RZ21K / PT-RS20K (main version of the rmware is 2.00 or later)
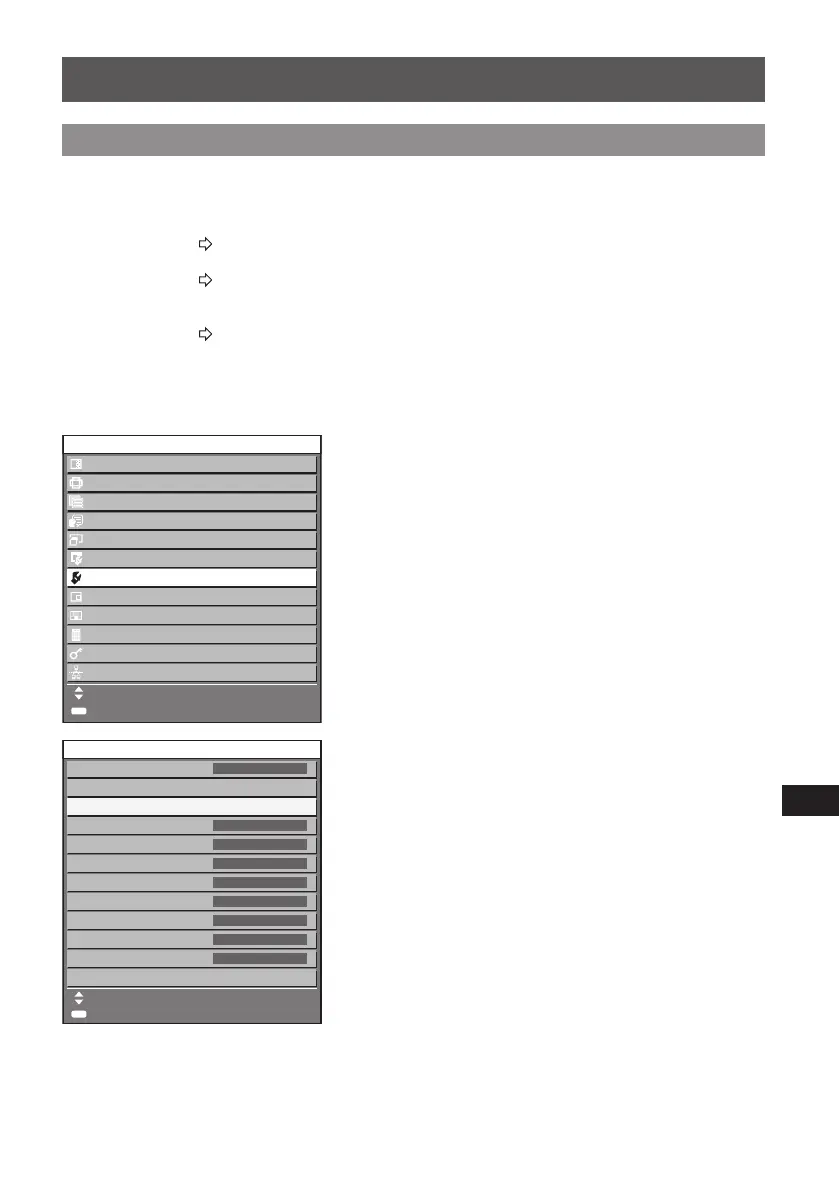
1) Press the <MENU> button.
z
The [MAIN MENU] screen appears.
2) Use the ▲ and ▼ buttons to select
[PROJECTOR SETUP].
3) Press the <ENTER> button.
z
The [PROJECTOR SETUP] screen appears.
4) Use the ▲ and ▼ buttons to select
[LENS].
5) Press the <ENTER> button.
z
The [LENS] screen appears.
MAIN MENU
PICTURE
POSITION
ADVANCED MENU
DISPLAY LANGUAGE
DISPLAY OPTION
3D SETTINGS
PROJECTOR SETUP
TEST PATTERN
SIGNAL LIST
SECURITY
NETWORK
MENU SELECT
SUB MENU
P IN P
ENTER
1/2
PROJECTOR SETUP
PROJECTOR ID
ALL
PROJECTION METHOD
LENS
OPERATION SETTING
NORMAL
LIGHT OUTPUT
100.0%
BRIGHTNESS CONTROL
AUTO
STANDBY MODE
NORMAL
NO SIGNAL SHUT-OFF
DISABLE
NO SIGNAL LIGHTS-OUT
DISABLE
INITIAL STARTUP
LAST MEMORY
STARTUP INPUT SELECT
LAST USED
DATE AND TIME
SUB MENU
MENU SELECT
ENTER
Attaching the Lens / Detaching the Lens (continued)