ENGLISH-9
Attention
z
Store the removed projection lens safely without subjecting it to vibration or impact.
z
Store the removed lens drop prevention screw safely for future use.
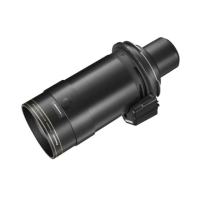
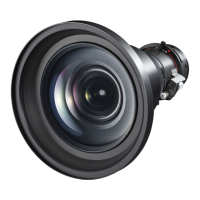
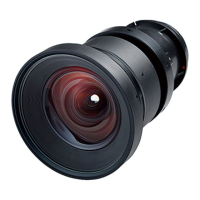
The illustrations in this procedure depict
use of the PT-RZ21K as an example.
1)
Remove the lens drop
prevention screw.
z
Use a Phillips screwdriver to remove
the screw in rst hole to the right of
the marker (orange) on the projection
lens.
2)
(i) While pressing the lens release
button, (ii) turn the projection
lens counterclockwise, and (iii)
remove it.
z
Turn the projection lens counterclock-
wise until its marker (orange) aligns
with the marker on the projector (
to the left of "LOCK").
z
If you intend to transport or store the
projector, proceed to step 3.
レンズリリースボタン
目印(オレンジ色)
レンズ落下防止ねじ
Lens drop prevention screw
Marker (orange)
Lens release button
Removing the Lens
3)
Attach the lens hole cover
supplied with the projector.
z
(i) Insert the lens hole cover while
aligning its marker (
) with the
marker on the projector (
to the left
of "LOCK"), and (ii) turn it clockwise
until it clicks into place.
レンズホールカバー
Lens hole cover
4)
Secure the lens hole cover.
z
Use a Phillips screwdriver to tighten
the lens hole cover screw.
ねじ
Attaching the Lens / Detaching the Lens (continued)
Screw

 Loading...