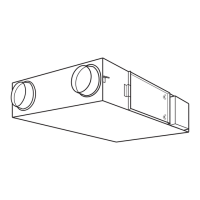
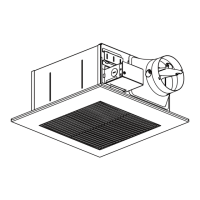
FY-E**PM1
FY-E**PM1 series
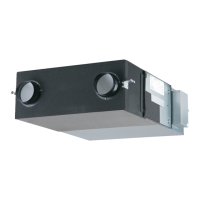
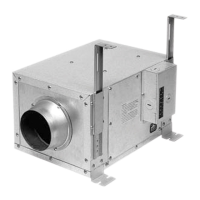
FY-E**PM1L
FY-E**PM1L series
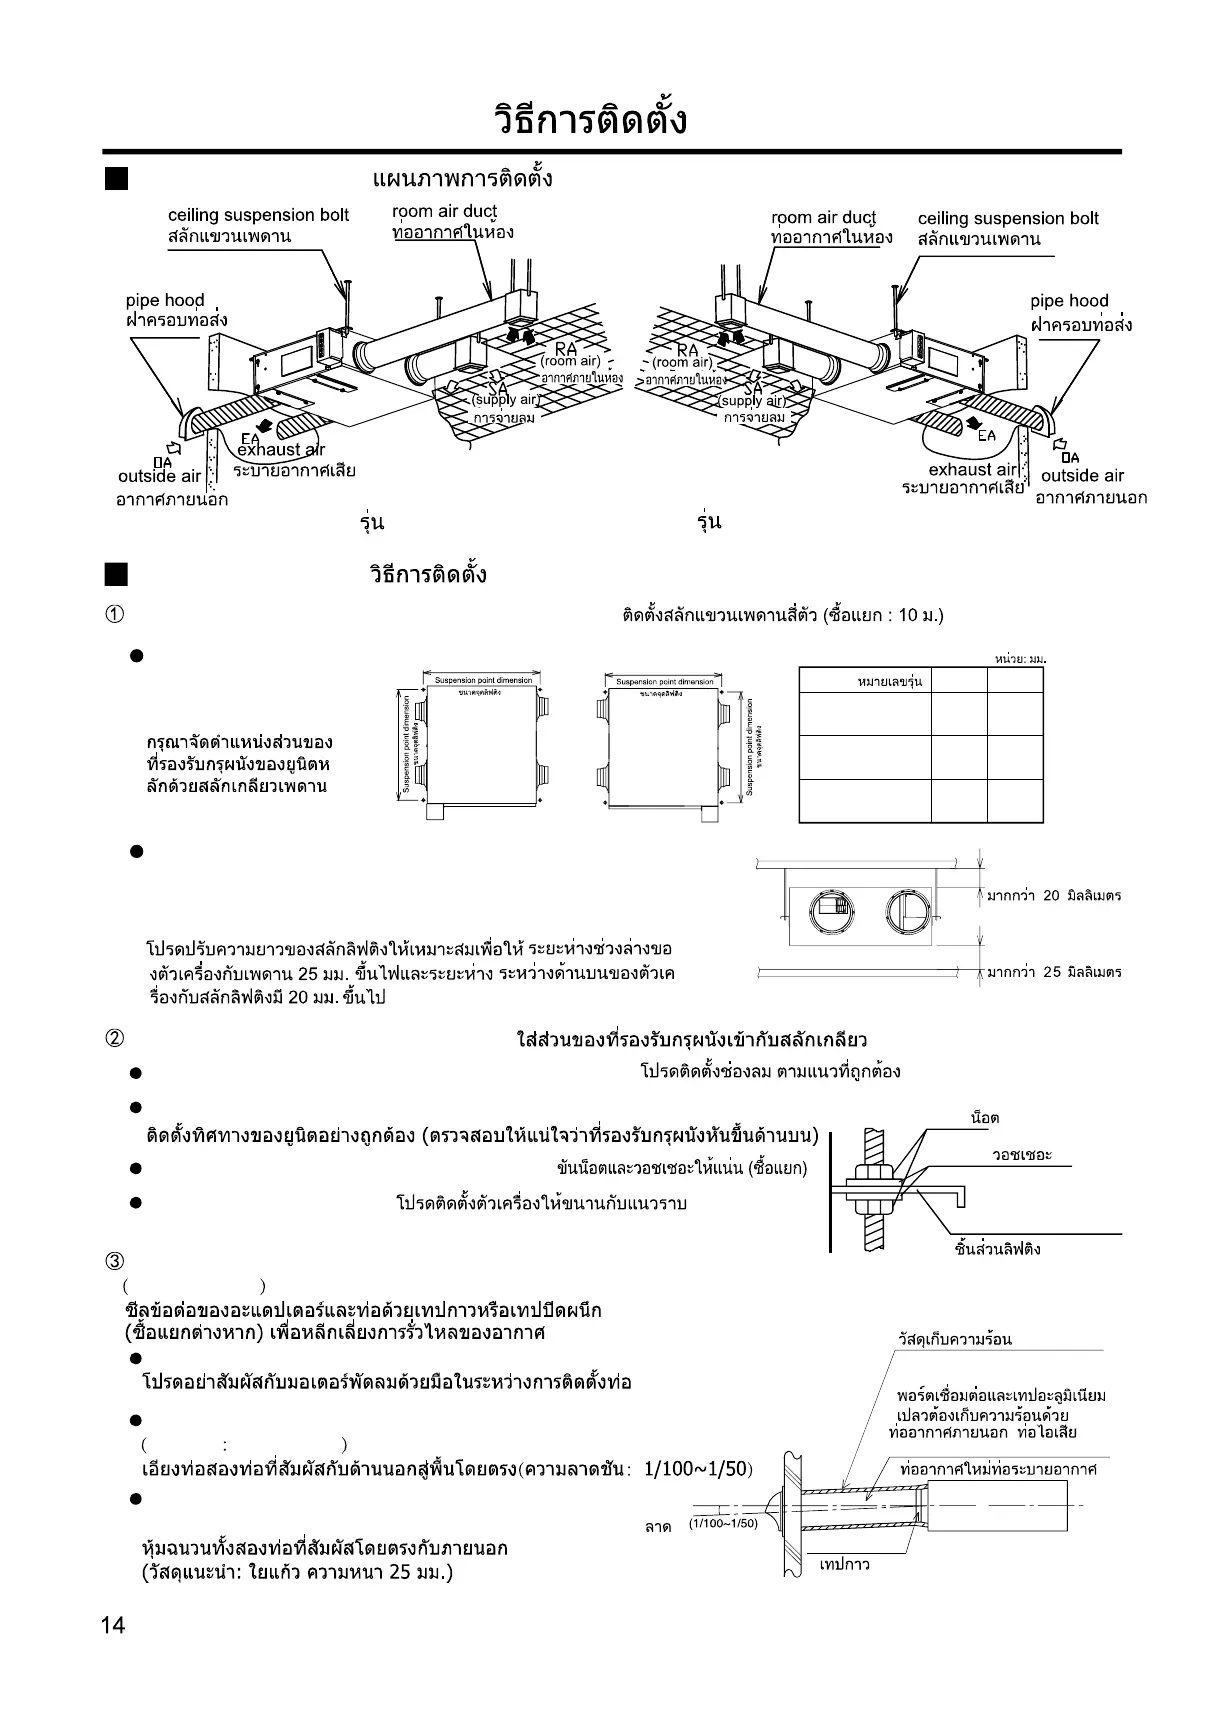
Installation diagram
HOW TO INSTALL
Installation method
Install 4 ceiling suspension bolts (separately buy:M10)
A
B
Please align the ceiling
suspension part of main
unit with ceiling
suspension bolts.
FY-E**PM1 FY-E**PM1L
A
B
Unit:mm
Model A
FY-E15PM1
FY-E15PM1L
B
795
708
FY-E25PM1
FY-E25PM1L
823
873
FY-E35PM1
FY-E35PM1L
823
1045
Please adjust the length of ceiling suspension bolt to ensure the distance
between the downside of unit and ceiling is over 25mm, the distance
between the upside of unit and the mounting face of ceiling suspension
bolts is over 20mm.
above 25mm
above 20mm
Fit the ceiling suspension part to its bolts.
Please correctly install the direction of outside air duct.
Correctly install the direction of unit (ensure the ceiling suspension is upward).
Install the unit horizontally.
Fix the screws and washers (separately buy).
Ceiling suspension part
Nut
Washer
Seal the joint of adapter and duct with adhesive tape or seal tape
separately buy to avoid air leakage.
Please don't touch the fan motor with hand during duct installation.
Incline the two ducts directly exposed to outside toward ground
gradient 1/100~1/50
Insulate the two ducts directly exposed to outside.
(suggested material: glass wool, thickness 25mm)
outside air duct, exhaust air duct
gradient
adhesive tape
insulation material
(Adaptor and aluminum tape is
requested to insulate.)