Do you have a question about the Panasonic KX-MB2085CX and is the answer not in the manual?
List and description of items included in the package.
Details on recommended optional accessories like toner and drum cartridges.
Explanation of the functions of each button on the control panel.
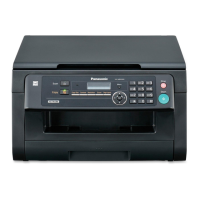
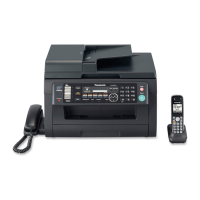
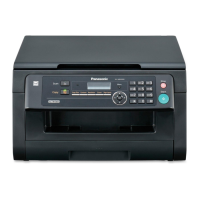
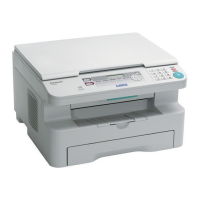
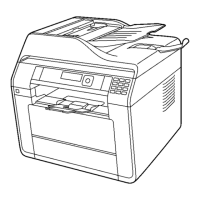
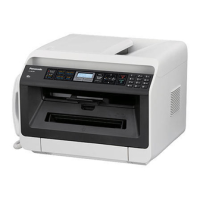
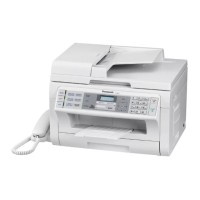
Diagrams identifying the main parts and connections of the unit.
Instructions for installing the toner and drum cartridges.
How to attach and use the output tray extender.
Information on paper types, sizes, and loading procedures.
Connect power, telephone line, and optional devices like handset or answering machine.
Steps to power on the unit for the first time.
Set the dialling mode (Pulse or Tone) based on your telephone line service.
Choose the primary operating mode: Scan, Copy, or Fax.
How to place documents on the scanner glass or in the automatic document feeder.
Adjust ringer, handset, and monitor volumes for calls and alerts.
Set the unit's date and time for accurate fax headers and logs.
Program a logo to appear on sent pages.
Program the unit's fax number for outgoing documents.
Set up network IP address, subnet mask, and default gateway.
System requirements for Multi-Function Station software.
Install the Multi-Function Station software and drivers.
Launch the Multi-Function Station application to operate the unit from your PC.
Print documents from Windows applications using the printer driver.
Utilize advanced printing features and manage print jobs.
Scan documents directly from the unit's panel to various destinations.
Scan documents from your computer using the Multi-Function Station software.
Basic steps to make a photocopy of a document.
Explore advanced copying functions like zoom, collate, and page layout.
Manual procedures for sending faxes using the scanner glass or ADF.
Save contact numbers and names for quick access and phonebook entries.
Send faxes using stored one-touch dial or phonebook contacts.
Send the same document to multiple recipients efficiently.
Send documents from computer applications directly as faxes.
Configure the unit for FAX ONLY, TEL, or TEL/FAX modes.
Set up automatic answering to receive faxes without manual intervention.
Manually receive faxes when the auto answer feature is disabled.
Connect and configure an external answering machine with the unit.
Retrieve faxes from another machine by initiating a poll.
Block unwanted callers or numbers from sending faxes.
Configure the unit to receive faxes directly onto your computer.
Preview received faxes through a web browser interface.
Information on compatibility and requirements for Caller ID service.
Display, review, and call back using stored caller ID information.
Modify caller numbers before dialling or saving them.
Delete caller information from the unit's memory.
Save caller information to one-touch dial or phonebook entries.
Utilize different ring patterns to identify incoming call types.
How to manage multiple phone numbers on one line with distinctive rings.
Managing multiple phone numbers on one line with distinct ring patterns.
Assign specific ring patterns to the fax number.
Configure fundamental settings like date/time, logo, fax number, and location.
Configure fax transmission, reception, and speed settings.
Adjust copy resolution, paper settings, and layout options.
Configure settings related to printing from a computer.
Configure default scan modes and parameters.
Configure network settings for LAN connectivity.
Configure unit settings remotely via a web browser interface.
How to enter characters and numbers using the unit's keypad.
Check the unit's operational status and settings via computer or web browser.
How to cancel ongoing operations like printing, scanning, or faxing.
Restrict unit functions using department codes and administrator passwords.
Register email addresses directly on the unit for scan-to-email.
Instructions for connecting and using the telephone handset.
Make calls using stored one-touch dial numbers or the phonebook.
Troubleshooting messages related to fax transmission and reception.
General messages indicating unit status or errors.
Codes indicating network connection status and troubleshooting.
Troubleshooting common operational problems with the unit.
Procedures for clearing paper jams from the input tray or inside the unit.
Procedures for clearing document jams from the automatic document feeder.
Instructions for cleaning the scanner glass and white plates.
Steps to clean rollers to prevent document misfeeds.
How to print various operational lists and reports.
Technical specifications of the unit, including dimensions and performance.
Details on software copyrights and licensing terms.
| Brand | Panasonic |
|---|---|
| Model | KX-MB2085CX |
| Category | All in One Printer |
| Language | English |