Preparation
17
VQT1C39
Setting Date/Time
(Clock Set)
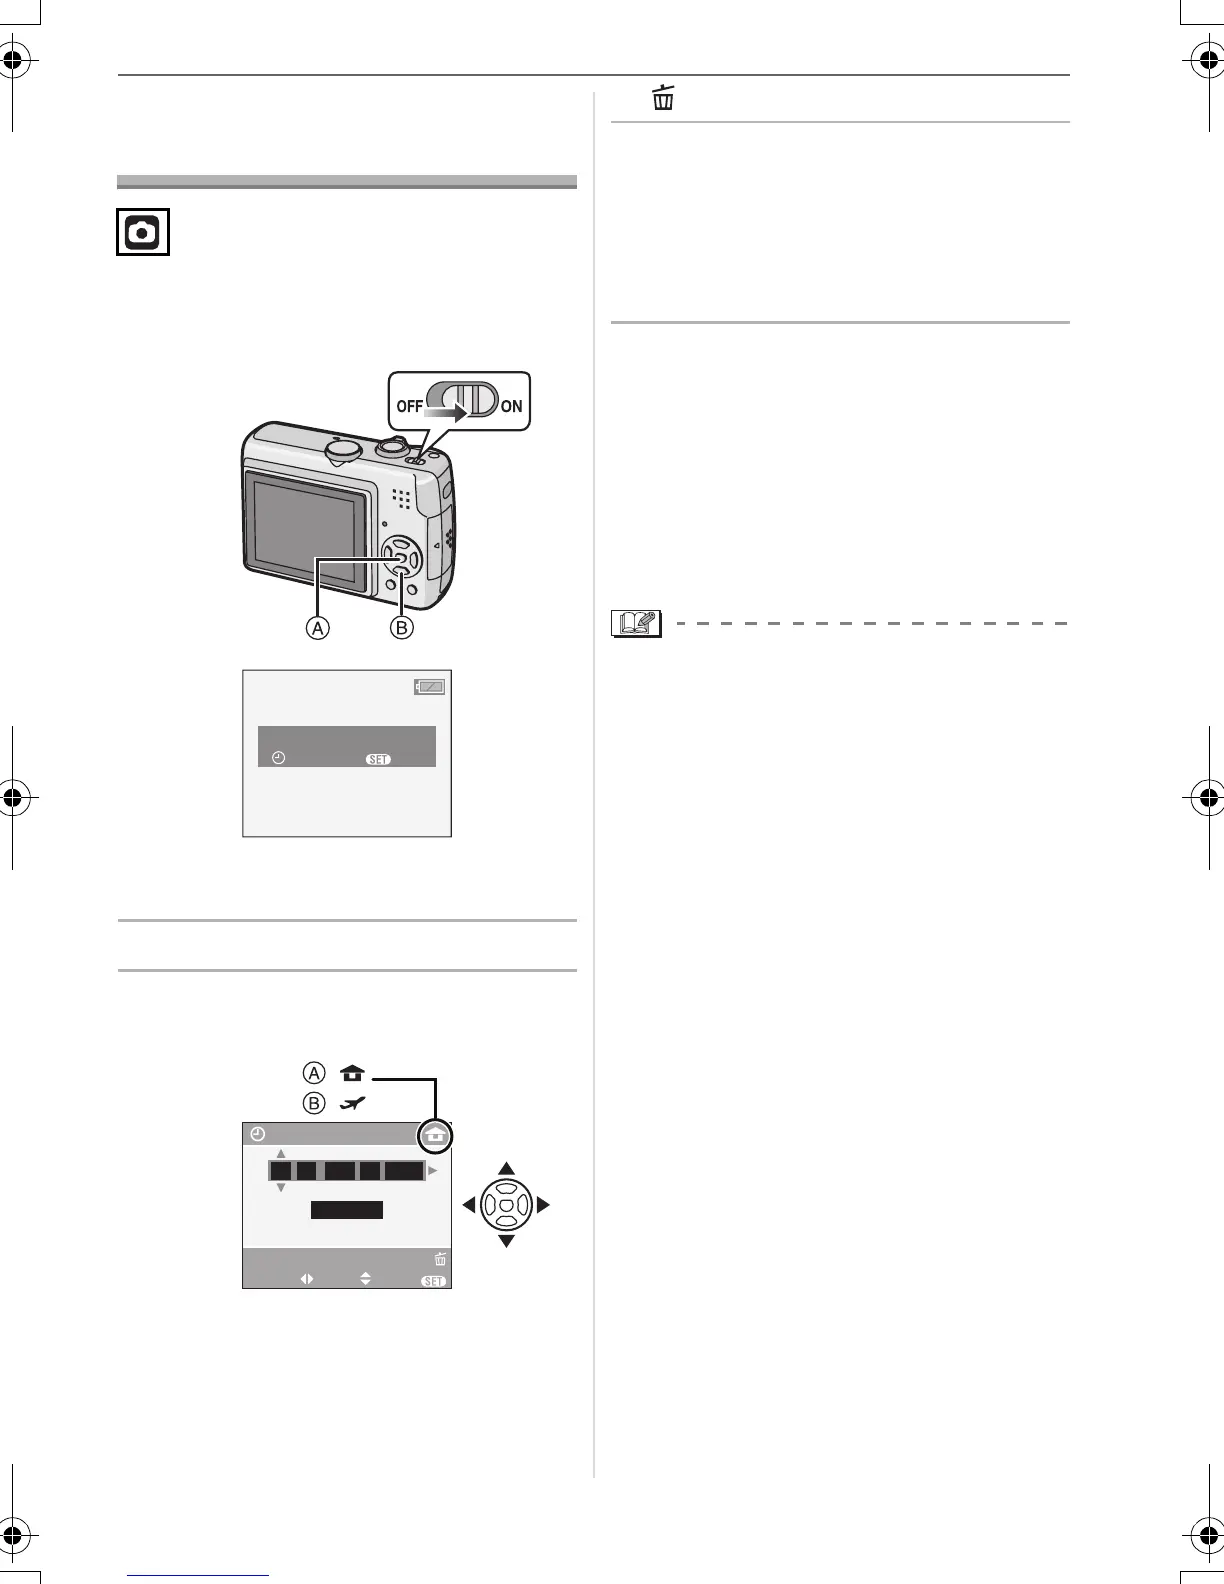
∫ Initial setting
The clock is not set, so the following screen
appears when you turn the camera on.
A: [MENU/SET] button
B: Cursor buttons
1 Press [MENU/SET].
2 Press 3/4/2/1 to select the
date and time.
A: Time at the home area
B: Time at the travel destination (P57)
• 2/1: Select the desired item
.
• 3/4: Set the display order for the date
and time.
• : Cancel without setting the clock.
3 Press [MENU/SET] to set.
• Turn the camera off after setting the
clock. Then set the mode dial to a
recording mode to turn the camera on
and check whether or not the clock
setting is correct.
∫ Changing the clock setting
1 Press [MENU/SET].
2 Press 3/4 to select [CLOCK SET].
(P67)
3 Press 1 and then perform steps
2 and
3 to set the clock.
4 Press [MENU/SET] to close the menu.
• You can also set the clock in the
[SETUP] menu. (P20)
• When batteries have been inserted for
more than 3 hours, the clock setting is
stored in the camera for approximately
3 months even if the batteries are
removed.
• You can set the year from 2000 to 2099.
The 24-hour system is used.
• If the clock is not set, the correct date
cannot be printed when you stamp the
date on the pictures with [DATE STAMP]
(P76) or order a photo studio to print the
pictures. (P79)
PLEASE SET THE CLOCK
CLOCK SET
MENU
M/D/Y
JAN
11 2007
..
00 00
:
CLOCK SET
SELECT SET
EXIT
MENU
:
:
CANCEL
VQT1C39ENG.book 17 ページ 2006年12月21日 木曜日 午前10時57分
 Loading...