Supplied
Accessories
Attaching/Detaching the Lens
[Inspection to be performed when you unpack
the unit]
When removing the unit from its packing box, check
that the main unit and the supplied accessories are
there and also check their external appearance and
functions to verify that they have not sustained any
damage during distribution and transportation.
If you discover any trouble, contact your vendor
before using the product.
Product numbers correct as of October 2010. These
may be subject to change.
• Refer also to the camera's operating instructions
for attaching and detaching the lens.
• Attaching the Lens
• Check that the camera
is
turned off.
1 Turn the lens rear
cap to detach
it.
@: Lens Rear Cap
2 Align the lens fitting
marks
® (red marks)
on
the camera body and the
lens and then rotate the
lens
in
the direction of
the arrow until it clicks.
• Do not press the lens release
button © when you attach a lens.
• Do not try to attach the lens when holding
it
at
an
angle to the camera body
as
the lens mount may
get scratched.
• Check that the lens
is
attached correctly.
VFC4605
3
VYF3393
2
VFC4460
1
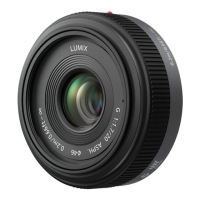
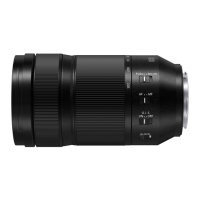
1 Lens Storage Bag
2 Lens Cap
3 Lens Rear Cap
(The lens rear cap and lens cap are attached to
the interchangeable lens at the time
of
purchase.)
6
VQT3B92
 Loading...