(Rear connection shown.)
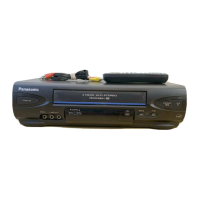
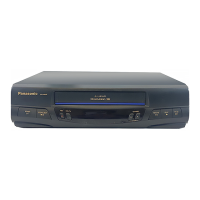
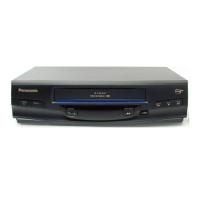
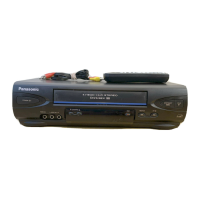
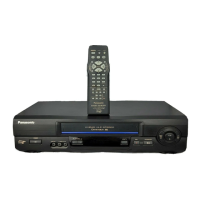
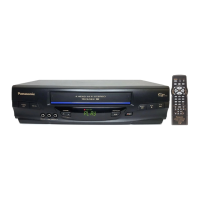
VCR
(HILTS) _ FR_ _*N_ VCR TV
_ _"IHIFI) c_rrlo w
AIIOIO I_IT _j,
VCR
_ _(MonolOUTTOW
F--=,coI
(Front Audio L/R Video IN jacks are
also provided)
For Model PV-V4522 only
[%,,=,1
Front of VCR 0
(Front Audio/Video IN jacks are
also provided)
For Model PV-V4022 only
(_ Connect VIDEO OUT jack on Playing VCR to VIDEO IN jack on Recording VCR.
To monitorthe dubbing, alsoconnecta TV as shown.
(_ PV-V4522 : Connect AUDIO L/R OUT jacks on Playing VCR to AUDIO IJR IN jacks on
Recording VCR.
PV-V4022 : Connect AUDIO OUT jack on Playing VCR to AUDIO IN jack on Recording VCR.
In place of a Playing VCR, you can use other equipment, such as a Camcorder.
Simply connect the unit's Audio/Video outputs to the Recording VCR.
_IP4,] im[oE _."I,] ml CH._i;IO];
1 Insert pre-recorded tape. Insert blank tape with record tab,
2
Press INPUT* to set VCR Input mode to LINE1
for Video Input (Rear) or to LINE2 for Video
Input (Front). (See =Selecting the Input Mode"
below.)
3 Press pLAy, then PAUSE/SLOW press REC, then PAUSE/SLOW
immediately to enter PLAY/PAUSE mode. immediately to enter REC/PAUSE mode.
The operation of steps 4 and 5 must be done on beth playing
and recording VCRs at the same time,
4 Press PLAY to start dubbing, Press PAUSEJSLOW to start dubbing.
Playing VCR starts playback. Recording VCR starts recording.
5 Press STOP to stop dubbing. Press STOP to stop dubbing.
• To Monitor Dubbing on Your TV
1 Turn your TV on and tune to the
Recording VCR channel (CH3 or CH4).
2 Set the VCPJ TV Selector on the
Recording VCR to =VCR."
• Dubbing tapes protected with Copy
Guard will have poor quality results.
• Selecting the Input Mode
Method 1:
press INPUT repeatedly.
Channel Number *-_ LINE1 *_ LINE2
Method 2:
Press CH • / V.
Display will change as below.
• =LI" or "!.2" lights on Multi-Function Display
(about 4 sec.) when LINE1 or LINE2 is
selected.
• LINE1: For rear audk_tideo co_lnection.
LINE2: For front audio/video connection.
_Cautlon; Unaethorlzed exchanging and/or copying of copyrighted recordings may be
%
€opyright InfdngemenL
J
-9-
 Loading...