EasyManua.ls Logo

Panasonic P2HD AG-HPX500P User Manual

Panasonic P2HD AG-HPX500P
8 pages
To Next Page IconTo Next Page
Page #1 background imageLoading...
Page #1 background image
New P2 Instructions 7/11/10
1
Using the Panasonic P2HD AG-HPX500P Camcorder
With Final Cut Pro
This camera does not use videotape; information is recorded onto P2 cards. There are four
P2 card slots on the right side of the camera. The camera will have these cards in place when
you sign it out. Cards should be always kept in the camera except when loading video onto the
computer. Computers with card readers are located in LC 21, 28 and 31 for this purpose. Each
camera will have one 32 GB card which will provide approximately 128 minutes of recording
time if all of the cards are blank when you start. A second card may be available if needed.
To Install Battery
Carefully attach an Anton Bauer Digital Trimpac battery or power
supply to the camera by aligning the three holes on the back of the
camera plate and the matching studs on the battery. Then slide the
battery to the right. To remove the battery, press the release button and
slide the battery to the left. The AC power supply is attached to the
camera in the same manner as the battery. The AC power supply is also a
battery charger. It will charge a battery when the charger is not attached
to the camera and a battery is attached to the power supply. A bar graph located in the viewfinder
indicates the charge remaining for the battery.
Turn on the power switch, which is deeply recessed towards the front of the lower left side of
the camcorder.
To remove a P2 card
Turn off the camera
Press the door release and slide the door open.
Flip the card release button down.
Press the card release button to eject the card.
Slide the door closed
NOTE* - PLEASE BE SURE DOOR IS CLOSED AT
ALL TIMES OTHER THAN INSTALLING OR REMOVING CARDS
To install a P2 card
Turn off the camera.
Press the door release and slide the door open.
Insert the card connector end with the Panasonic P2
logo facing the back of the camera.
Flip up the card release lever.
Close door when all cards are installed.
Battery
Release
Card
Release
Question and Answer IconNeed help?

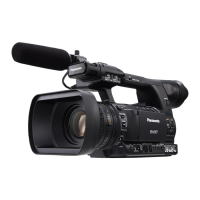
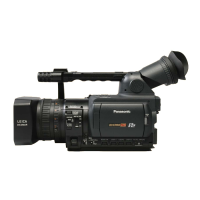
Do you have a question about the Panasonic P2HD AG-HPX500P and is the answer not in the manual?

Panasonic P2HD AG-HPX500P Specifications

General IconGeneral
BrandPanasonic
ModelP2HD AG-HPX500P
CategoryCamcorder
LanguageEnglish

Summary

Installing and Managing P2 Cards

To install a P2 card

Instructions for inserting a P2 card into the camera, ensuring correct orientation and securing the card.

To remove a P2 card

Step-by-step guide for safely ejecting a P2 card from the camera, including turning off the camera first.

P2 Card Operations

Erasing all clips (formatting the P2 card)

Procedure to format a P2 card to erase all recorded clips, preparing it for new footage.

Deleting Some Clips

Method for selecting and deleting individual clips from a P2 card via the camera's menu system.

Set Camera for DVCPro 25, 16:9 aspect ratio

Configuration steps to set the camera's aspect ratio and recording setup for DVCPro 25, 16:9 format.

Camera Setup and Operation

To Begin Camera Setup

Guides the user through initial camera setup, including controls for power, gain, and output settings.

White and Black Balance

Instructions for performing white balance and black balance to ensure accurate color and exposure.

Iris Operation

Details on setting the camera's iris to automatic or manual operation for exposure control.

Audio Configuration

MONITOR SELECT switch

Guide for setting the monitor select switch for stereo or channel selection.

AUDIO SELECT Ch1, CH2

Instructions on setting audio channels for manual or automatic gain control.

Audio Input and Monitoring

FRONT/REAR audio input settings

Configuration of audio input for front camera mic or rear XLR inputs, and input type selection.

Camera Mic Usage

Information on using the built-in camera microphone for ambient sound recording.

Footage Transfer and Offloading

Capturing footage into an FCP Project

Steps for capturing footage from a P2 card into a Final Cut Pro project.

Offloading footage to DVCPro tape

Procedure for transferring recorded footage from the camera to a DVCPro tape deck.

DVCPro Tape Dubbing and DVD Copying

DVCPro Tape Playback and Verification

Instructions for playing back DVCPro tapes to verify recorded content before returning equipment.

DVD Copying Procedure

Guide for creating DVD copies of footage from the DVCPro tape.

300 Series Camera Setup and Shooting

Set the 300 Series Camera for DVCPro 25, 16:9 aspect ratio

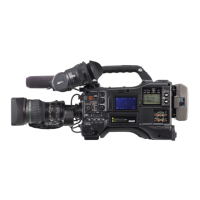
Configuration steps for the 300 series camera, including system mode and aspect ratio settings.

Shooting in High Definition, 16:9 aspect ratio

Guidance on shooting in high definition formats like DVCPro HD and returning settings to standard definition.

Related product manuals