RQTX0064-3P
P PC
Operating Instructions
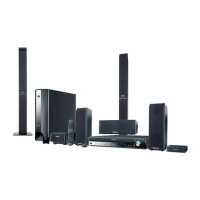
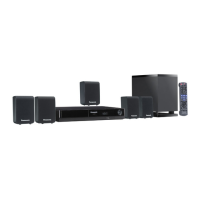
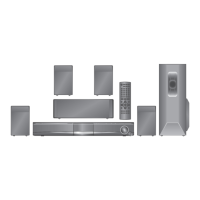
DVD Home Theater Sound System
Model No. SC-PT950
SC-PT1050
SC-PT953
The illustration shows SC-PT950.
PX
Region number
The player plays DVD-Video marked with labels containing the region
number “1” or “ALL”.
Example:
§
For Canada only: The word “Participant” is used in place of the word
“Partner”.
Before connecting, operating or adjusting this product, please
read the instructions completely.
Please keep this manual for future reference.
If you have any questions contact
In the U.S.A.: 1-800-211-PANA (7262)
In Canada: 1-800-561-5505
1 ALL
2
4
1
As an ENERGY STAR Partner,
Panasonic has determined that
this product meets the ENERGY STAR
guidelines for energy efficiency.
®
®
[U.S.A.[and[Canada[
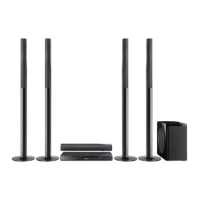
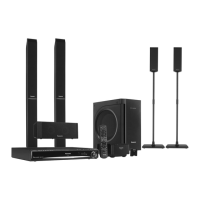
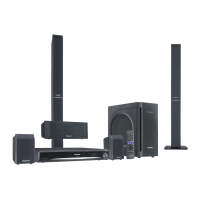
Wireless surround
speakers
[PT1050]
Wireless subwoofer
5
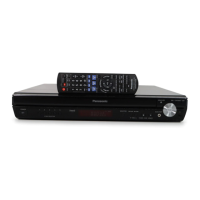
High-quality picture
HDMI capability, Advanced
progressive scan and more.
7
XM
®
Satellite Radio
Enjoy a variety of digital radio
channels.
30
0064 En_p01-02.fm Page 1 Monday, March 26, 2007 12:51 PM