Do you have a question about the Panasonic TX-42AS650B and is the answer not in the manual?
Warns that service is for experienced technicians only and can cause injury or death if attempted by others.
Stresses the importance of using specific parts marked with 'A' to prevent hazards.
Provides rules for modifying, wiring, and handling units during repair.
Details how to perform leakage current checks to prevent shock hazards.
Explains techniques to prevent damage to electronic components from static discharge.
Illustrates the physical layout of the main printed circuit boards (PCBs).
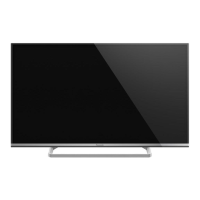
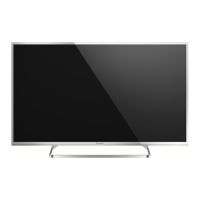
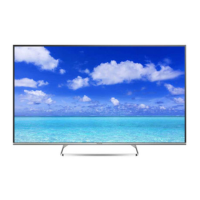
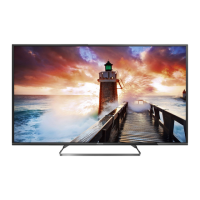
Details energy class, screen size, and power consumption data.
Lists dimensions, mass, power, panel, sound, and connection terminal details.
Describes key generation and specification for content protection and streaming.
Explains the requirements and process for recording TV programs to a USB HDD.
Guides on how to access the service mode and use its functions.
Details how to enter the service tool mode and interpret its display data.
Outlines the steps for checking driver functionality and USB HDD compatibility.
Explains how to configure the TV for hotel use, restricting functions and settings.
Describes copying user settings for board replacement and hotel installations.
Details the process of backing up TV settings and data onto a USB drive.
Explains how to load settings and data from a USB drive back to the TV.
Guides on performing a self-check for IIC bus line integrity.
Lists LED blinking patterns and their corresponding error indications.
Explains how to activate and use the LCD panel test mode for fault diagnosis.
Provides a flowchart for diagnosing no-power issues based on power LED status.
Presents a visual chart outlining the sequence of disassembly steps for the unit.
Details the procedure for removing the TV's pedestal and back cover.
Provides steps for disconnecting and removing the P-board and A-board.
Guides on how to remove the Wi-Fi dongle and Bluetooth dongle.
Details the process of removing specific internal chassis components.
Explains the steps for removing the K-board, speakers, and the main LCD panel assembly.
Details the placement and specifications for felt EMI countermeasures on the back cover.
Specifies where to apply felt material on the back cover and key button assemblies.
Details the application of felt for EMI reduction at the AC inlet and AV bracket.
Provides instructions for applying gaskets to specific points for EMI shielding.
Details the correct placement and length for PET/AL tape for EMI mitigation.
Lists test points and expected voltage specifications for the P-board.
Lists test points and expected voltage specifications for the A-board.
Presents the first part of the overall system block diagram.
Shows the second part of the block diagram, focusing on power distribution and board connections.
Illustrates the wiring connections between the main boards and other components.
Provides instructions on how to properly route and secure internal cables.
| Screen shape | Flat |
|---|---|
| Response time | - ms |
| Display diagonal | 42 \ |
| Display brightness | - cd/m² |
| LED backlighting type | - |
| 3D | Yes |
| 3D glasses quantity | 2 |
| Near Field Communication (NFC) | No |
| Audio system | Dolby Digital Plus/ DTS 2.0 |
| RMS rated power | 20 W |
| HDMI ports quantity | 3 |
| DVI-D ports quantity | 0 |
| USB 2.0 ports quantity | USB 2.0 ports have a data transmission speed of 480 Mbps, and are backwards compatible with USB 1.1 ports. You can connect all kinds of peripheral devices to them. |
| Component video (YPbPr/YCbCr) in | 1 |
| On Screen Display (OSD) languages | BUL, CZE, DAN, DEU, DUT, ENG, FIN, FRE, HUN, ITA, LAV, POL, POR, RUM, SWE, TUR |
| Audio formats supported | 3GPP, AAC, FLAC, MP3, MP4, WAV, WMA, WMV |
| Image formats supported | JPG, MPO |
| Video formats supported | 3GP, AVCHD, AVI, FLV, MKV, MP4, TS, VOB, WMV |
| Product color | Black, Silver |
| AC input voltage | 220 - 240 V |
| AC input frequency | 50 - 60 Hz |
| Power consumption (standby) | - W |
| Cables included | AC |
| Depth (with stand) | 202 mm |
|---|---|
| Height (with stand) | 608 mm |
| Depth (without stand) | 54 mm |
| Width (without stand) | 962 mm |
| Height (without stand) | 562 mm |