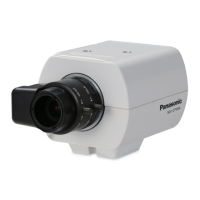
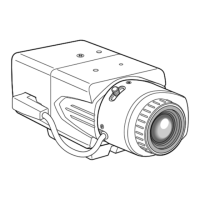
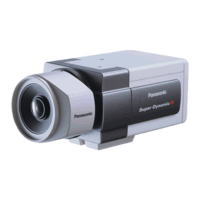
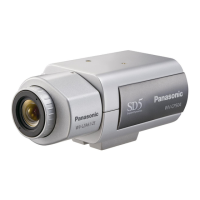
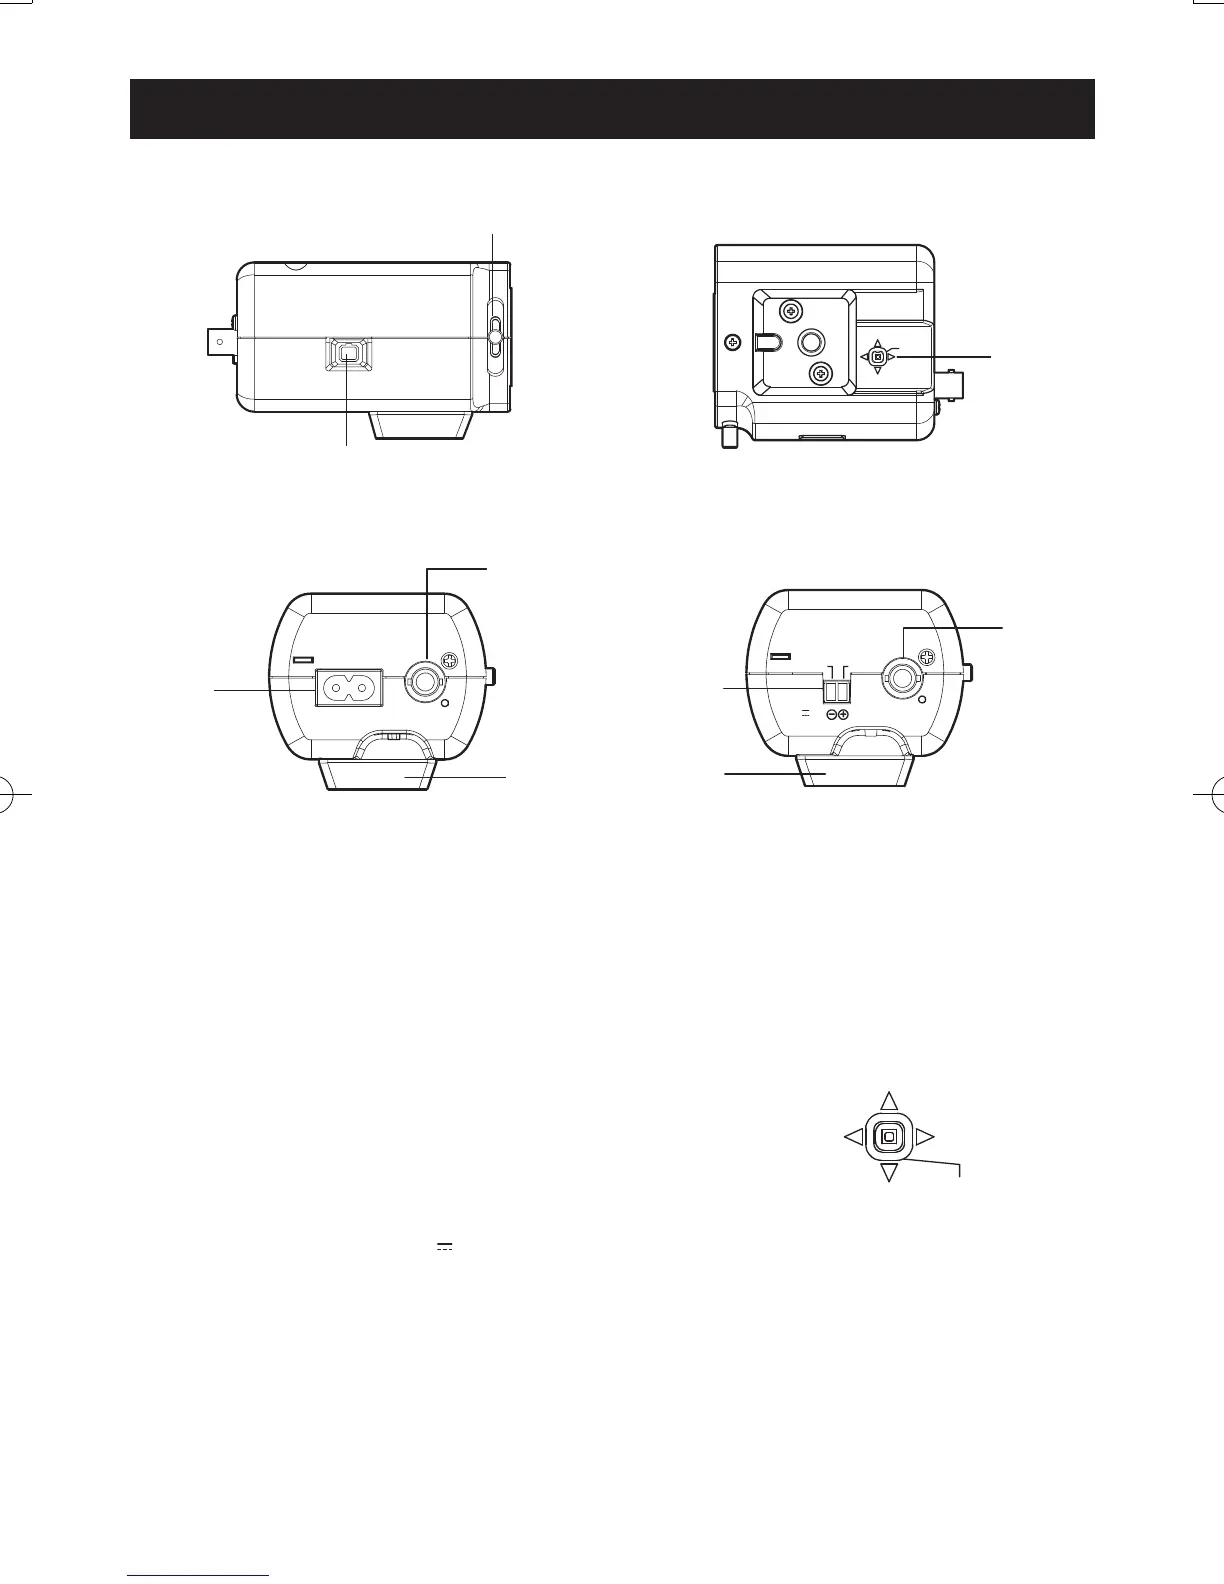
Major operating controls and their functions
1 AC power input terminal [120 V~ 60 Hz]
<Only for WV-CP300, WV-CP310>
Connect with the supplied power cord.
2 Video output connector [VIDEO OUT]
Provides video output to system units.
3 Tripod mount base
This is used to install the camera onto the
mount bracket (Iocally procured).
4 ALC lens connector
Connects to ALC lens (4-pin).
5 Back focus adjustment screw
Adjusts the back focus distance and
image focal length.
6 Power input terminal [12
V
IN, 24
V~IN]
<Only for WV-CP304, WV-CP314>
The power supply of 24 V AC or 12 V DC is
connected to this terminal.
7 Setup button [SET]
Press the [SET] button once and the
"FOCUS ADJUSTMENT" screen will be
displayed.
Hold down the [SET] button for more than
2 seconds and the setup menu screen will
be displayed.
• [LEFT]/[RIGHT]: Press the [RIGHT] or [LEFT]
button to move to the right or left in the
menu, or change the displayed values.
• [UP]/[DOWN]: Press the [UP] or [DOWN]
button to move up or down in the menu.
(The directions of "UP", "DOWN",
"LEFT"and "RIGHT" are as shown when
you are directly facing "UP".)
• [SET]: Press this button in the menu to
confirm the selected value or function.
In addition, this button is used to open
submenus.
(Side view) (Bottom view)
(Rear view)
<WV-CP304, WV-CP314><WV-CP300, WV-CP310>
 Loading...