19
© Copyright 2008 Panoramic Corporation
PC-1000/Laser 1000 Installation
If there is any question concerning
installation or calibration, please
contact Panoramic Corporation
immediately.
Tools Required
Multimeter, regular and phillips screwdrivers, allen
wrenches, small fl uorescent screen, knife, level,
and a pulse counter.
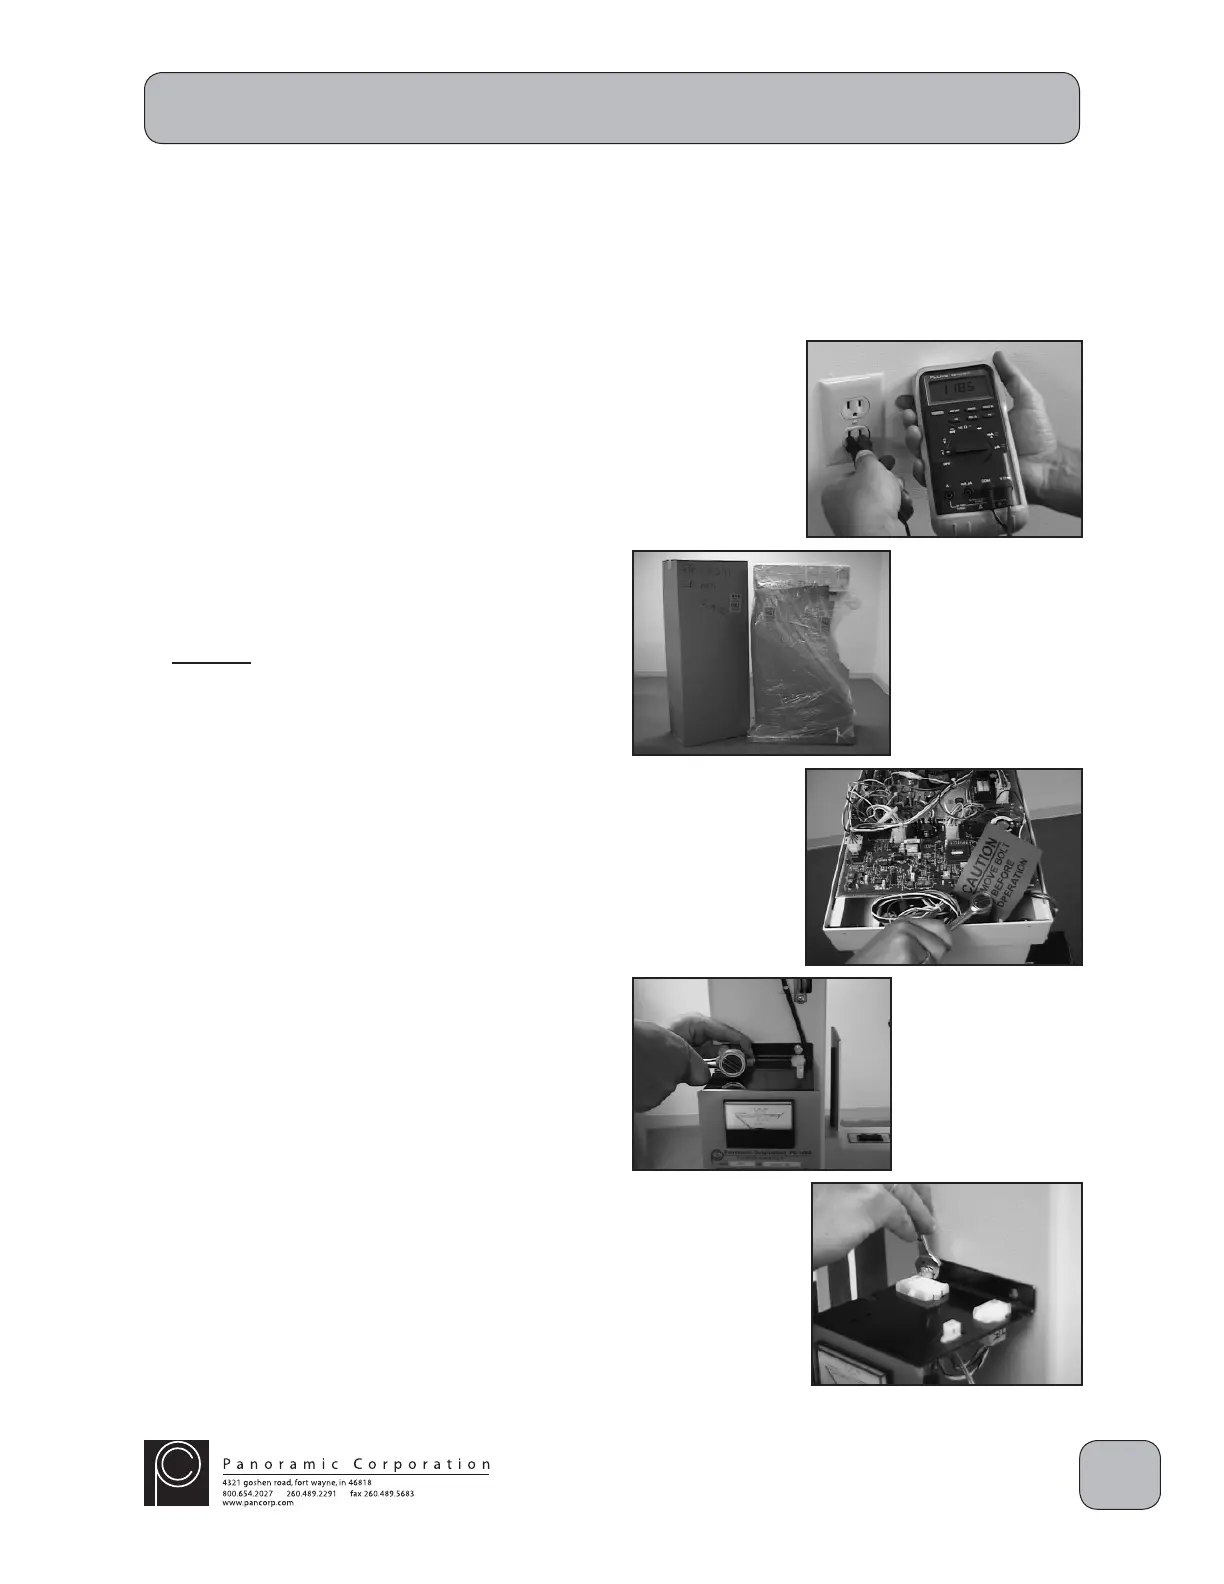
Verify Power
Verify that the outlet is a 110 VAC grounded outlet.
Remove Packaging and Shipping Restraints
1. Carefully remove all shipping packaging from
the PC-1000/Laser 1000, including the plastic
wrap, cardboard, and wooden cover. Unpack
the side and top covers, and the cephalometric
arm shipped in the separate box.
2. Remove the 3/4" hex head shipping bolt from
the top rear of the overhead chassis. The
shipping bolt is located between the aluminum
chassis and the rear of the machine. There
may be 1 or 2 shipping bolts. Leave these
bolts with the offi ce for future relocation.
Control Panel Relocation
Verify with the doctor, on which side the control
panel needs to be located. To relocate it the
opposite side:
1. Remove the 4 7/16" mounting bolts from
the control panel.
2. Move the control panel to the opposite side
of the machine, while carefully routing the
wiring harness.
3. Reinstall the 4 7/16" bolts in the control
panel.
 Loading...