30
© Copyright 2008 Panoramic Corporation
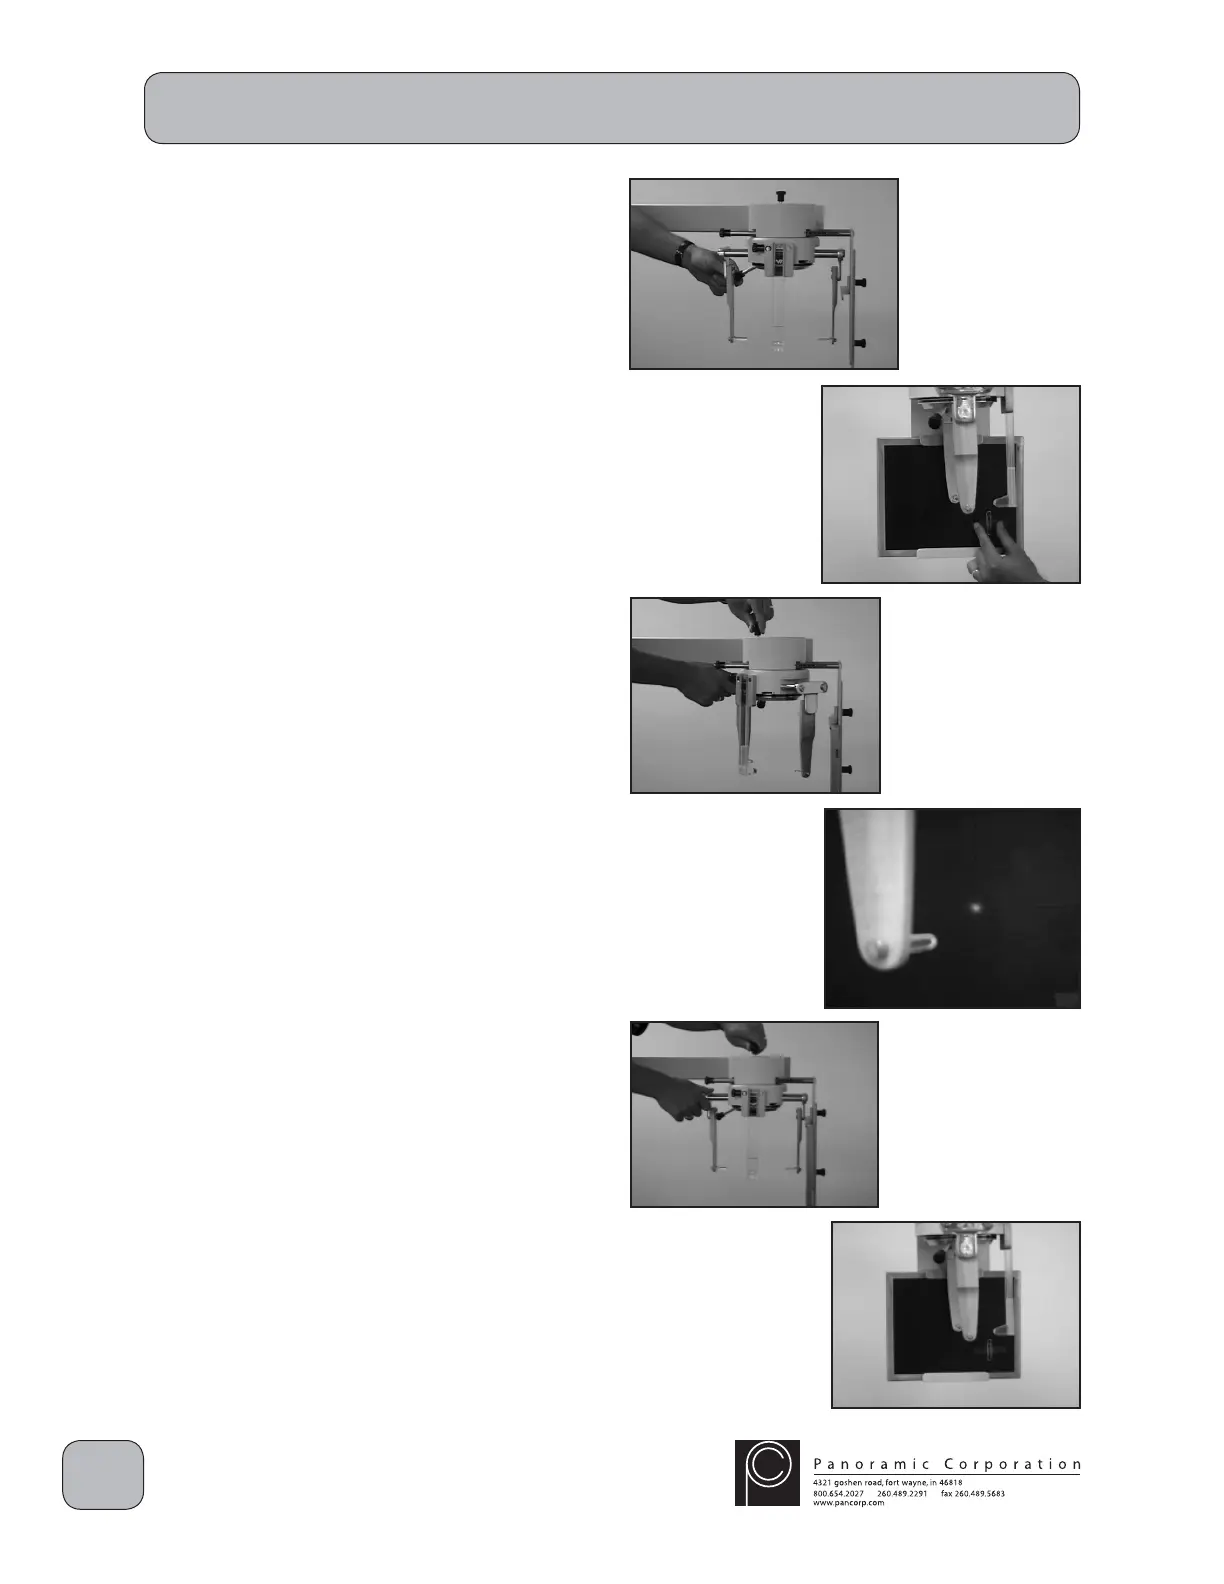
PC-1000/Laser 1000 Installation
5. Remove the locking pin in the top of the
cephalostat head positioner and rotate the ear
rods to the LATERAL position. Open the ear
posts as far as possible using the lever on the
rear of the head positioner.
6. Place a loaded cephalometric fi lm cassette in
the cassette holder HORIZONTALLY at the
end of the cephalometric arm. Align the top
edge of the sliding portion on the rear of the
cassette holder to the LATERAL position.
7. Position the cassette so that the inscribed
lines on the front of the cassette are centered
directly behind the closest ear rod. It may be
helpful to temporarily tape a coin or paperclip,
to be used as a reference after exposing a
test fi lm, in either of the lower quadrants of the
cassette.
8. Remove the locking pin in the top of the
cephalostat head positioner and rotate the ear
rods to approximately 45°. This will allow the
laser alignment beam to strike the cassette.
9. Depress the laser switch on the right side of
the tubehead to activate the laser. Adjust the
tubehead so that the laser beam strikes the
intersection of the inscribed lines on the front
of the cassette.
10. Rotate the head positioner back into the
LATERAL position and install the locking pin.
CAUTION: X-rays will be emitted when the
exposure switch is depressed.
11. Depress the exposure switch.
12. Remove the cephalometric cassette from the
cassette holder and process the fi lm. Load
the cassette again with cephalometric fi lm for
another test exposure.
13. Reposition the cassette in the cassette holder
HORIZONTALLY so that the inscribed lines on
the front of the cassette are centered directly
behind the closest ear rod (same position as
before).
 Loading...