76
Pilots Manual for Parajet Maverick Lite Trike - © 2022 Parajet International LtdPilots Manual for Parajet Maverick Lite Trike - © 2022 Parajet International Ltd
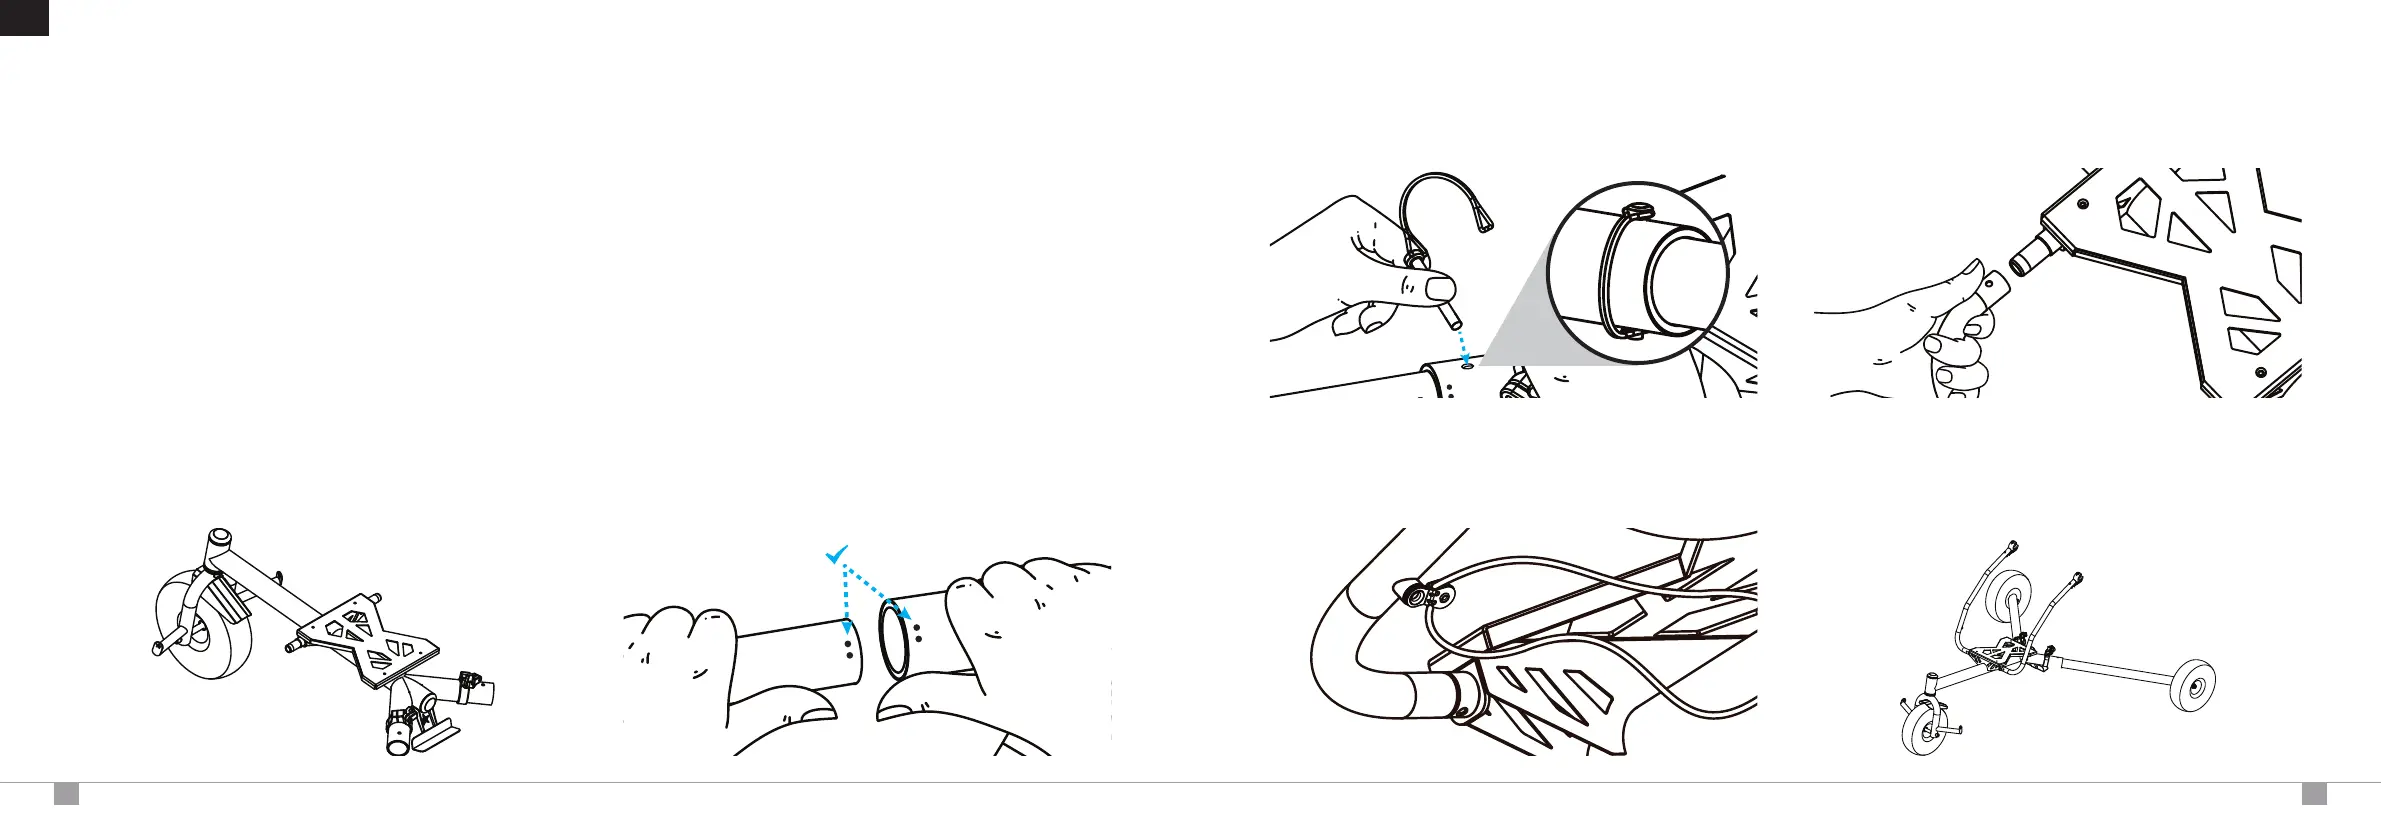
Remove the trike chassis, rear axles and wheels from the
travel bag. Place the trike chassis on a secure surface, such
as the oor, and with the seatboard orientated upwards.
Attach both rear wheels. Insert the tubular end of the axle
into the mount located at the rear of the chassis. Ensure the
number of dots on the axle match those on the mount to ensure
correct wheel orientation.
1
Your Maverick Lite Trike is shipped eighty percent factory-assembled. To complete your
trike chassis setup, you only need to assemble the rear wheels and attached the brace
arms. Once done and you’re condent that assembly has been completed correctly,
you’re ready to move on to tting your paramotor.
BUILD MY LITE TRIKE
CHASSIS ASSEMBLY
2
Slide the axle, making sure the locking pin mounting holes
align correctly. Slide the locking pin into the mounting hole.
Close the wire loop around the axle mount and lock securely to
the pin on the underside of the mount. Repeat on opposite axle.
Attach both brace arms. Insert the curved end of the brace
arm onto the mount at the front of the seatboard. Push
until the button clip engages and secures in position.
3 4
With the Lite Trike chassis build complete, it is recommended
that you undertake a thorough check ensuring that the
assembly is correct, all button fastenings and pins are securely
tted, and that there is no sign of wear or damage.
Ensure the pulley is orientated downwards below the brace
arm and the paracord runs freely underneath the main
chassis tube. Repeat on opposite side.
5 6