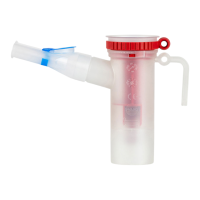
G. DISINFECTING YOUR PARI
REUSABLE NEBULIZER
1. Clean the nebulizer as described in Section F . For
low-level disinfection every other treatment day,
soak all parts of the PARI Reusable Nebulizer (except
tubing and mask) in a solution of 1 part distilled white
vinegar and 3 parts hot tap water for 1 hour. You
can substitute respiratory equipment disinfectant
(like Control III
®
) for distilled white vinegar (follow
manufacturer’s instructions for mixing).
2. Rinse all parts of the PARI Reusable Nebulizer
thoroughly with warm tap water and dry with a clean,
lint-free cloth. Discard the vinegar solution when
disinfection is complete.
3. The PARI Reusable Nebulizer parts (except tubing and
mask) may also be disinfected by boiling them in clean
pot of water for a full 10 minutes.
4. Hospitals and clinics can sterilize the PARI Reusable
Nebulizer parts (except mask and tubing) by
autoclaving (a maximum of 277° F or 136° C), follow
autoclave manufacturer’s instructions.
5. Dry parts on a clean, lint-free cloth.
CONTROL III
®
is a registered trademark of Maril Products, Inc.
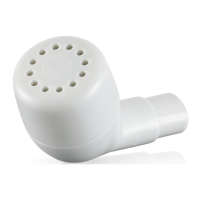
H. MAINTENANCE OF YOUR VIOS
®
PRO
FILTER
The Clear View™ Filter on the front of the Vios
®
PRO
Compressor was designed to be monitored without
removing it. This makes it easy to check without much
work. When the lter is new, it is bright white in color.
With use, the lter will turn grey, indicating the need for
replacement. The lter must be replaced immediately if it
gets wet or becomes clogged. A good rule to follow is to
replace your lter every 6 months - at the same time as
your PARI reusable nebulizer.
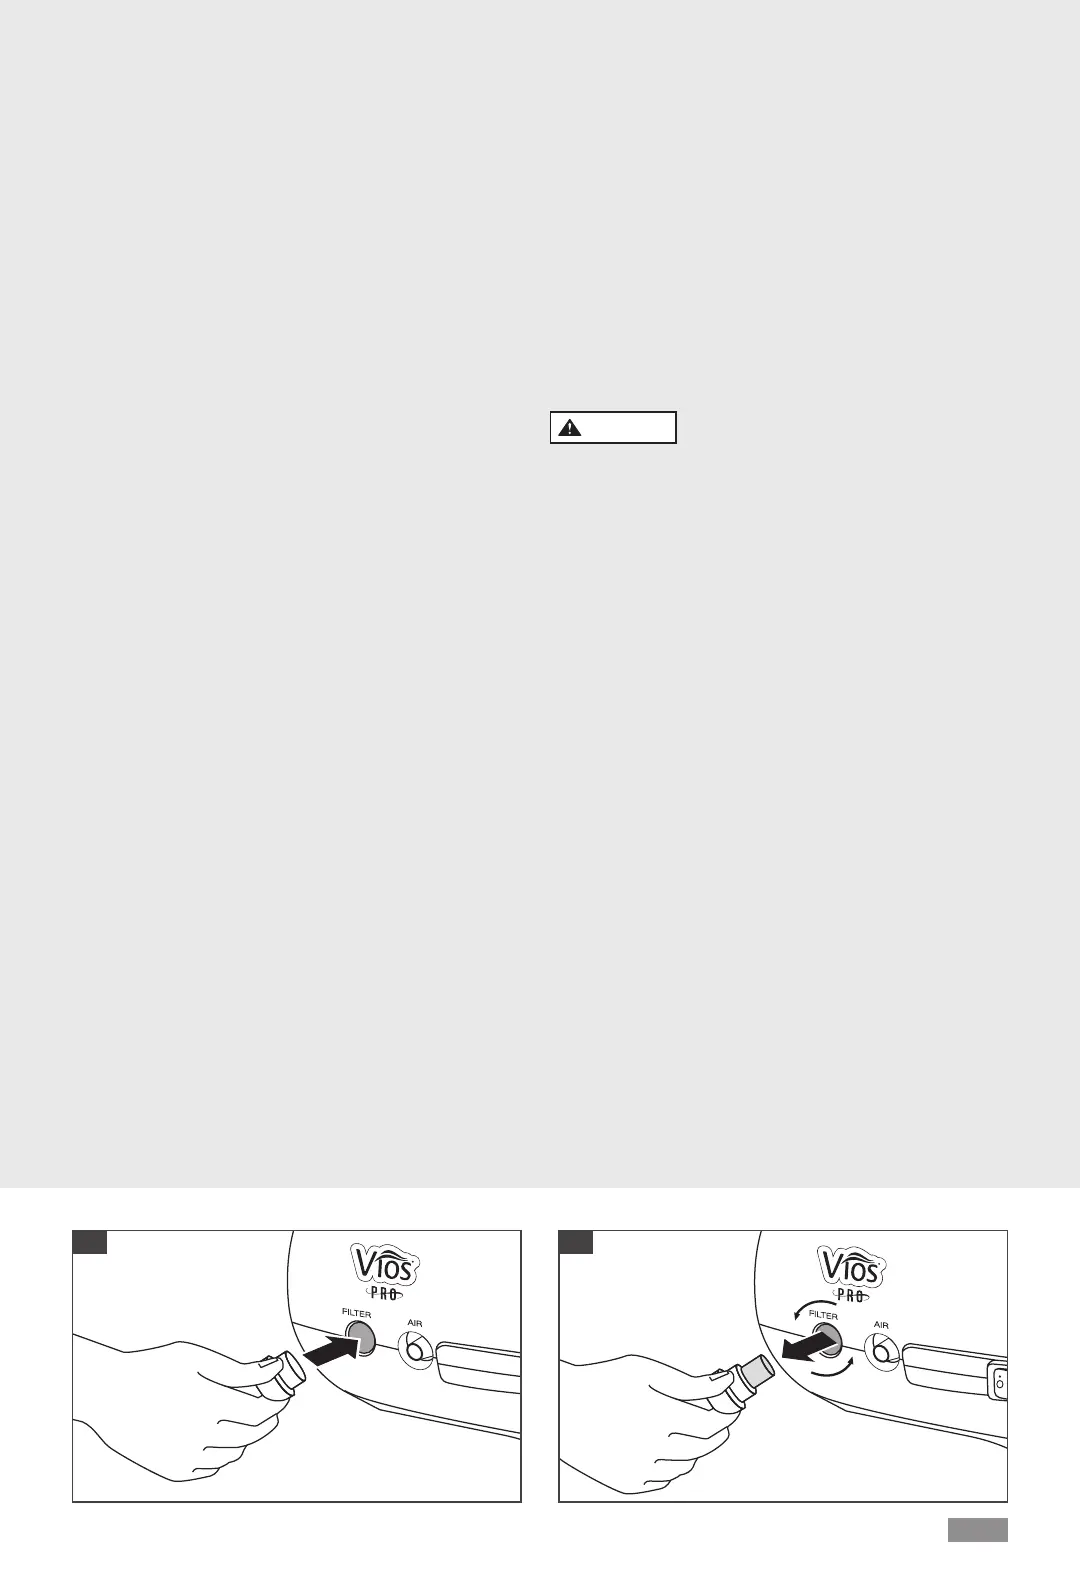
For lter replacement, obtain the replacement lter set
part # 085F0012P2 which includes the lter and the lter
removal tool (Fig. F). Push the lter tool rmly over the
lter and rotate the lter removal tool counter clockwise
a full 8 turns until loose and pull the lter out (Figs. F
and G). Discard the dirty lter and tool. The lter tool
prevents unwanted removal of the lter or a lost lter
Questions? 1.800.FAST.NEB (327.8632)
|
PARI.com/VIOSPRO
EN-6
Once the lter is removed, tilt the compressor so that the
face of the unit is facing the oor. Gently tap on the back
of the compressor to remove any unwanted materials
from the lter area. Place the compressor on a stable
surface and using clean hands, push a new lter into the
lter receptacle.
NOTE: DO NOT ATTEMPT TO WASH AND REUSE
AIR FILTERS. DO NOT USE SUBSTITUTE FILTER
MATERIAL COMPRESSOR DAMAGE MAY RESULT.
COMPRESSOR
Use a damp cloth to wipe the exterior of your Vios
®
PRO
housing and tubing.
CAUTION
Never spray uid into the ventilation slots on your
Vios
®
PRO. Fluid could cause damage to the electrical &
compressor parts and could lead to malfunction. In the
event uid enters the unit, please contact PARI Patient
Connection at 1.800.FAST.NEB (327.8632).
MAINTENANCE & REPAIR
Never operate your Vios
®
PRO if it is improperly or
incompletely assembled or damaged. Use only original
PARI parts and attachments authorized by PARI for the
Vios
®
PRO Aerosol Delivery System. Use of other parts
and attachments may damage the unit or cause improper
treatment. Do not open or disassemble the compressor
unit at any time.
NOTE: THERE ARE NO SERVICEABLE PARTS INSIDE
THE VIOS
®
PRO AEROSOL DELIVERY SYSTEM.
SERVICE BY ANYONE VOIDS WARRANTY.
F G