5115 Hadley Ave. N., St. Paul, MN 55128 (USA) www.parktool.com
PARK TOOL CO.
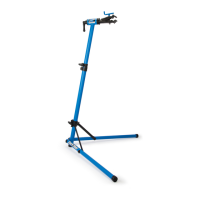
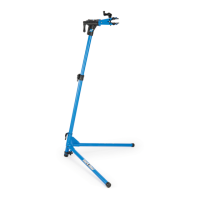
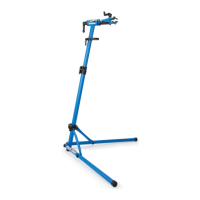
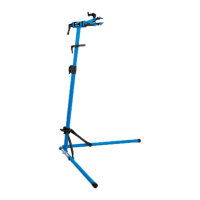
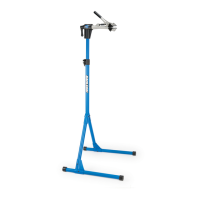
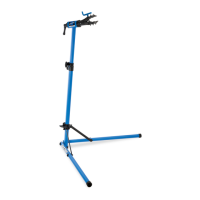
PCS-9.3 Home Mechanic Repair Stand
Assembly and Set Up
1. Line the Hard Stop (#27) up with the two holes in the Large Vertical
Upright (#7) such that the arrow on the Hard Stop (#27) is pointing
upward. Using a 3mm hex wrench, insert the M5 x 12mm Screws (#17)
into the holes in the Hard Stop (#27) and screw them into the Large
Vertical Upright (#7). Tighten to 3.5Nm max (Do Not Overtighten)
2. Slide the Yoke (#3) down the Large Vertical Upright (#7) until it bottoms
out on the Hard Stop (#27), making sure that it is fully below the Spring
Button (#33). Insert the M6 Flange Nut (#19) into the hex pocket in the
Yoke (#3). From the other side of the Yoke (#3) insert the Knob (#18) into
the hole in the Yoke (#3). Screw in the Knob (#18) until it is fully tightened.
Fully tightened is when both flanges on the Yoke (#3) come into contact
with each other.
3. Assemble and install the hardware and mating pieces in the order shown
through each Leg (#2) and Leg Strap (#10). Using a 5mm hex wrench and
a 13mm box end wrench, tighten the M8 x 60mm Screw (#14) to 5 Nm.
4. Disassemble the Cone, Washers (#22), Bearing (#34), and Clamp
Assembly as shown. Install the Clamp Assembly (#21) and its
components into the Top Tube Assembly (#20) as shown, making sure
that the Bearing (#34) is positioned between the two Washers (#22).
5. Remove the Collar (#8) from the Top Tube Assembly (#20). Install the
large end of the Collar (#8) onto the Large Vertical Upright (#7); push the
Collar (#8) down until it stops. Insert the M5 Flange Nut (#4) into the hex
pocket in the Collar (#8) as shown. From the other side of the Collar (#8),
insert the M5 x 30mm Screw (#16) into the Collar (#8) and fully tighten
using a 3mm hex wrench. Insert the M6 Flange Nut (#19) into the hex
pocket in the Collar (#8) as shown. From the other side of the Collar (#8),
insert the Knob (#18) into the Collar (#8) and lightly tighten.
6. Slide the Top Tube Assembly (#20) into the Collar (#8) on the Large Vert-
ical Upright (#7). Set at desired height and fully tighten the Knob (#18).
Note: Always remove the bike when making adjustments to the working
height. Do not set height beyond “max” height line on extension tube.
65
18
8
7
16
4
19
3
1
1
2
11
13
13
10
14
1
17
17
27
7
2
19
27
18
3
7
4
22
34
22
20
23
21
24
PCS-9.3 Instructions / Instructions / Anleitung / Instrucciones