13 GB/IE/NI
tone and the tick symbol
15
on the display
2
will stop flashing. Now, guide the detec-
tor, over the surface to be examined. It is pos-
sible that during this some short signal tones
may sound. These are however without any
meaning, so long as no intensity display
13
appears in the detector display.
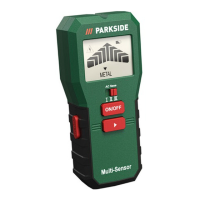
If there is an object, for which the search is
activated, in the vicinity of the detector,
several bars appear at first on the intensity
display. As proximity to the search object in-
creases, the number of bars increases on the
intensity display (Fig. C).
If the detector is exactly over the search
object, a continuous signal tone sounds.
In the case of a search for a power line, the
voltage sign (
)
11
also appears in addition
to the intensity display. Please use the pencil
5
for marking the positions.
Always guide the detector in a straight line
in all the searches. To locate the object more
precisely, guide the detector over the surface
to be examined in a forward direction for both
Metal and Wooden beam search (Fig. B). For
the Void search, the detector can be guided
in both forward and backward directions
(Fig. B). For the AC search, the detector can
be guided in all the four directions (Fig. B).
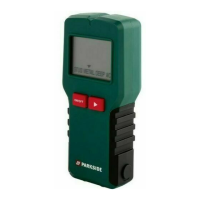
Integrated Pencil:
A pencil
5
has been included together with
the delivery content. Included pencil
5
can
be stored inside the product by inserting the
pencil
5
on the pencil hole, which is located
on the right side of the product. Make sure to
insert the pencil
5
into the intended slot of the
pencil hole on the product. When necessary,
 Loading...