35
STEP 6 - To attach the handle (5) to the lid of the Kamado grill(9).start by aligning the bolt holes of the handle to
pre-installed bolts on the lid. Secure the handle (5) with the 2x pre-attached dome headed nuts.
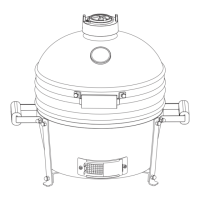
The Kamado Grill is now ready to use but please ensure you have read these instructions thoroughly prior to use.
8
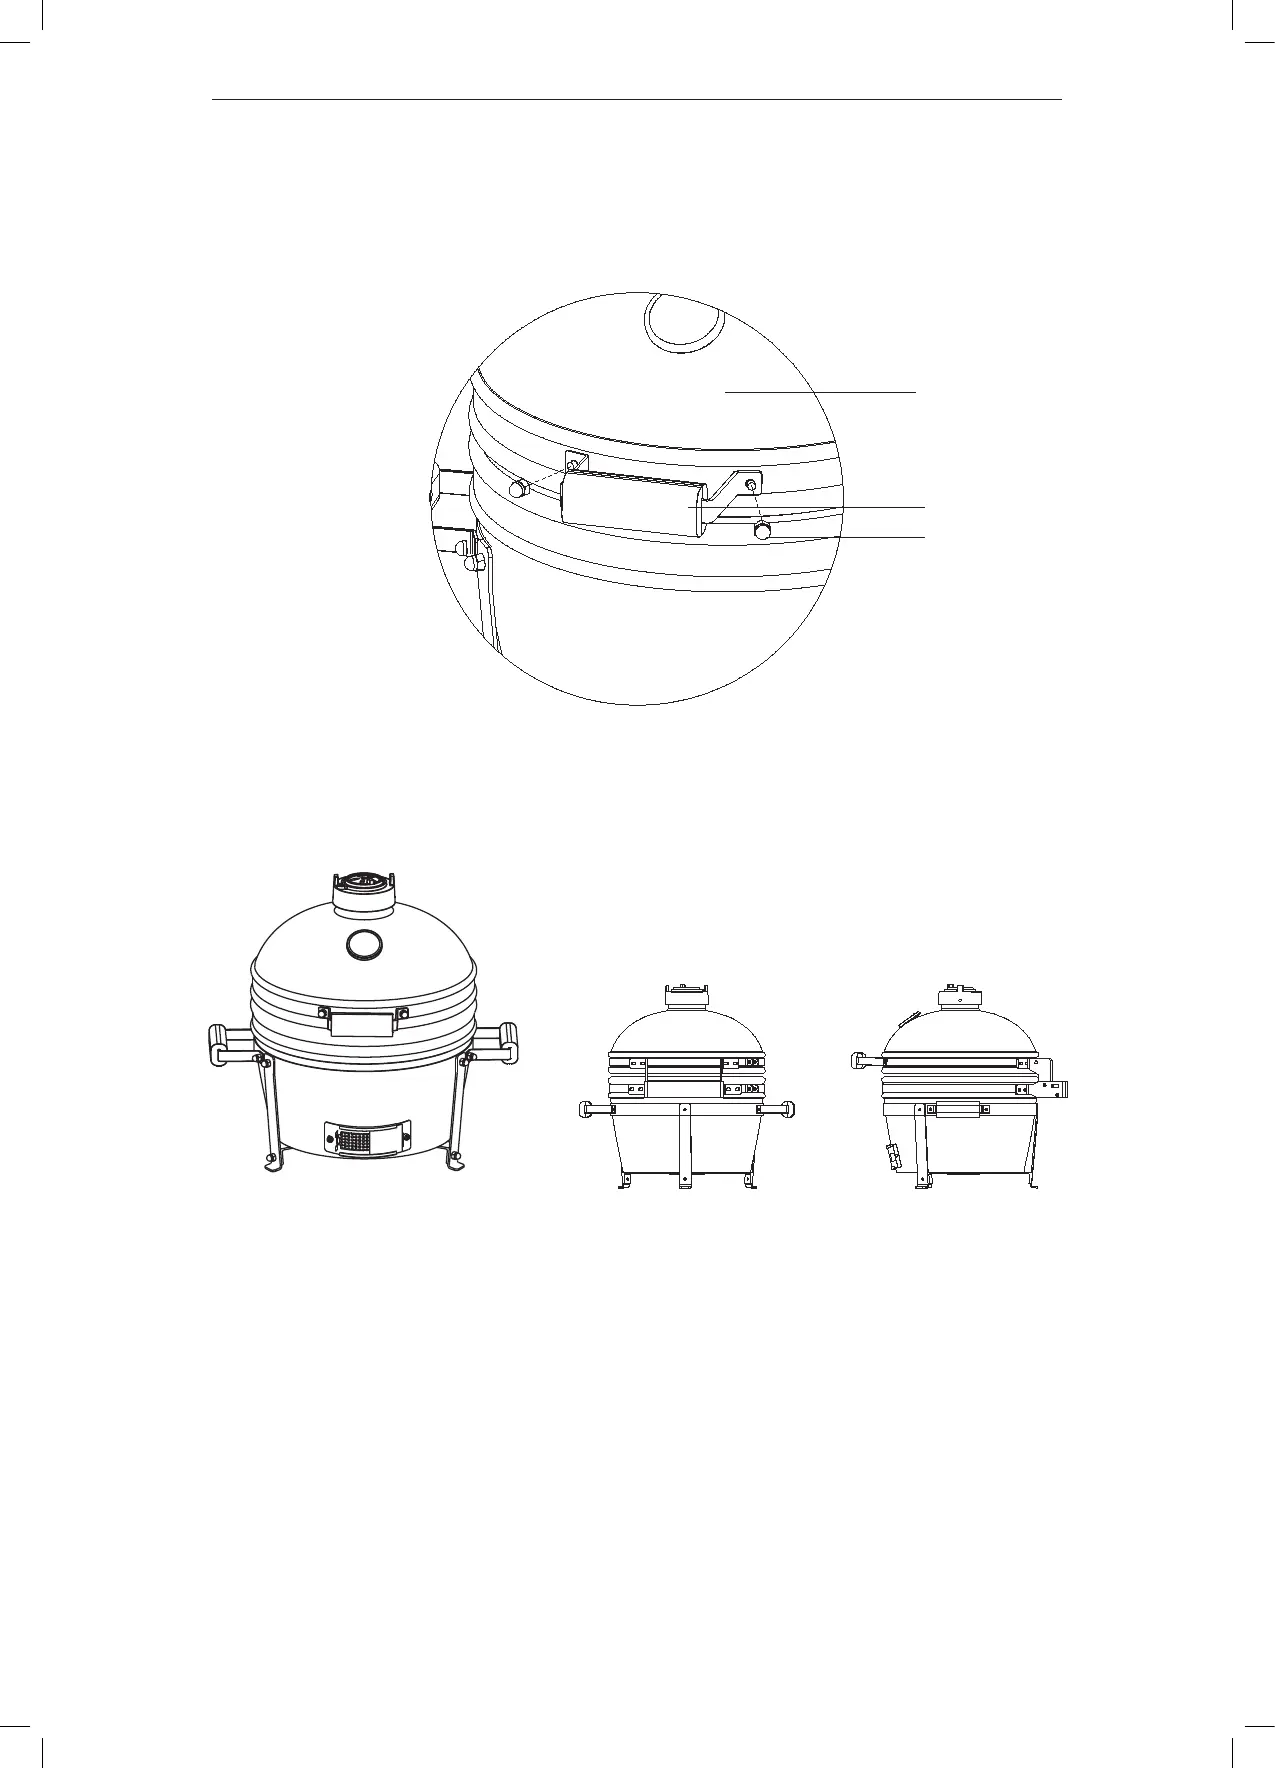
Assembly instructions
STEP 6 - To attach the handle (5) to the lid of the Kamado grill(9).start by aligning the bolt holes of the handle to
pre-installed bolts on the lid. Secure the handle (5) with the 2x pre-attached dome headed nuts.
B.
5.
9.
8
Assembly instructions
STEP 6 - To attach the handle (5) to the lid of the Kamado grill(9).start by aligning the bolt holes of the handle to
pre-installed bolts on the lid. Secure the handle (5) with the 2x pre-attached dome headed nuts.
B.
5.
9.