45
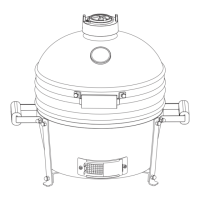
SCHRITT 2 - Befestigen Sie die 3 Ständer (2) mit 3 Schrauben (A) und 3 Stehbolzen (B) am Ring (1). Befestigen Sie
dann das Kreuz aus Schritt 1 mit den 3 Bolzen (A) und 3 Bolzen (B) an den Pfosten.
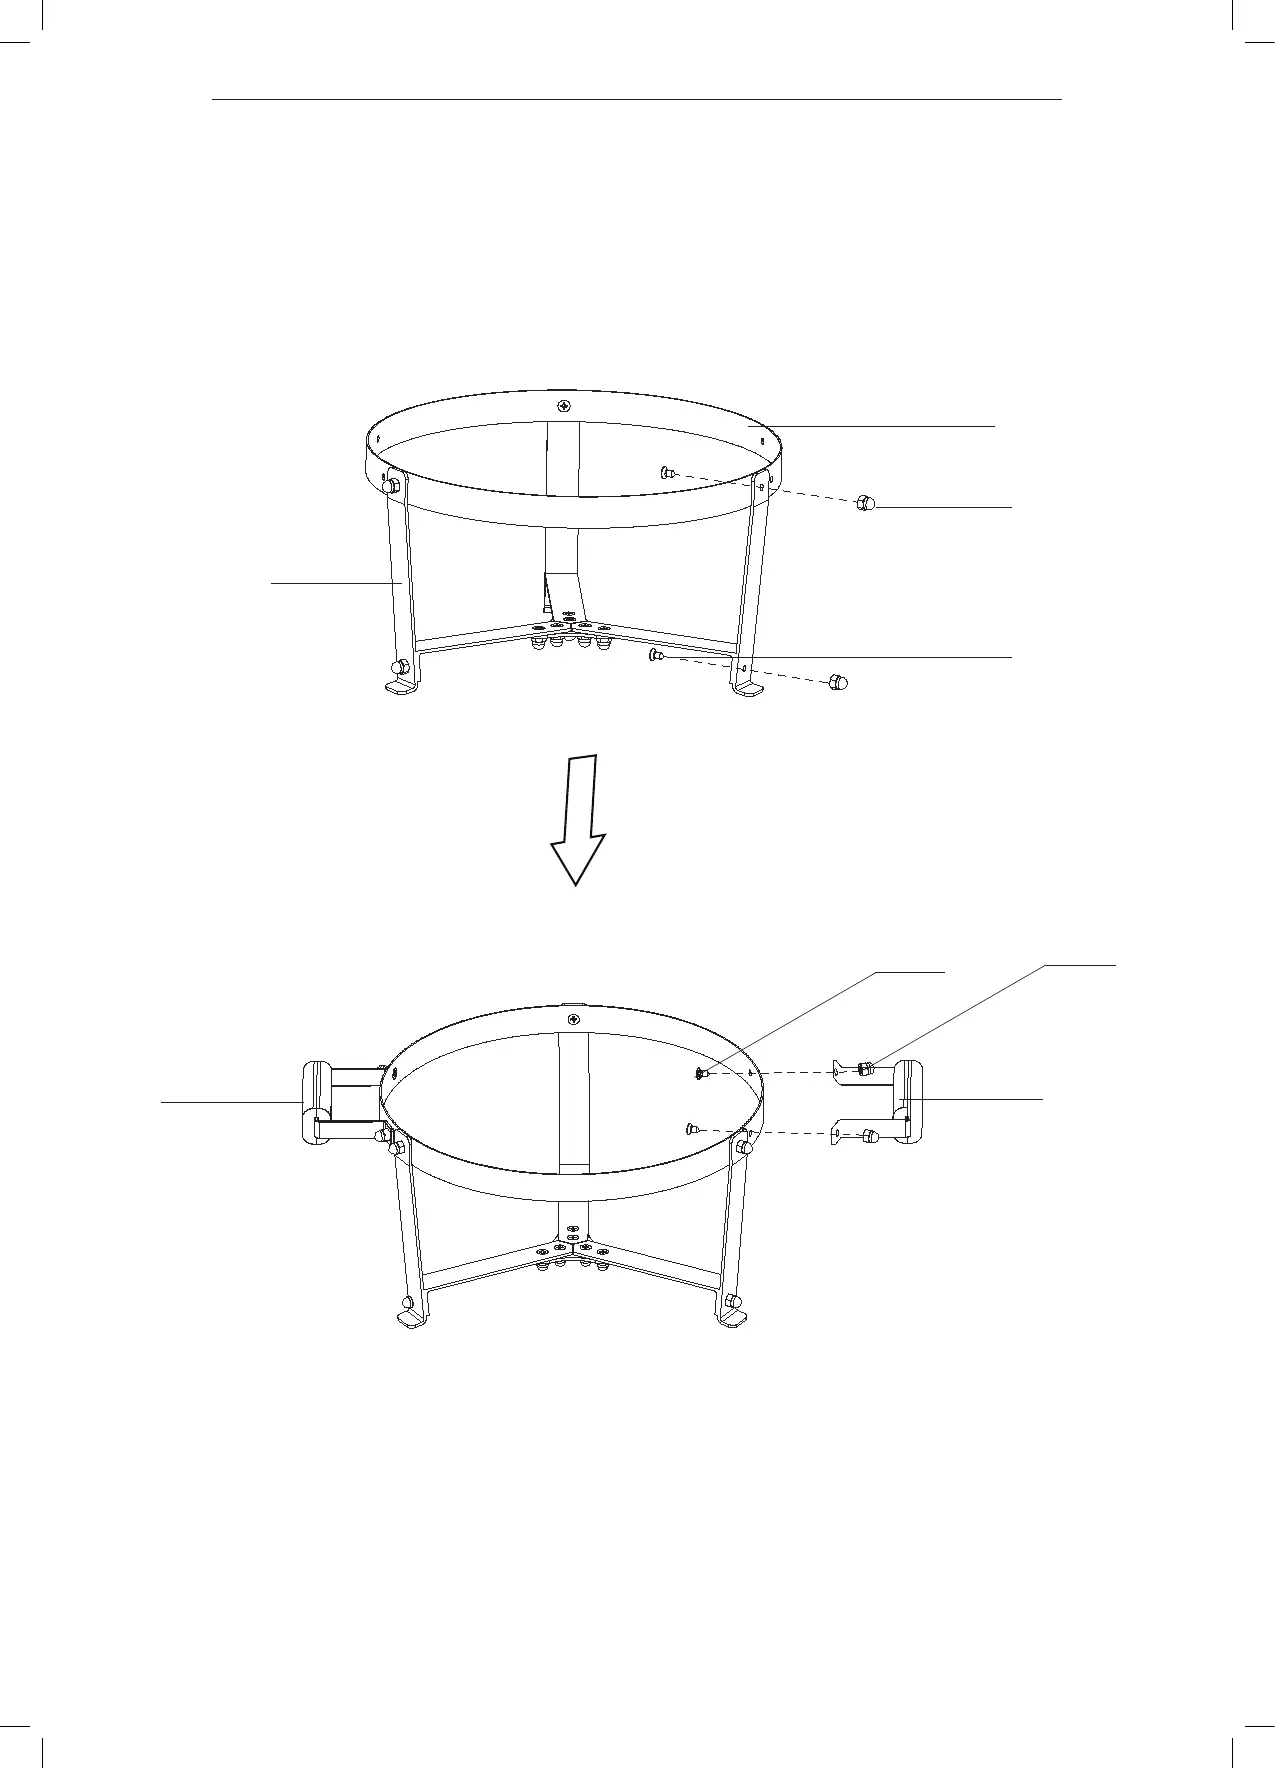
SCHRITT 3 - Bestätigen Sie die Griffe (5) jetzt. vormontierte Schrauben und Hutmuttern am Ring (1).
SCHRITT 4 - Stellen Sie den Kamado Grill auf die Basis mit dem unteren Luftloch an der Vorderseite des Chassis. Zum
Beispiel kann das Loch ohne Probleme geöffnet und geschlossen werden.
STEP 2-
STEP 3 - To attach the 2x handle (5) to the lid of the brace ring(1).start by aligning the bolt holes of the handle to
STEP 4 - Place the Kamado Grill on the cart with the bottom vent facing to the front of the cart allowing the vent
to open and close without any interruption.
Assemblyinstructions
The 3x bracket(2) to brace ring(1) using the 3x screws(A) with the 3x dome-headed nuts(B).
B.
A.
1.
2.
A.
B.
5.
Then using the 3x screws(A) with the 3x dome-headed nuts(B) for step 1.
pre-installed bolts on the lid. Secure the handle (5) with the 2x pre-attached dome headed nuts.
5.