7
Conecte el cable negativo entre el terminal negativo (–) de la fuente de energía y el conector de 4.
tornillo negativo negro (–) en el Inversor. Coloque la arandela entre el conector del cable y el
conector de tornillo. Apriete seguramente el conector de tornillo.
Conecte un cable de calibre No. 8 AWG (Calibre de Cable Americano) o un cable aislado más 5.
grueso en el Inversor y en un punto de tierra limpio del vehículo. Esto disminuirá el posible ruido
de interferencia eléctrico al usar la televisión o la radio.
AVISO
No conecte el cable de tierra al terminal negativo (–) de la fuente de energía. Sólo
conecte este cable a un punto de tierra limpio en el vehículo.
ADVERTENCIA
PELIGRO DE FUEGO
Verifi que que todas las conexiones están seguras. Una conexión fl oja podrá causarle daños
al Inversor y/o crear una chispa.
Verifi que que el cable positivo (+) esté conectado entre el terminal positivo (+) de la fuente 6.
de energía y el conector de tornillo positivo (+) en el Inversor. También, verifi que que el cable
negativo (–) esté conectado entre el terminal negativo (–) de la fuente de energía y el conector
de tornillo negativo negro (–) en el Inversor.
AVISO
Si los cables no están correctamente conectados, el Inversor de Energía se dañará.
Instale el fusible en el porta fusible y encienda el disyuntor.7.
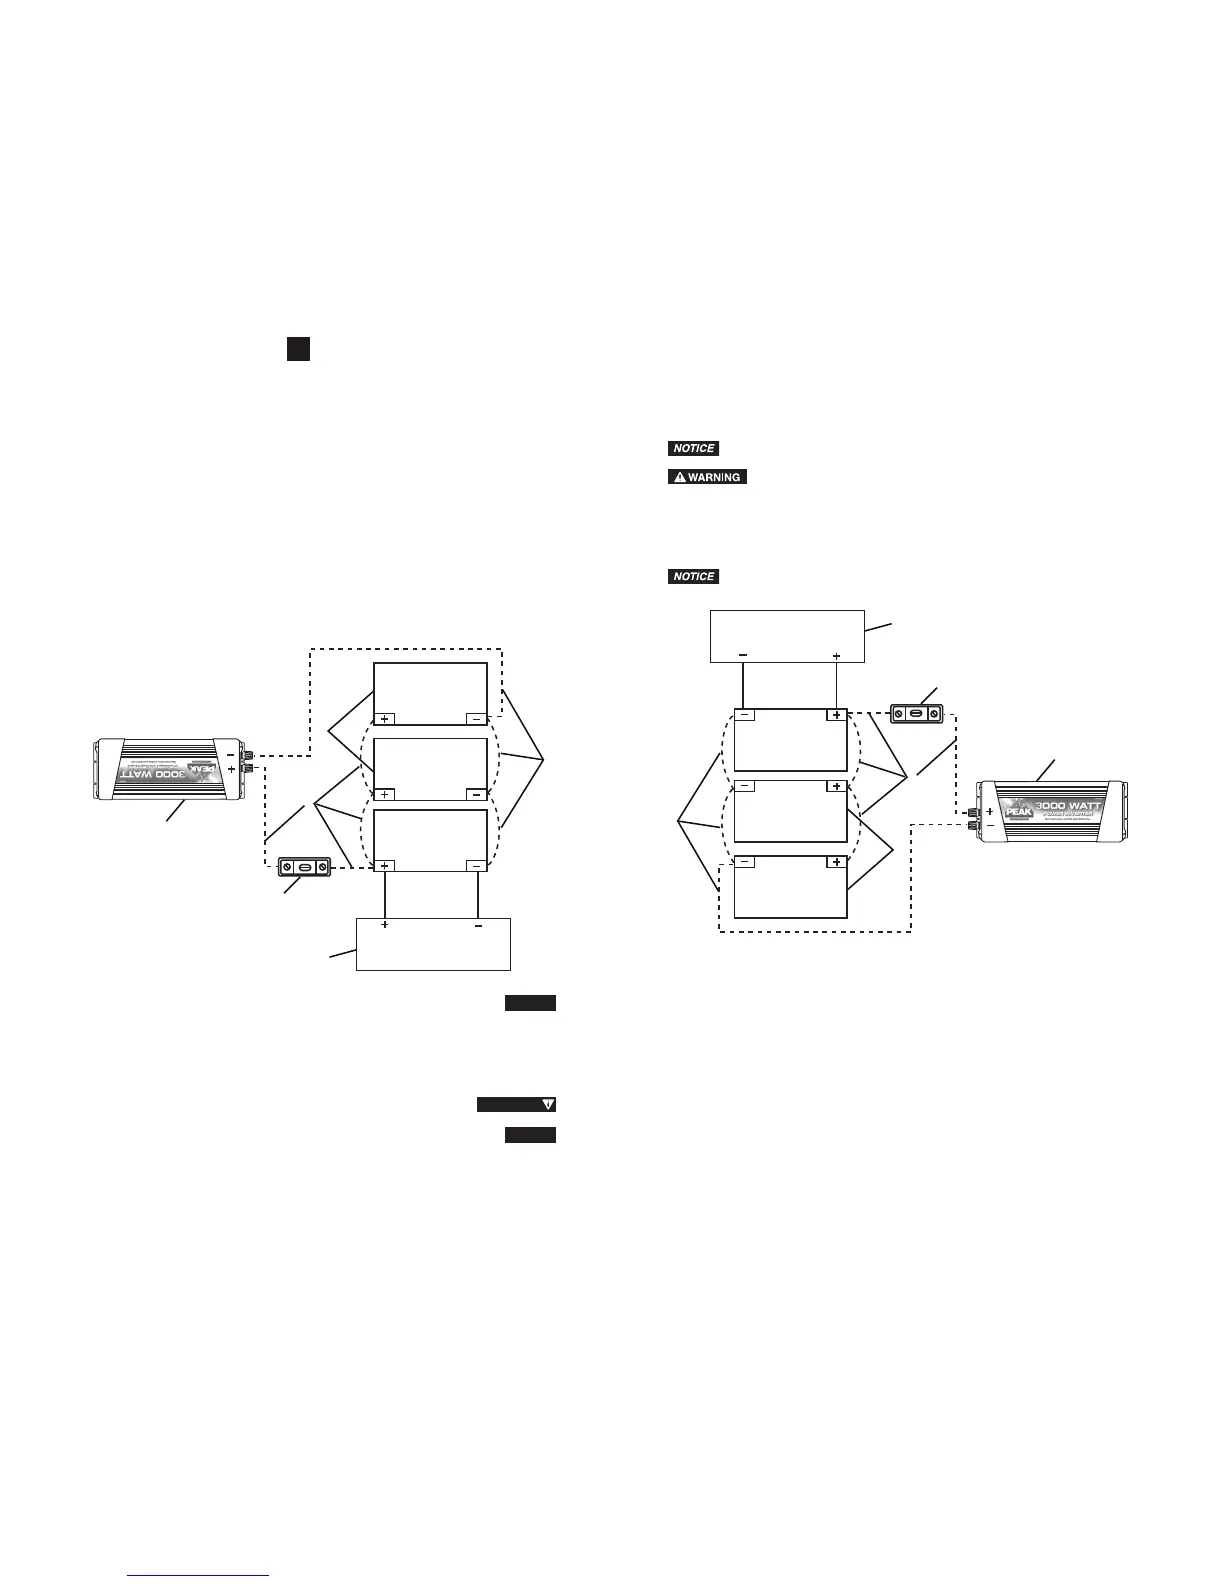
Leyenda
Fuente de Carga de las Baterías1.
Baterías de 12 voltios2.
Fusible de 500 amperios ANL3.
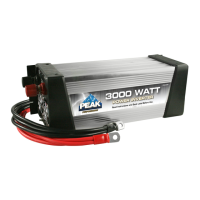
Inversor de Energía4.
Cable Negativo (–) (consulte las ESPECIFICACIONES para obtener los requisitos de cable)5.
Cable Positivo (+) (consulte las ESPECIFICACIONES para obtener los requisitos de cable)6.
Baterías Adicionales Conectadas en Circuito Paralelo7.
Conexión de una Carga al Inversor de Energía
Sólo conecte los electrodomésticos al Inversor de Energía después de que el Inversor haya sido
conectado apropiadamente a la fuente de energía.
Oprima el interruptor de ON/OFF a la posición ON. El indicador de energía LED verde prenderá 1.
de manera continua, indicando que la unidad está funcionando.
Enchufe el(los) electrodoméstico(s) o aparato(s) en el(los) receptáculo(s) de 120 voltios CA.2.
Prenda el(los) electrodoméstico(s) o aparato(s) separadamente. Si suena una alarma o si se 3.
prenden las luces de falla LED rojas durante un tiempo prolongado, el voltaje de la fuente de
energía es muy bajo o la corriente que el(los) aparato(s) está(n) demandando es demasiado
alta.
1
3
4
2
5
6
2
2
7
7
Connect the negative cable between the negative (-) terminal of the power source and the black 4.
negative (-) screw connector on the Inverter. Position the washer between the cable connector
and the screw connector. Tighten the screw connector securely.
Connect a #8 AWG or larger insulated wire between the chassis grounding connector on 5.
the Inverter and a clean electrical grounding point on the vehicle. This will minimize possible
electrical noise interference when using TVs or radios.
Do not connect the grounding wire to the negative (-) terminal of the power source.
Only connect this wire to a clean grounding point on the vehicle.
FIRE HAZARD
Verify that all connections are secured. A loose connection may cause damage to the Inverter
and/or create a spark.
Verify that the positive (+) cable is connected between the positive (+) terminal of the power 6.
source and the red positive (+) screw connector on the Inverter. Also, verify that the negative (-)
cable is connected between the negative (-) terminal of the power source and the black
negative (-) screw connector on the Inverter.
If the cables are not connected correctly, the Power Inverter will be damaged.
Install the fuse in the fuse holder or turn on the circuit breaker.7.
1
3
4
2
5
6
2
2
7
Legend
Battery Charging Source1.
12-volt Batteries2.
500-amp ANL Fuse3.
Power Inverter4.
Negative (-) Cable (see SPECIFICATIONS for cable requirements)5.
Positive (+) Cable (see SPECIFICATIONS for cable requirements)6.
Additional Batteries Connected in Parallel Circuit7.
Connecting a Load to the Power Inverter
Only connect appliances to the Power Inverter after the Inverter is properly connected to the power
source.
Press the ON/OFF switch to the ON position. The green LED power indicator will light 1.
continuously, indicating that the unit is functioning.
Plug the appliance(s) or device(s) into the 120-volt AC receptacle(s).2.
Switch on the appliance(s) or device(s) separately. If an audible alarm sounds or the red LED 3.
fault indicator lights up for a protracted period of time, then either the power source voltage is too
low or the current being drawn by the device(s) is too great.
 Loading...