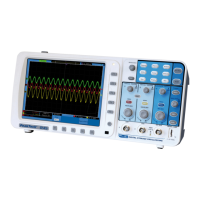
MENU ▲: Choose the upper item on the menu list.
MENU: Show / Hide the menu
MENU ▼: Choose the lower item on the menu list.
OPTION: the key for DSO setting and combines with four arrow keys. Then to set main time base, trigger
horizontal position and trigger vertical position. Furthermore adjust cursor 1 (V1 or T1) and cursor 2 (V2 or
T2) position during cursor measurement.
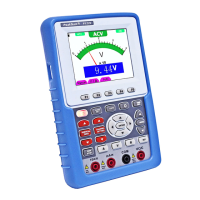
A: Selects DMM current measurement
V: Selects DMM voltage measurement
R: Selects DMM impedance, diode, continuity and capacitance measurement
SET: convert AC and DC during measure current or voltage in Multi-meter; convert resistance, diode, on-off
and capacitance measure during resistance measuring.
5.Using the Scope
5.1. About this Chapter
This chapter provides a step-by-step introduction to the scope functions. The introduction does not cover all of the
capabilities of the scope functions but gives basic examples to show how to use the menus and perform basic operations.
5.2. Power-Up the Oscilloscope
Connect oscilloscope to AC power via a power adapter as shown in Figure 1. (The oscilloscope may still work with built-in
Li-ion battery even without AC power supply)
Turn the oscilloscope on by pressing down the power on/off key .
The instrument then performs self checking after power on. A greeting window and a sentence “press any key to
continue……” will display on the screen when the system finishes self checking.
The users can press any key to enter the measuring function.
The oscilloscope is powered up in its last setup configuration.
-71-