Do you have a question about the peerless-AV SA771P and is the answer not in the manual?
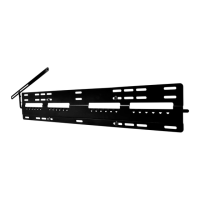
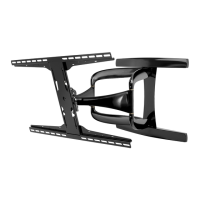
Loosen screws to slide wall arm assembly left or right for horizontal adjustment on wall plate rails.
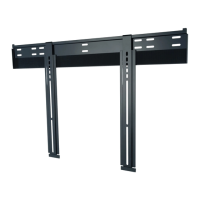
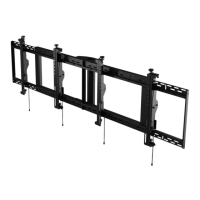
Find studs, mark lines, position wall plate, drill pilot holes, and attach wall arm using wood screws.
Mark screen center, position plate, drill holes for anchors, insert anchors, and secure wall arm.
Install M10 x 15mm screws into the adapter plate's bottom holes and tighten with allen wrench.
Adjust display orientation by removing/reinstalling screws and rotation block.
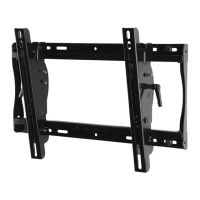
Adjust mount tension knob to set desired tilt angle for screen balance.
Rotate screen for roll adjustment and tighten M5 x 10mm screws to level.
Adjust M8 x 40mm screw to achieve vertical height adjustment of the screen mount.
Route power and signal cables through the arm and secure with cable covers.
Snap the wall plate covers onto the top and bottom of the wall plate rails.
Use allen wrench to adjust tension screws clockwise or counter-clockwise for desired arm tension.
| Brand | Peerless-AV |
|---|---|
| Model | SA771P |
| Product Type | TV Mount |
| Material | Steel |
| Color | Black |
| Tilt | Yes |
| VESA Compatibility | 200x200 mm to 600x400 mm |
| Tilt Range | 5 degrees up, 15 degrees down |