OPERATING INSTRUCTIONS
MAINTENANCE INSTRUCTIONS
The fan requires little maintenance. Do not try to fix it by yourself. Refer it to
qualified service personnel if service is needed.
1. Before cleaning and assembling, do not plug the pins into the socket.
2. To ensure adequate air circulation to the motor. Keep vents at the rear of the
motor housing from dust and fluff. A vacuum cleaner can not be used to
clean these vents before unplugging. Do not disassemble the fan to remove fluff.
3. Please wipe the exterior parts with a soft cloth soaked in a mild detergent. Do
not use any abrasive detergent or solvents to avoid scratching the surface.
Do not use any of the following as a cleaner: gasoline. thinner, bending.
4. Do not allow water or any other liqu
id into the motor housing or interior parts.
CLEANING
1. Be sure to unplug from the electrical supply source before cleaning.
2. Plastic parts should be cleaned with mild soap and damp cloth or sponge.
Thoroughly remove soap film with clean water.
3. Be sure not to make water or other liquid enter the inside of motor.
4. Dry all parts completely before reassembling and reconnecting to power
source.
3
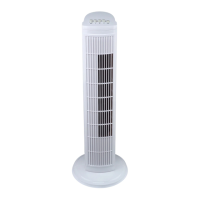
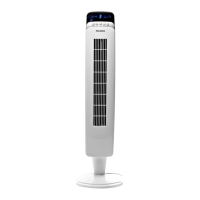
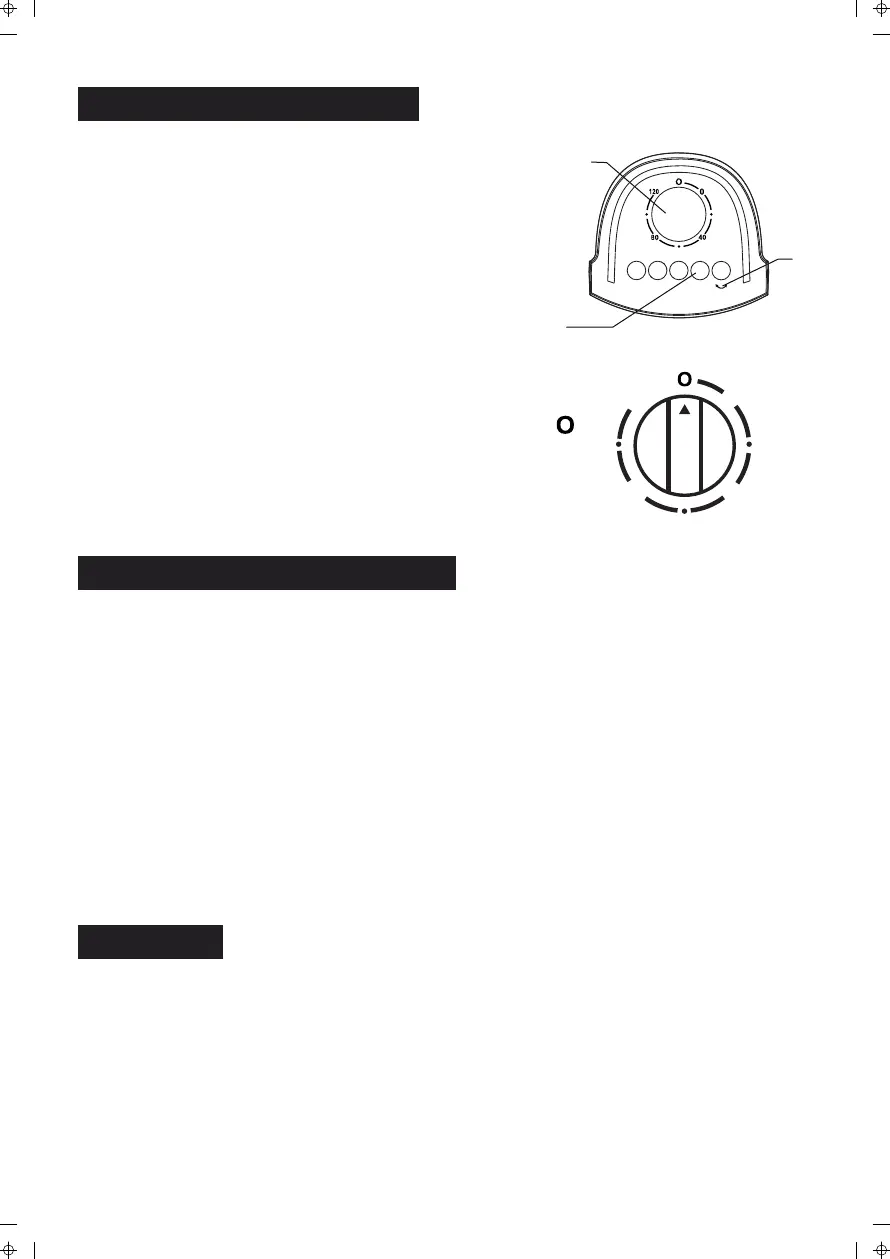
a. Control parts description:
1. Timer 2. Body oscillating switch 3. Speed switch
b. Instructions:
1. Plug the power cord into a wall outlet.
2. The air flow can be angled to the left or right by
pushing the button of body oscillating switch (2).
If you want to stop angling, push it again.
3. Automatic 120-minute timer. Turn the knob of the
timer (1) to the desired time you want, the fan will stop
when the time is over. The longest timer setting is 120
minutes. If the timer is not in use, set the timer to " ".
4. Speed is controlled by pushing speed switch (3) on the
top of the body. There are 4 positions:
0--Off; 1--Low; 2--Medium; 3--High
1
2
3
0 1 2 3
0
4080
120
 Loading...