Item Description
7. Be alert for hot engine parts to avoid accidental burns.
8.
Avoid accidental fire and/or explosion. Do not smoke near engine fuel and battery components.
9. Use the Brake Bleeder only with brake fluid. Do not attempt to use the tool to siphon any
other liquids. Damage to the internal chamber and seal, or future brake fluid contamination
may result.
10. Follow guidelines for proper brake fluid disposal. Used brake fluid should be removed
from the vehicle and properly recycled. Many states require recycling. Contact your local
solid/liquid waste authority for information on recycling. Do not reuse old brake fluid.
11.
Brake fluid is corrosive. Avoid spilling it on the vehicle’s exterior, it can harm automobile paint.
12. WARNING! People with pacemakers should consult their physician(s) before using this
product on a running engine. Electromagnetic fields in close proximity to a heart pacemaker
could cause interference or failure of the pacemaker. In addition, people with pacemakers
should adhere to the following: Caution is necessary when near the coil, spark plug cables,
or distributor of a running engine. The engine should always be off if adjustments are to be
made to the distributor.
13. WARNING! The brass components of this product contain lead, a chemical known to the
State of California to cause cancer and birth defects (or other reproductive harm). (Califor-
nia Health & Safety Code § 25249, et seq.)
14. WARNING! The warnings, precautions, and instructions discussed in this manual cannot
cover all possible conditions and situations that may occur. The operator must understand
that common sense and caution are factors which can not be built into this product, but
must be supplied by the operator.
To Bleed Brakes:
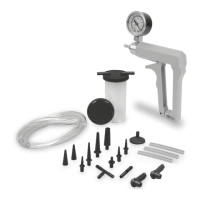
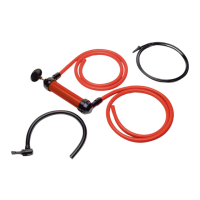
1. Attach a 3” Vacuum Hose (5) to the bottom of the Jar Lid (2a). (See Figure A.)
2.
Attach a 23” Vacuum Hose (4) to the top of the Jar Lid (2a) marked “TO PUMP”. Then, attach
the other end of the 23” Vacuum Hose to the Brake Bleeder/Vacuum Pump (1). (See Figure A.)
3. Firmly attach the Jar Lid (2a) to the Reservoir Jar (3). (See Figure A.)
4. Remove the cap from the vehicle’s master cylinder, and check to make sure the master
cylinder is full of brake fluid. If not full, fill the master cylinder to capacity with clean, new
brake fluid. (Use only the kind of brake fluid recommended by the vehicle manufacturer.)
5. NOTE: Determine the proper brake bleeding sequence from your vehicle service manual
(i.e., right rear wheel, left rear wheel, right front wheel, left front wheel).
6. Connect the 23” Vacuum Hose (4) to the remaining port on the Jar Lid (2a) and then con-
nect the other end to the Brake Bleeder Screw Adapter (9).
7.Squeeze the Handle of the Brake Bleeder/Vacuum Pump (1) 10 to 15 times to create a
SPECIFIC SAFETY RULES CONT.
ASSEMBLY AND OPERATING INSTRUCTIONS
vacuum in its Reservoir Jar (3). NOTE: The Gauge on the Brake Bleeder/Vacuum Pump
should read at approximately 10 in/Hg. Do not exceed 20 in/Hg. A greater vacuum could
damage the vehicle’s brake system.
8. Once the Brake Bleeder/Vacuum Pump (1) is ready, check for leaks at the Reservoir Jar
(3) and at all Vacuum Hose (4, 5) connections. If there is a leak, release the vacuum in the
Brake Bleeder/Vacuum Pump with the Vacuum Release Control.
CAUTION! NEVER remove the Jar Lid (2a) before releasing the vacuum in the Brake
Bleeder/Vacuum Pump.
Correct the leak, and once again create a vacuum in the Brake Bleeder/Vacuum Pump to
approximately 10 in/Hg.
9. Open the vehicle’s wheel caliper bleeder screw, and allow brake fluid to flow into the Res-
ervoir Jar (3). Then, retighten the wheel caliper bleeder screw after bleeding.
10. Release the vacuum in the Brake Bleeder/Vacuum Pump (1) with the Vacuum Re lease
Control. Then, disconnect the Brake Bleeder Screw Adapter (9) from the vehicle’s wheel
caliper bleeder screw.
11. NOTE: When necessary, release the vacuum in the tool and empty its Reservoir Jar (3)
of old brake fluid. To assist in transport, this set includes a leak-resistant Lid (2b) without
hose connections. After the brake fluid is disposed of properly, resume bleeding the brakes.
12.
Remove the cap from the vehicle’s master cylinder, and refill the master cylinder back to
its normal capacity with clean, new brake fluid. Then, replace the cap on the master cylinder.
13. Proceed to the vehicle’s next wheel, and perform the same steps as above.
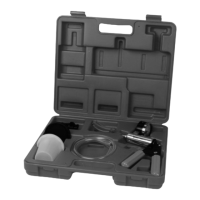
14. When finished using the Brake Bleeder/Vacuum Pump, clean the tool and store it in a
clean, dry location out of reach of children.
15. WARNING! Before driving the vehicle, carefully check for leaks and test for proper
brake operation.
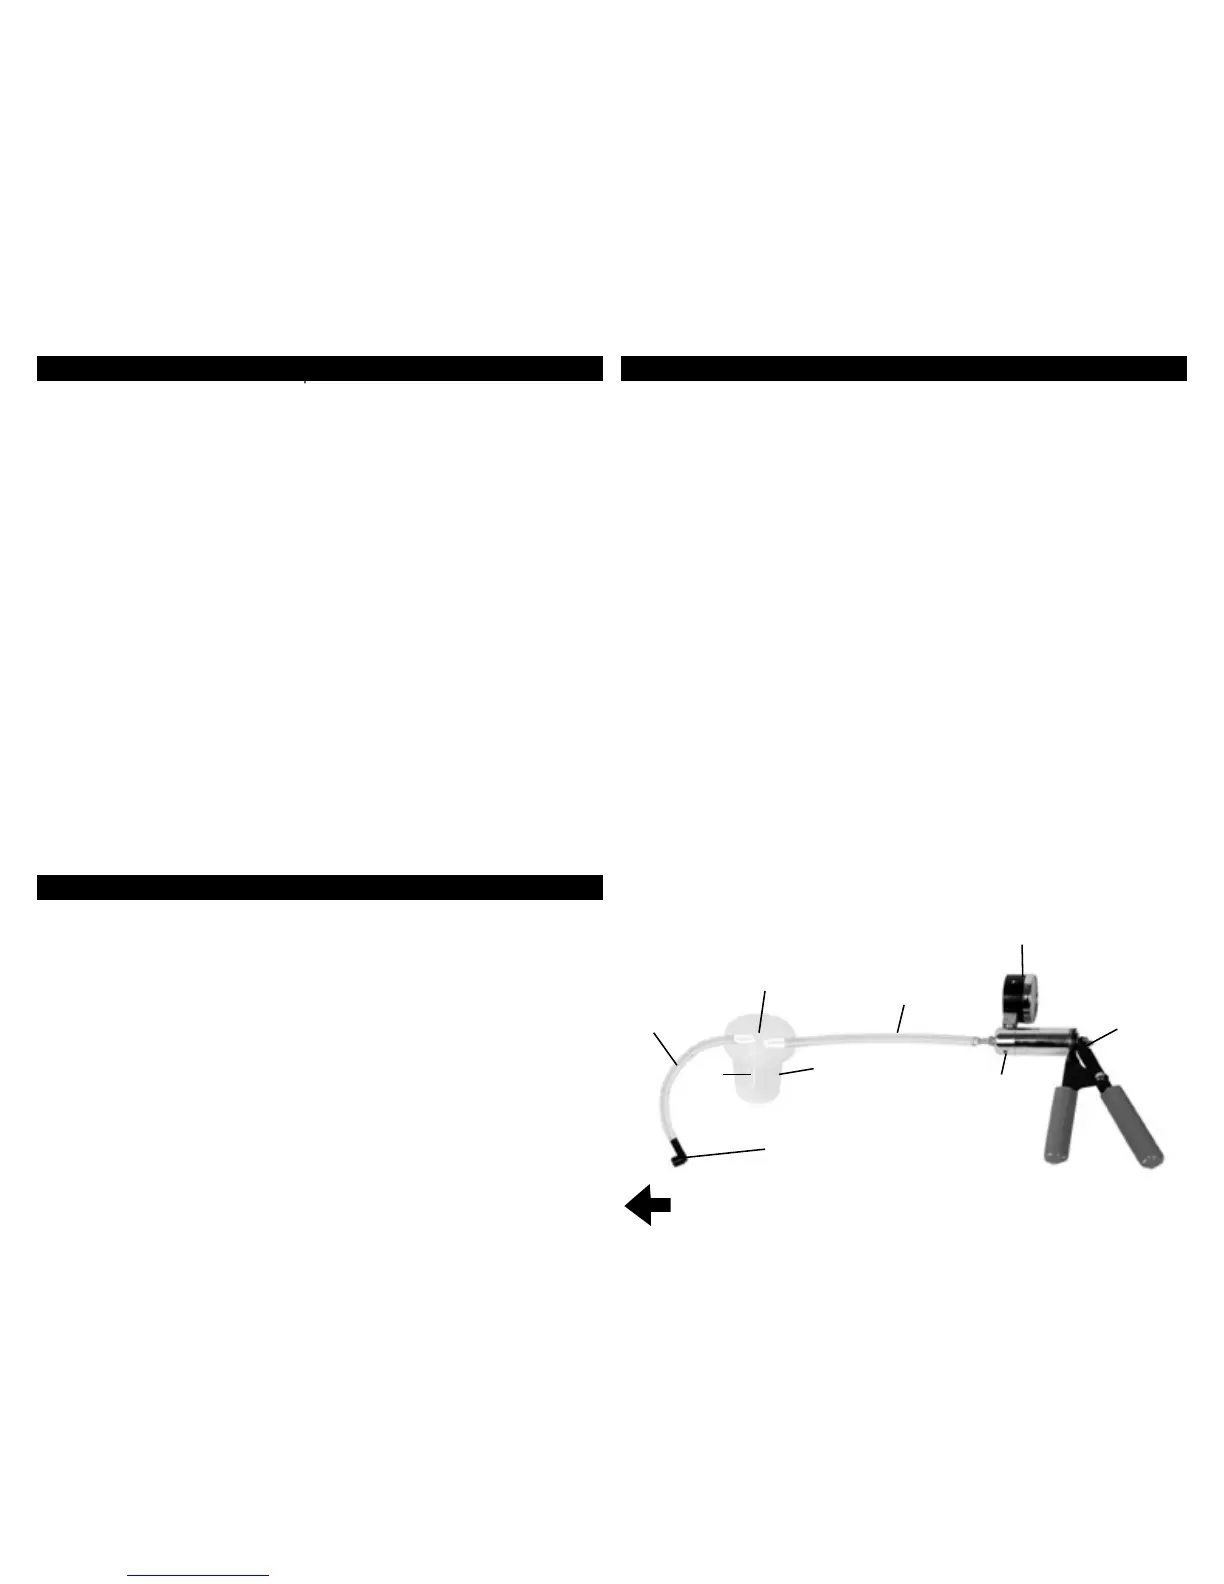
Figure A
23"
VACUUM
HOSE (4)
JAR LID (2a)
23" VACUUM
HOSE (4)
GAUGE
VACUUM
RELEASE
CONTROL
BRAKE BLEEDER
SCREW ADAPTER (9)
3"
VACUUM
HOSE
(5)
TO WHEEL CALIPER
BLEEDER SCREW
VACUUM PUMP/
BRAKE BLEEDER
(1)
RESERVOIR
JAR (3)
ASSEMBLY AND OPERATING INSTRUCTIONS CONT.
4
5
 Loading...