OPERATION
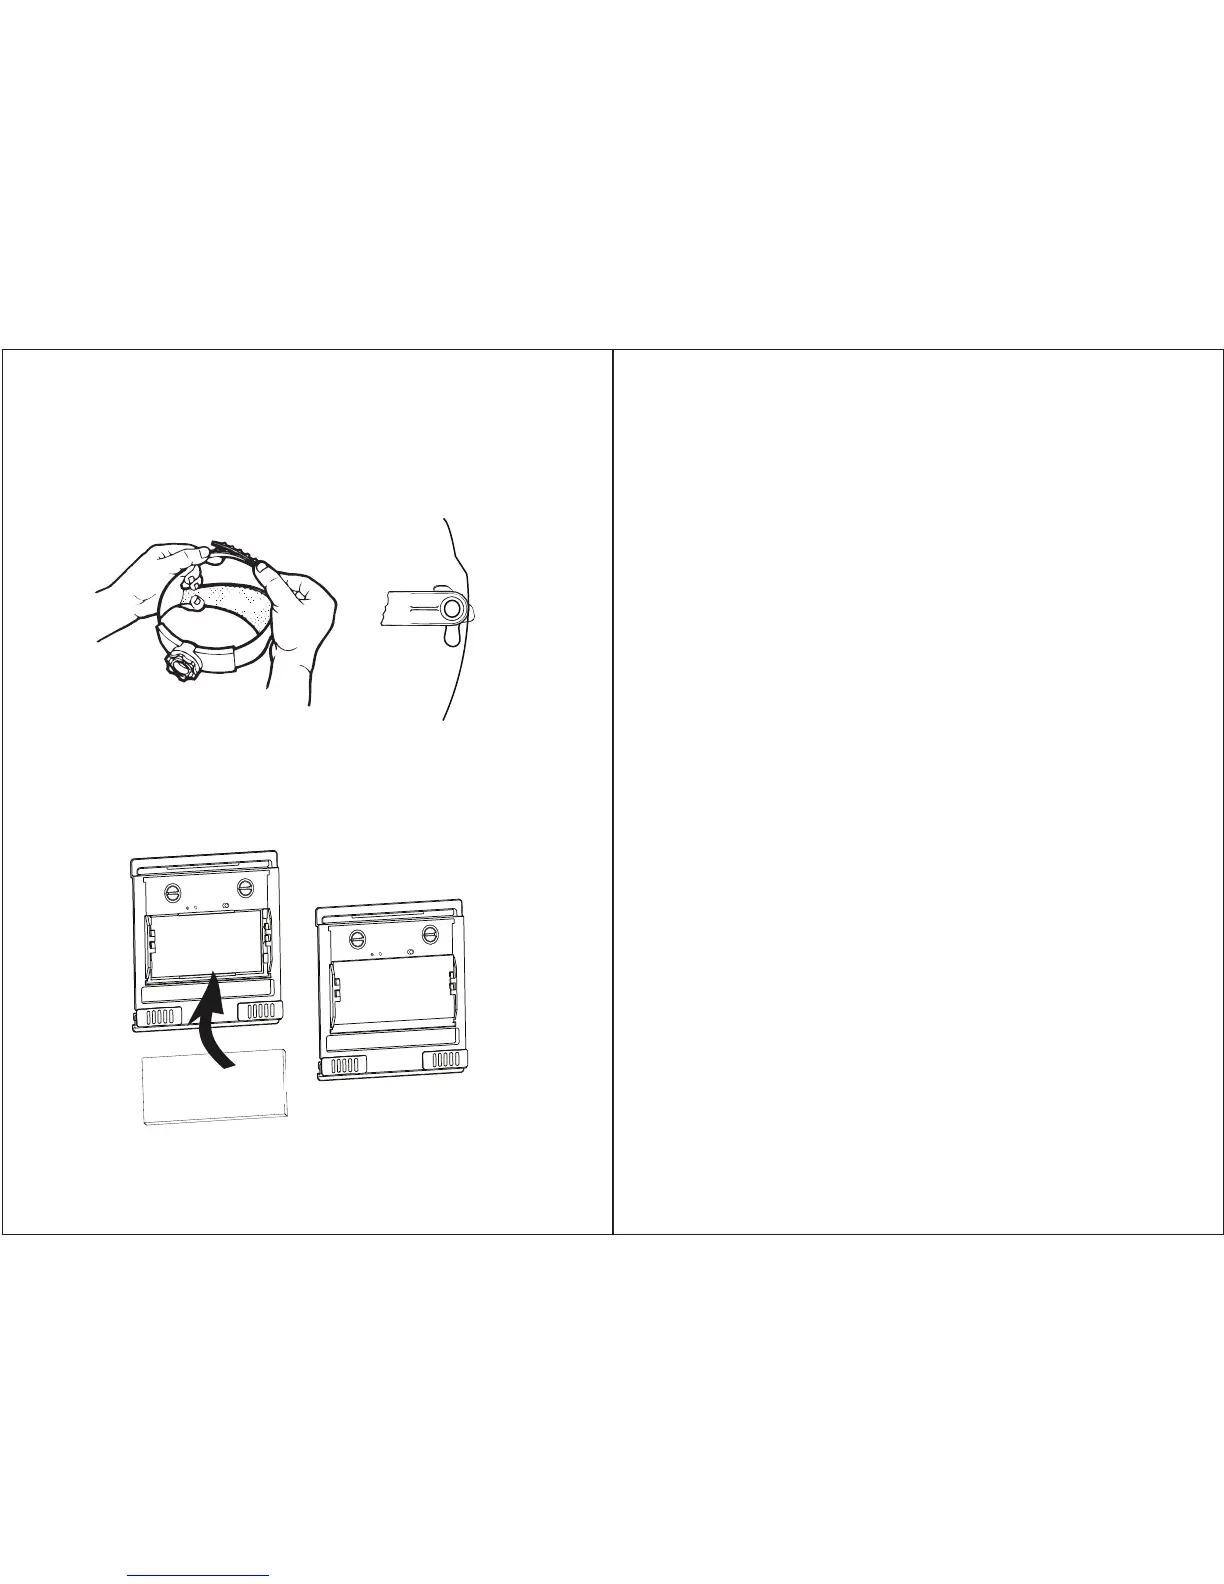
Adjust headband per personal preference. (Fig.13)
Adjust helmet/headband stop to get desired viewing angle. (Fig.14)
(Fig.13) (Fig.14)
-11 -
Insert the magnifying lens. (Fig.15)
(Fig.15)
-12-
INSPECTION
1. Carefully inspect your Auto-Darkening Welding Filter regularly.
2. Cracked, pitted or scratched filter glass or cover lenses reduce vision will
seriously impair protection.
3. These should be replaced immediately to avoid injury to the eyes.
4. Inspect the helmet frequently and replace worn or damaged parts.
CLEANING
Clean the helmet with mild soap and lukewarm water.
Clean the welding filter with a clean lint-free tissue or cloth,
Do not immerse in water.
Do not use solvents.
TROUBLE SHOOTING
IRREGULAR DARKENING
Headband has been set unevenly so the distance between the eyes and the
lens is different from the left to the right side.
AUTO DARKENING FILTER DOES NOT DARKEN OR FLICKERS
Make sure that the adjustment knob is on "5-9/9-13" position.
Front cover lens is soiled, clean or replace it.
Photo sensors are dirty, wipe them clean with a soft lint-free cloth.
Welding current is too low, select the slow position on the filter and ensure the
view of the weld is unobstructed.
Change to high sensitivity.
Replace the two Lithium Batteries.
POOR VISION
Ensure the cover lens and the filter cartridge is clean.
Ensure the shade number is correct and adjust accordingly.
Ensure ambient light is not too low.
 Loading...