-3-
-4-
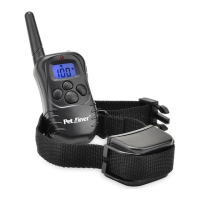
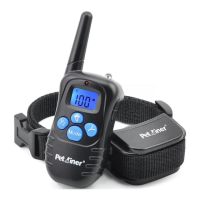
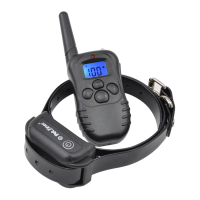
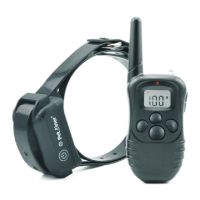
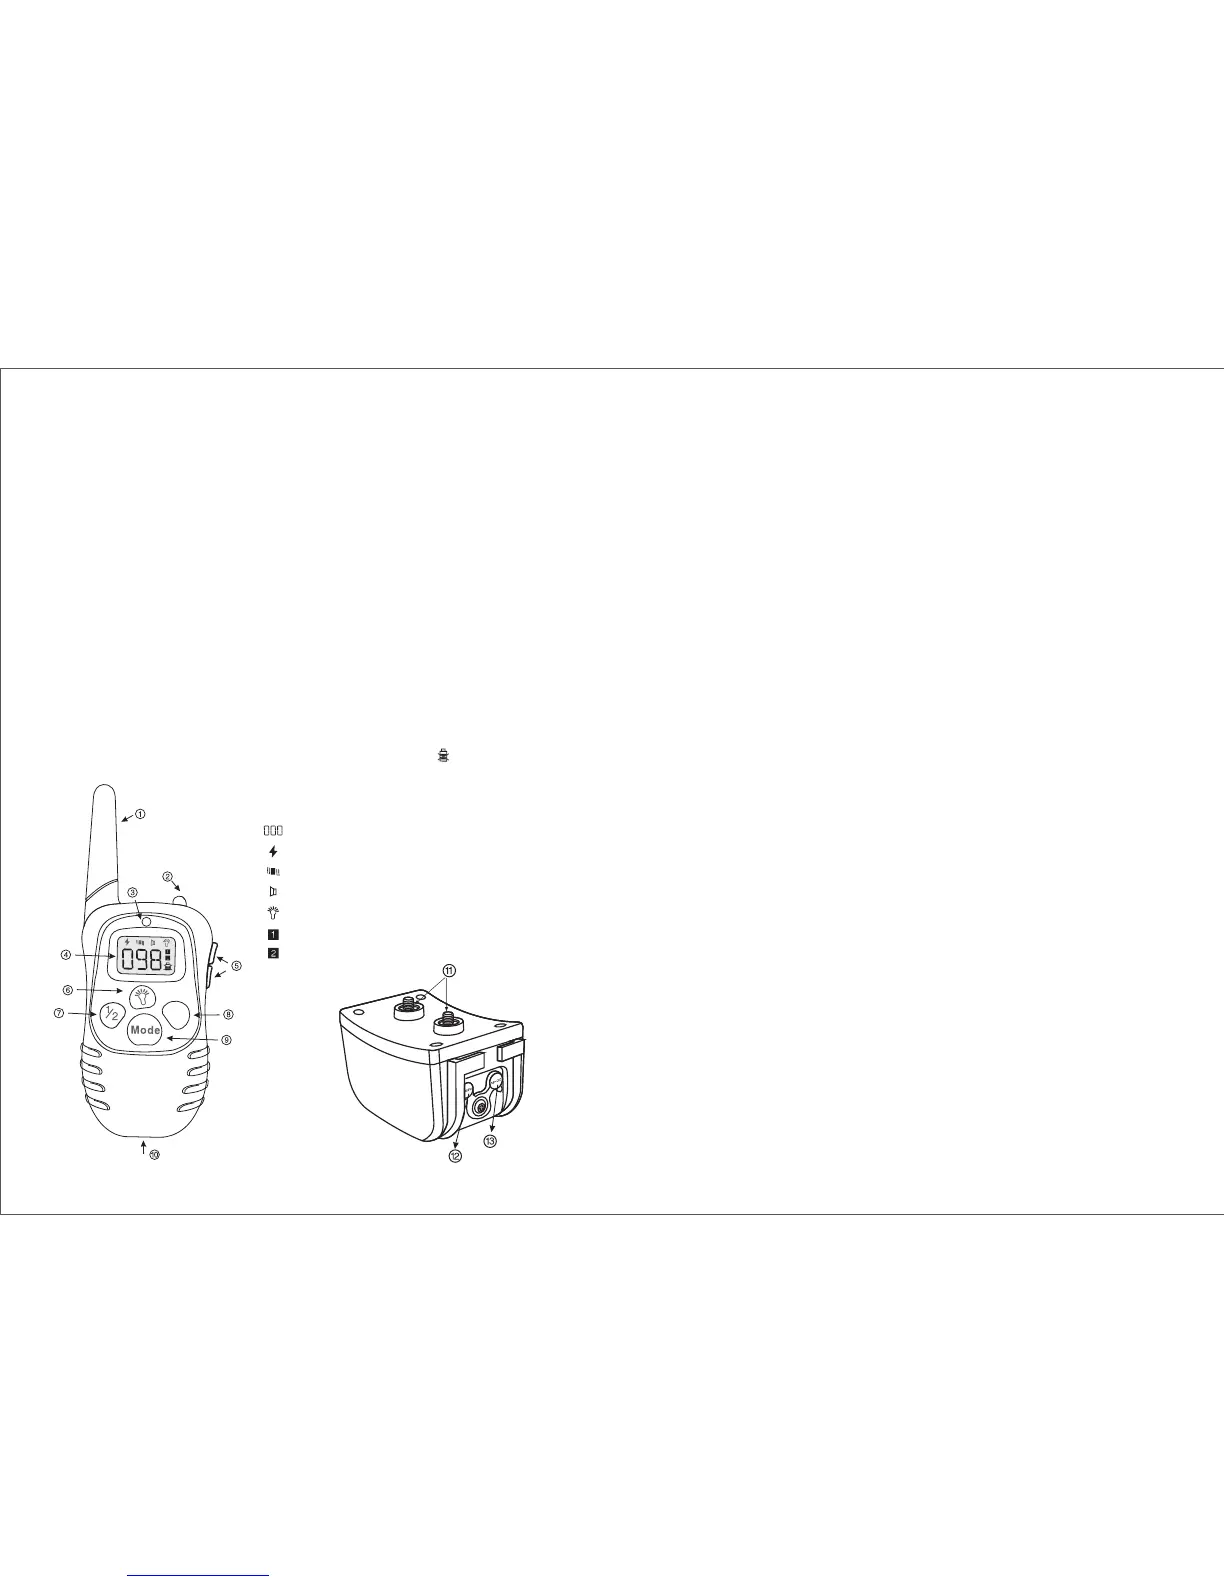
DESCRIPTION
Y
5. U
6. Led light button
7. Channel button
8. Launch button
9. Mode button
10. Charging hole
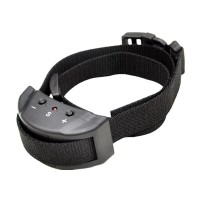
11.Contact Points
12. Reset hole
13. DV-5V hole
p/down button
Channel 1
Channel 2
Low Battery Indicator
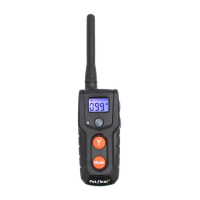
1. Antenna
2. Led light
3. LED Indicator
4. LCD Screen
Light mode
Static shock mode
1-100 level
Vibration mode
Beep mode
1. Antenna: Transmits the signal from the Transmitter to the Receiver Collar.
2.Led light: This light will be on when pressing the LED light button.
3. LED Indicator: This light will flash when the “Y” button is pressed. The light
will be activate when charging as well.
4. LCD Screen:
Static mode: With this mode selected, pressing the “Y” button will cause the
receiver to emit shock.
Vibration mode: With this mode selected, pressing the “Y” button will cause
the receiver to vibrate.
Beep Mode: With this mode selected, pressing the “Y” button will cause the
receiver to emit a beep sound.
MAIN FEATURES
1. Easy-to-use, ergonomic transmitter.
2. Rainproof receiver for bad weather training.
3. Rechargeable collar and transmitter.
4. Rheostat dial that allows for gradual increases in stimulation intensity between
0-100 levels.
5. 4 training modes: static shock/ vibration/ beep/ light.
6. The Petrainer Element 998DR has a 300 meters range.
7. Two-dog model allows the trainer to control two dogs from one transmitter.
8. Power saving design with automatic standby and memory function.
9. No external antenna on the collar receiver.
10. Small receiver/collar is ideal for small and medium size dogs.
Light Mode: With this mode selected, pressing the “Y” button will cause the
LED light on the receiver to flash red once every second. Its primary purpose
is to help locate your pet.
Channel 1: Indicates the selection of the first collar receiver.
Channel 2: Indicates the selection of the second collar receiver.
5. Up/down buttons: Selects intensity level for Vibration and Static Shock.
6. Led light button: When pressing the LED light button, the LED light on the
transmitter will be on.
7. Channel button: Pressing this button will swap between the first and second
collar receiver.
8. Laun ch button : Sen ds the signal from transmitter to receiver, resulting i n
stimu lation, b eep or light, depending on y our mode selection .
9 . Mo de b u t t on : P r e ss t h i s b u t t o n t o s w i t c h b e t w e e n m o d e s . Th er e a re 4
m od es : S ta t i c , Vib ra t i o n , B e e p a n d li gh t m o d e.
10. Chargin g ho l e : I n s e rt charging conne c t o r i n t o charging hole to charg e
the Transmitter.
11. Contact Points: Helps deliver safe static correction.
12. Reset hole: Turn the receiver on/off.
13. DV-5V hole: Insert charging connector into DV-5V hole to charge the receiver.

 Loading...