Do you have a question about the Petdwell on2 PETS and is the answer not in the manual?
Lists components C1 (Perch), C2 (Side Wall Large), C3 (Side Wall Medium), C4 (Front Wall Small).
Details the assembly of the perch with side and front walls.
Lists components B1 (Screw 1/2"), B2 (Screw 3/4"), B4 (L-Brackets).
Details attaching L-brackets to the perch using screws.
Lists components B3 (Bolts 1-3/4"), C1 (Perch), B4 (L-Brackets).
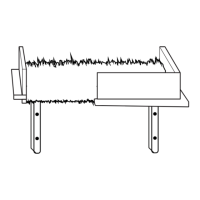
Details mounting perches to wall studs using bolts and L-brackets.
Advises on self-risk, two-person installation, wall stud mounting, and weight limits.
This manual describes the assembly and installation of a "2 Canopies Box" product from On2Pets, by Petdwell. This product appears to be a wall-mounted perch system designed for cats, featuring two individual perches that can be installed on a wall.
The On2Pets "2 Canopies Box" provides two wall-mounted perches for felines. Each perch offers a resting or viewing platform for cats, designed to be securely attached to wall studs. The perches include side walls and a front wall, creating an enclosed space, and are likely intended to provide a comfortable and elevated spot for cats to relax.
| Brand | Petdwell |
|---|---|
| Model | on2 PETS |
| Category | Pet Care Product |
| Language | English |