4
General Operation
1. Filling the bowl with Food
1) Please refer to the section, Disassembly, to open the LOCK-(F) and remove LID-
(A) and SLIDE COVER-(B)
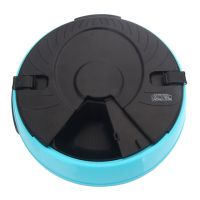
2) Pour pet food into the feeder bowl food trays (1,2,3,4,5,6) being careful not to
over-fill each food tray past the bowls edge as this can cause the feeder to
malfunction
3) Please refer to the section, Assembly, to replace the SLIDE COVER-(B)
and LID-(A) and LOCK-(F)
4) Make sure the SLIDE COVER-(B) locks into position with the LID-(A)
2. Setting the current Clock Time
1) During Clock display mode, press and hold the SET key for (2 seconds) to enter
Clock SET mode. The hour number will now be blinking
2) Press the MODE key to increase the hour. Once you have set the hour, press the
SET key to confirm the hour. The minute number will now blink
3) To change the minute number, press the MODE key to increase the minute. Once
you have set the minute, press the SET key to confirm the minute. Both the hour
and minute numbers will now blink
4) If needed, Press the MODE key to change between 12 or 24 hour time
5) Press the SET key to confirm your current time setting and the numbers will stop
blinking
3. Setting the Feeding Time
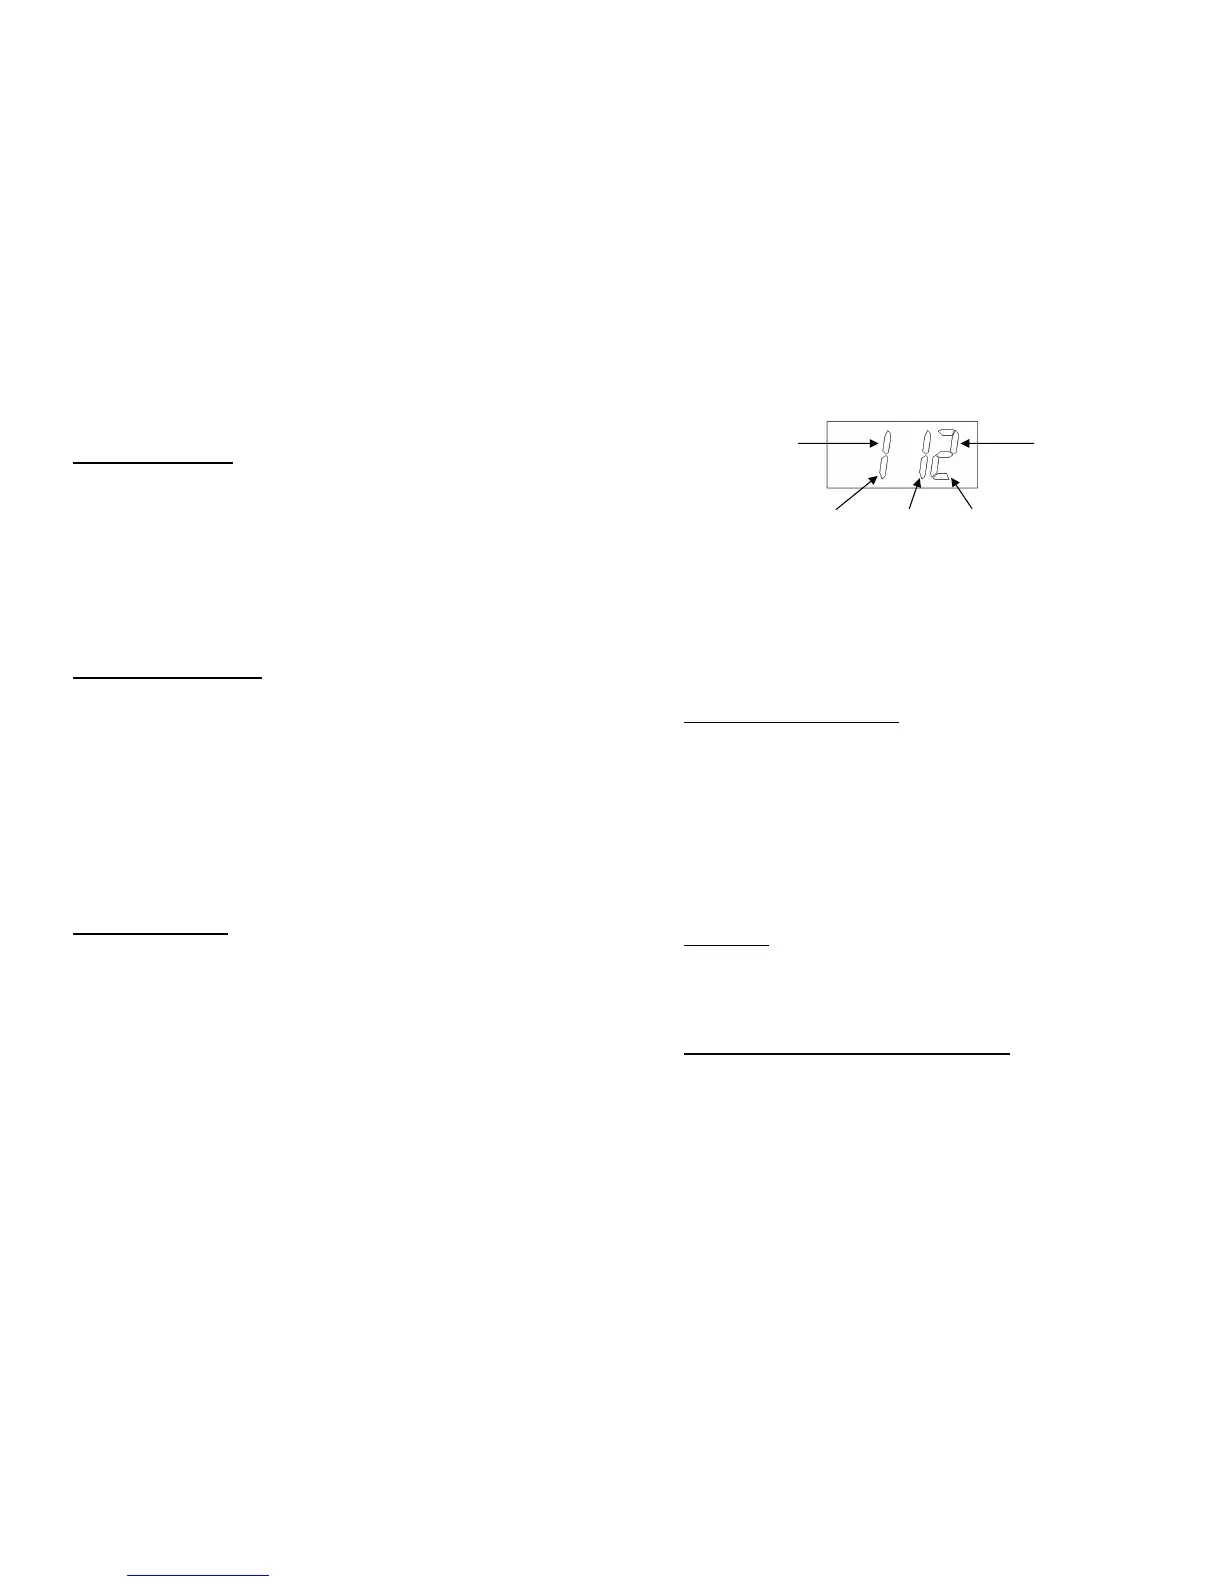
1) After setting the clock time, press the MODE key one time. (1 1) will show on the
display. This is feeding time display mode.
2) Now press and hold the SET key for (2 seconds) to enter Feeding-time SET
mode. Feeding will start from the first feeding number & time. The 1
st
digit
represents the feeding number (Food Tray 1)
3) The hour digits will now blink (2
nd
and 3
rd
digit). Press the MODE key to increase
the time, then press the SET key to confirm the time you set
4) After confirming the 1
st
feeding time, the next feeding number & time will show on
the display. (1
st
digit will change to the next feeding number, e.g. Food Tray 2 or 3
or 4 or 5 or 6 and back to 1) To change the feeding time, repeat step-3
5) Repeat step-3 until all 6 feeding times for each Food Tray are set. The display will
change back to clock display mode when all 6 feedings have been set
5
Program examples:
1) Feed once a day at 13:00hr (24hrs display) and feed for 6 days
Feed time 1 & 2 & 3 & 4 & 5 & 6 all equal = 13:00hr
2) Feed twice a day at 10:00 and 20:00 and feed for three days
Feed time 1 = 10, feed time 2 = 20, feed time 3 = 10, feed time 4 = 20, feed
time 5 = 10 and the last time 6 = 20
3) Feed three times a day at 6:00am, 12:00 and 18:00 (6:00pm)
Feed time 1 = 06, feed time 2 = 12, feed time 3 = 18 and so on…
4. Review and Start the feeding timer
1) Use the MODE key to cycle through clock and your set feeding times (clock - then
1
st
feed time→2
nd
feed time→3
rd
feed time→ 4
th
feed time→ 5
th
feed time→ 6
th
feed time→ back to clock…) The sequence will repeat
2) Press the START NOW key to start the feeding timer immediately. The bowl will
rotate to the pre-set starting position (Tray 6) and your recorded message will play
once. The BELL icon will now be On
3) Or press the START TOMORROW key and the feeding timer will start at 0:00-
Midnight. The bowl will rotate to the pre-set starting position (Tray 6) and your
recorded message will play once. The BELL and Zz icon will now be On
5. Display Mode
(to check Feeding times you have set)
Use the MODE key to cycle through clock and feeding settings (clock - then 1
st
feed time→2
nd
feed time→3
rd
feed time→ 4
th
feed time→ 5
th
feed time→ 6
th
feed
time→ back to clock…) The sequence will repeat
6. Record Voice Message to be played at feeding times
1) Press and hold the REC key, the Red LED will turn on
2) Speak your message. You have up to 6 seconds
3) When finished release the REC key
1
s


 To Previous Page
 Loading...