3:9
Sewing
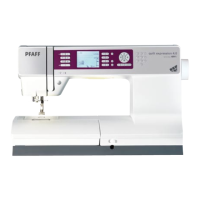
Manual buttonhole
1. To sew a manual buttonhole in four steps, use
presser foot 5M.
7KHÀUVWFROXPQZLOOEHVHZQEDFNZDUGV
6HZWKHÀUVWFROXPQDVORQJDV\RXZDQWWKH
buttonhole. The graphic display will show the
part and sewing direction of the buttonhole
that is being sewn.
3UHVVWKHUHYHUVHEXWWRQ7KHPDFKLQHVHZV
the bartack and the second column. When the
FROXPQVDUHDOLJQHGSUHVVWKHUHYHUVHEXWWRQ
again to sew the second bartack.
Note: The repeat icon will be highlighted, showing
you that repeat is activated. You can repeat the
buttonhole as many times as you wish by pressing
the foot control.
The machine will stop automatically when the
buttonhole is complete.
3UHVVWKH)EXWWRQWRGHDFWLYDWHUHSHDW
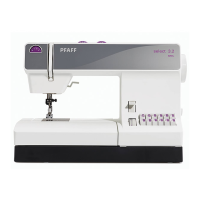
Sew on a button
7RVHZRQDEXWWRQUHPRYHWKHSUHVVHUIRRW
and select the button sewing stitch.
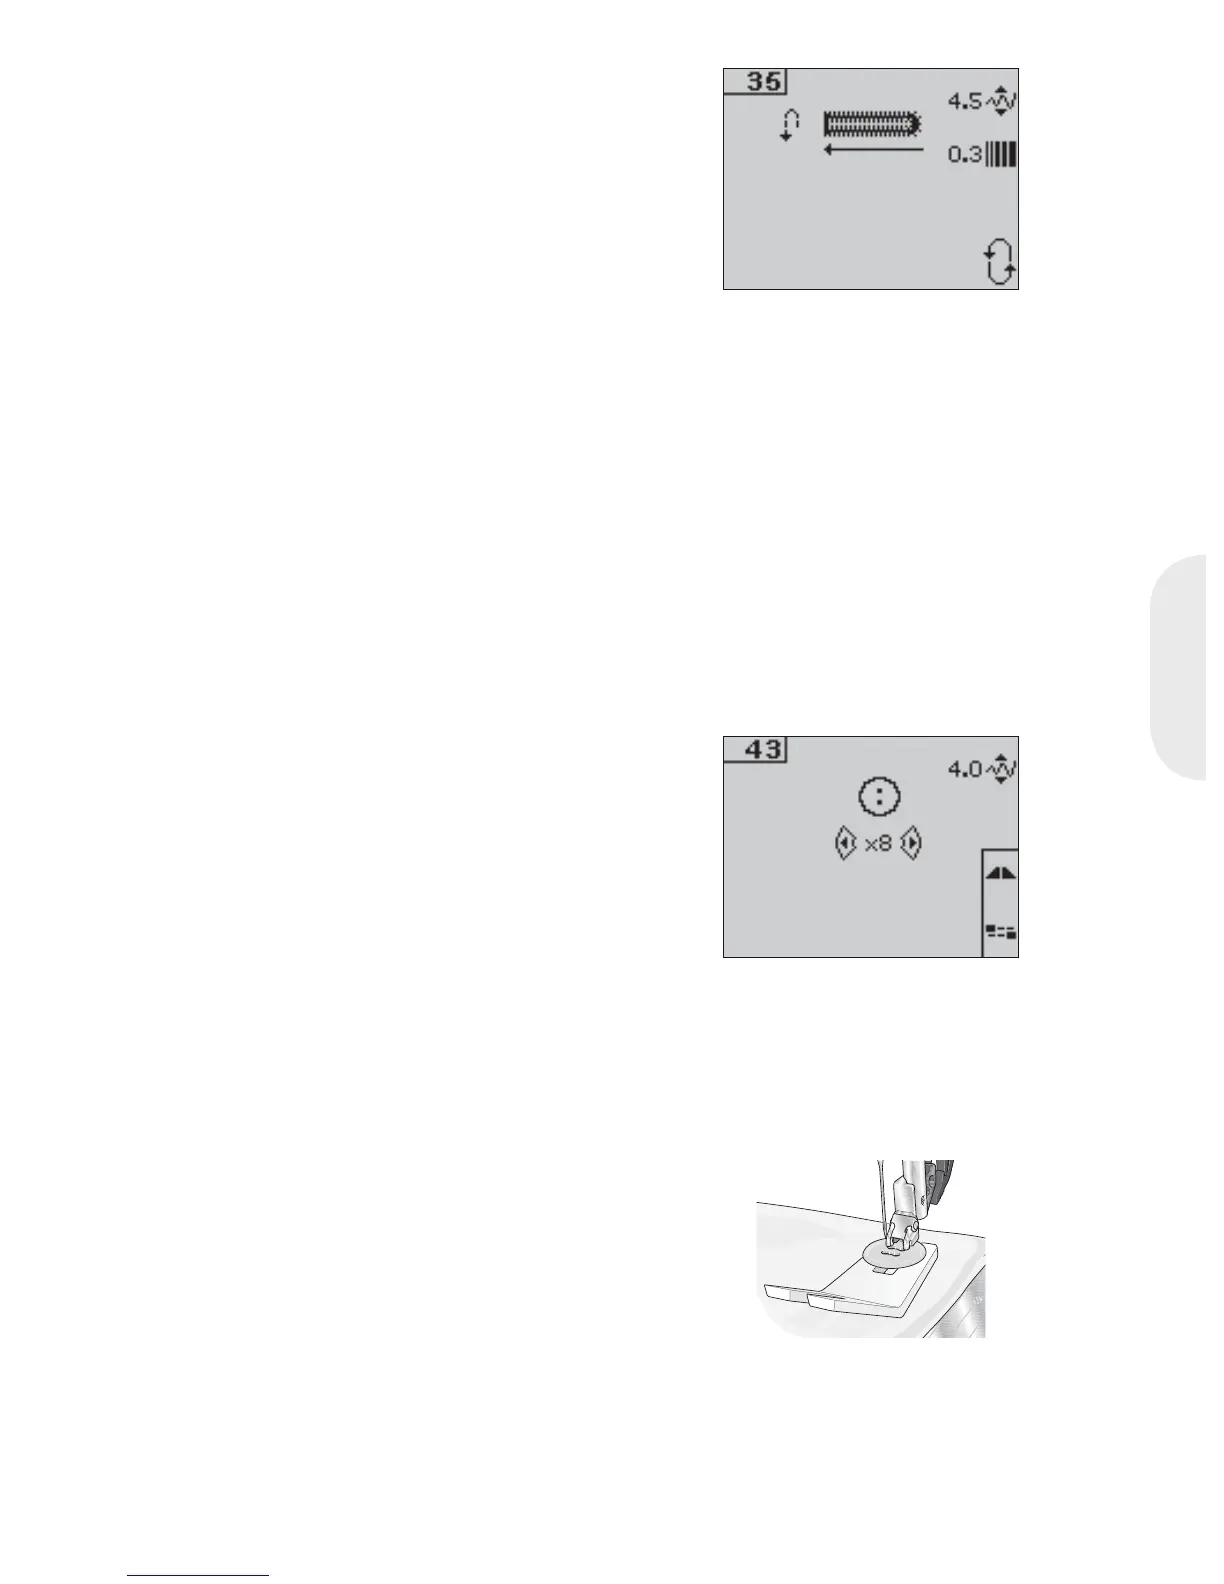
2. Lower the feed dogs.
3. Place the button under the presser foot holder.
Use the mirroring function to make sure the
holes in the button are aligned with the swing
of the needle and the width is appropriate
for the actual button. If necessary change the
width between holes with the width + and -
buttons.
<RXFDQLQFUHDVHRUGHFUHDVHWKHQXPEHURI
stitches that will fasten the button on the fabric
in steps of two, using the left and right arrow
buttons on the wheel.
6WDUWWRVHZ7KHPDFKLQHZLOOVHZWKH
program for you and then tie-off and stop.
Note: Use the multi-purpose tool to create a thread
shank for your button. You can also use the Sew-on
Button Foot, available as an optional accessory.
 Loading...