3)7*67$1'$5' 86$
$FFHVVRULHV
BBBBBBBBBBBBBBBBBBBBBBBBBBBBBBBB
BBBBBBBBBBBBBBBBBBBBBBBBBBBBBBBB
________________________________________________________________________________________
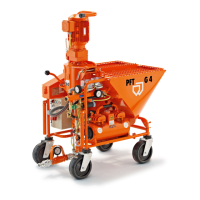
3)7LQMHFWLRQKRRG(SDUWQRIRU6,/20$7HTXLSPHQW
3)7LQMHFWLRQKRRG(ZLWKURXQGPRQRILOWHU
SDUWQRIRU6LORPDW HT XL SP HQW
Remove protection grille from hopper. Then put on the injection hood and lock it by
fitting the cocking levers in the recesses. Establish control cable connection (42 V)
between the control level indicator and the SILOMAT. Connect the conveying hose
from the conveying unit of the SILOMAT equipment to the filter neck of the injection
hood. Close the porthole opening of the injection hood.
:$51,1*
Do not open during pneumatic conveying, and switch of the G 4 Standard before hand
at the main switch and pull out the plug!
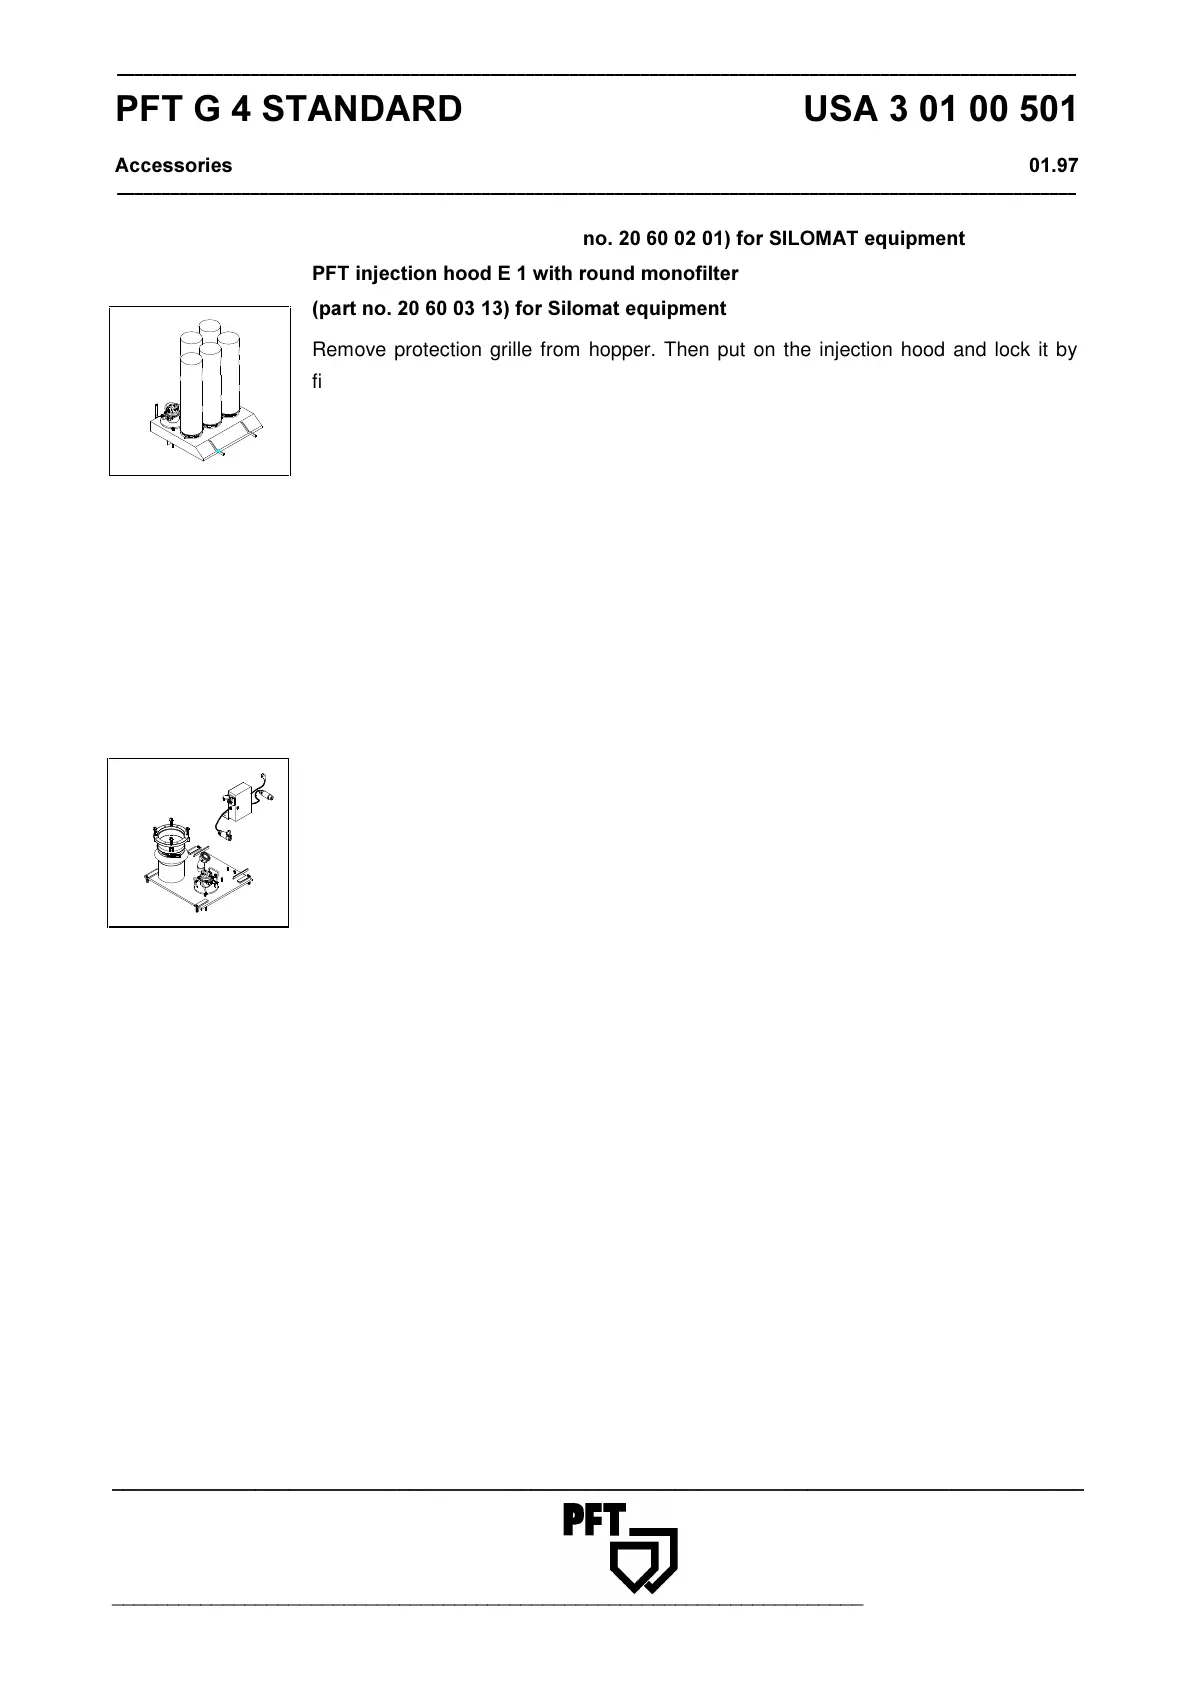
3)7GHOLYHU\KRRGZLWKHOHFWULFDOVDIHW\FDELQHWSDUWQR
This delivery hood is suitable for direct and permanent gravity filling of the PFT mixing
pumps with factory blended dry premixed mortar from PFT building site silos and
containers.
Applications:
Building sites for interior or exterior plastering and floor screed.
Use and function:
First remove the protection grille from the machine.
:$51,1*
When using floor screed material, first remove the dust guard from the hopper. Fit the
delivery hood and establish the electrical connection to the machine (compressor
socket). The compressor can then be connected to the control box of the delivery
hood. The transfer membrane must be fixed to the container outlet.
 Loading...