23
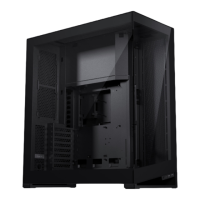
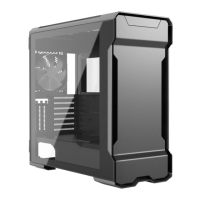
The secondary Front IO location in
the rear is great for a clean look.
PRO TIP
02 REMOVE SCREWS
01 REMOVE BOTTOM FAN BRACKET
03 SLIDE I/O UNIT OUT
04 PUSH OUT COVER
05 SLIDE I/O UNIT IN
06 SECURE I/O UNIT
STEPS TO MOVE I/O TO THE REAR
Unscrew 2x screws located inside the
chassis.
Remove the bottom fan bracket.
Slide the I/O unit forward and remove it.
Push the cover ,located on the rear
bottom, up to remove it.
Pull the cables through the cutout and
slide the I/O unit into the rear position.
Secure the I/O unit in its new position
with 2x screws.
MOVE FRONT I/O TO SECONDARY LOCATION
HD AUDIO
USB 3.0 TYPE-A
USB 3.1
GEN 2 TYPE-C
4.
2.
3.
5.
SCREW 2x
REMOVE
SCREW 2x
INSTALL