Chapter 3: Quick Start Guide
7
Quick Start Guide
3
Prepare Your Computer
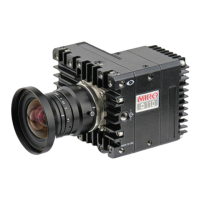
Cable the Camera
Camera controlling computers:
1. Must have either the Microsoft Windows 7, 8.1, or 10
operating system installed.
2. Firewalls must be turned off.
(Contact your IT Group if necessary)
3. Using the ‘Windows Control Panel’ set the IP address
of your computer’s network card to 100.100.100.1
with a 255.255.0.0 subnet mask.
Install the latest version of Phantom Camera Control (PCC)
software from the accompanying CD or USB key.
Connect the 16-28VDC power supply to the camera’s
power connector.
Attach the supplied Ethernet cable (or any Ethernet cable)
between the Phantom camera and the computer.
If an external trigger is being used to trigger the camera,
connect it to the Trigger BNC on the back of the camera.
In the Manager Control Panel double mouse-click on the
Phantom camera to be used from the ‘Cameras’ group
folder.
Click the ‘Live’ tab.
Click ‘Cine Settings’ and define the following parameters
by either the selecting the required value from the pull-
down selection list, or typing the value into the respective
data entry field.
1. Set ‘Resolution’ to the required Width x Height.
2. Choose the required ‘Sample Rate’ and ‘Exposure
Time’.
Install PCC Software
Select Camera for Use
Define Recording
Parameters
 Loading...