Copyright © 2020, Fast ČR, a. s. Revision 03/2022
EN - 11
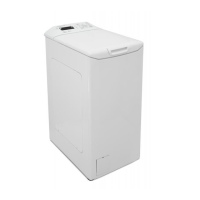
G Installation
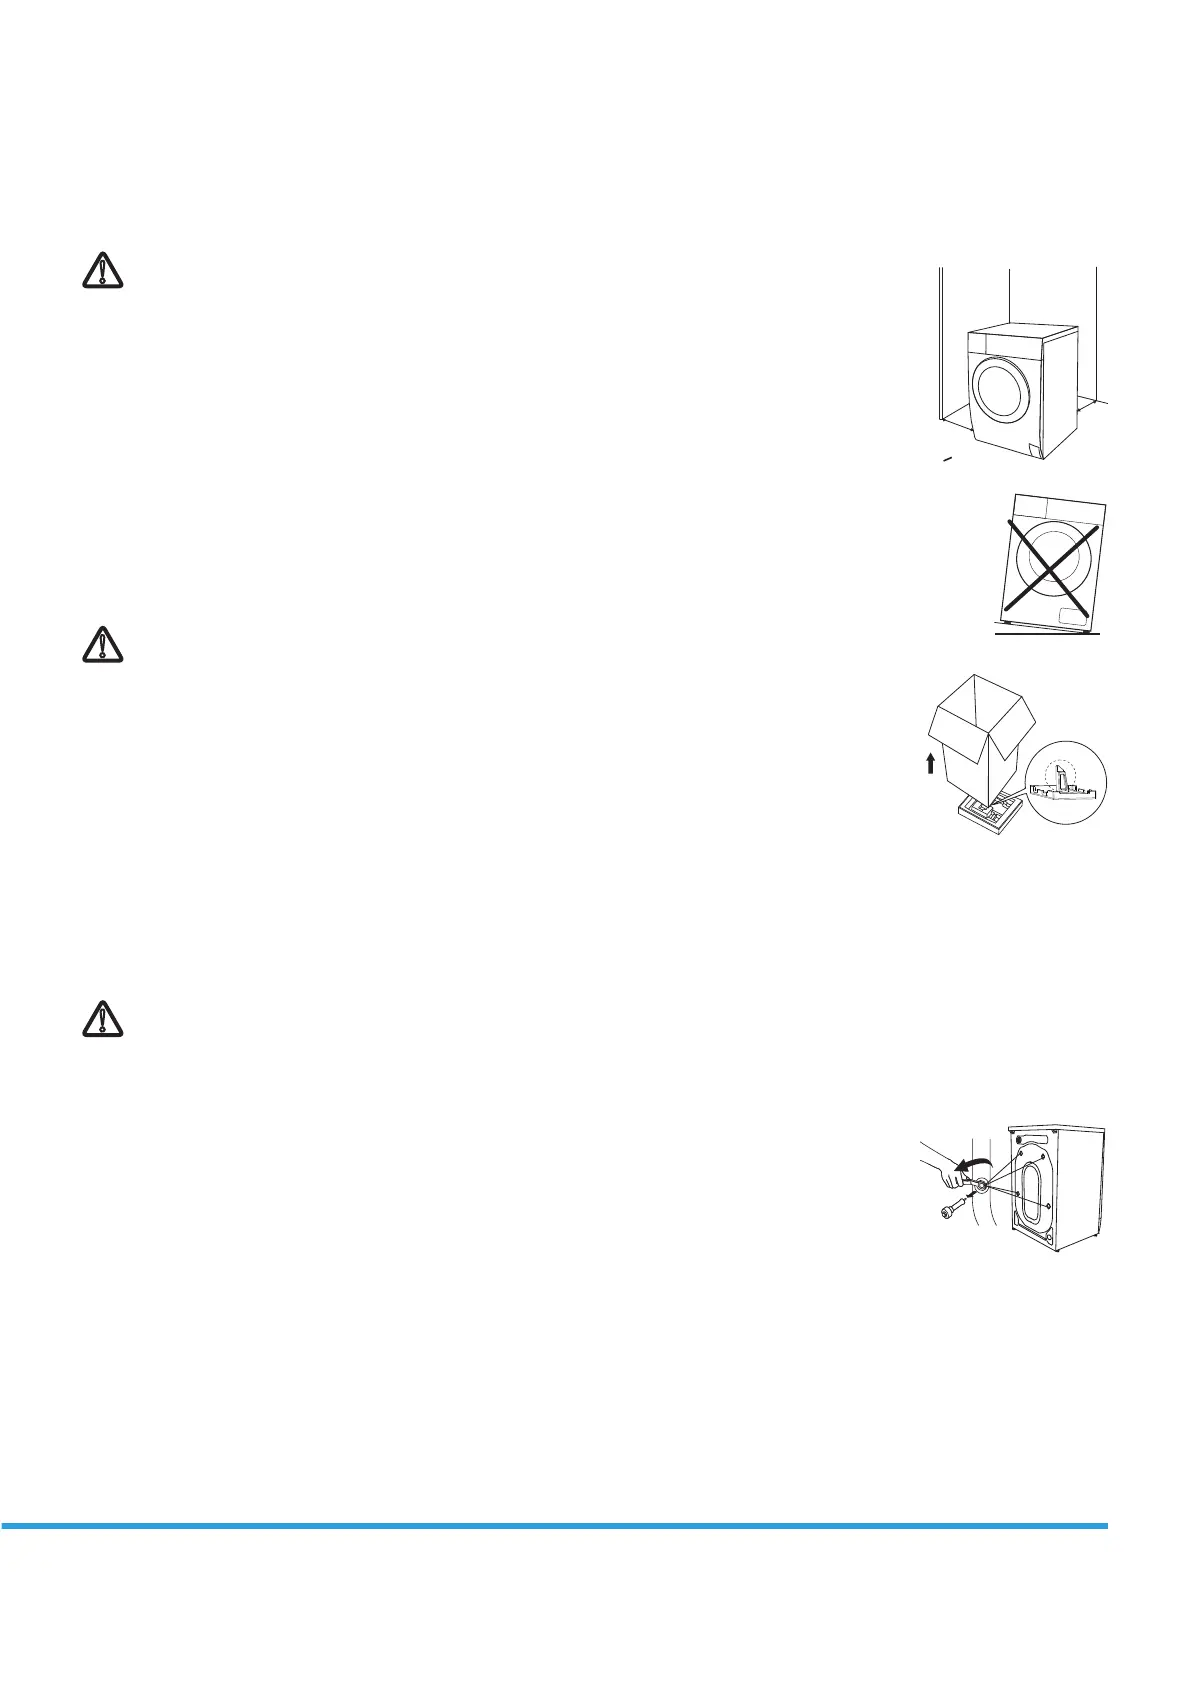
Installation area
!
Warning!
t 4UBCJMJUZJTJNQPSUBOUUPQSFWFOUUIFQSPEVDUGSPNXBOEFSJOH
t .BLFTVSFUIBUUIFQSPEVDUTIPVMEOPUTUBOEPOUIFQPXFSDPSE
Before installing the machine, the location characterized as follows shall be selected:
1. Rigid, dry, and level surface
2. Avoid direct sunlight
3. Sucient ventilation
4. Room temperature is above 0°C
5. Keep far away from the heat resources such as coal or gas.
Unpacking the washing machine
!
Warning!
t 1BDLBHJOHNBUFSJBMFH'JMNT4UZSPGPBNDBOCFEBOHFSPVTGPSDIJMESFO
t 5IFSFJTBSJTLPGTVòPDBUJPO*,FFQBMMQBDLBHJOHXFMMBXBZGSPNDIJMESFO
3FNPWFUIFDBSECPBSECPYBOETUZSPGPBNQBDLJOH
-JGU UIF XBTIJOH NBDIJOF BOE SFNPWF UIF CBTF QBDLJOH .BLF TVSF UIF TNBMM
triangle foam is removed with the bottom one together. If not, lay the unit down
with side surface, then remove the small foam from the unit bottom manually.
3. Remove the tape securing the power supply cord and drain hose.
4. Remove the inlet hose from the drum.
Remove transport bolts
!
Warning!
t :PVNVTUSFNPWFUIFUSBOTQPSUCPMUTGSPNUIFCBDLTJEFCFGPSFVTJOHUIFQSPEVDU
t :PVMMOFFEUIFUSBOTQPSUCPMUTBHBJOJGZPVNPWFUIFQSPEVDUTPNBLFTVSFZPVLFFQUIFNJOBTBGFQMBDF
1MFBTFUBLFUIFGPMMPXJOHTUFQTUPSFNPWFUIFCPMUT
1. Loosen 4 bolts with spanner and then remove them.
2. Stop the holes with transport hole plugs.
3. Keep the transport bolts properly for future use.
w
w
W> 20mm