6 EN
4 Using the
appliance
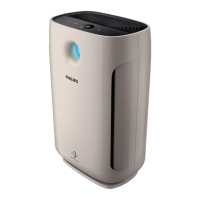
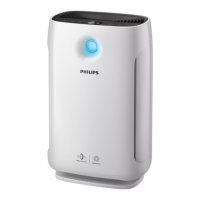
Understanding the air
quality light
Air quality light
color
Air quality level
Blue
Good
Blue-violet
Fair
Red-purple
Unhealthy
Red
Very unhealthy
The air quality light automatically goes
on when the appliance is switched on,
and lights up all colors in sequence.
In a short time the air quality sensors
select the color that corresponds to the
ambient air quality.
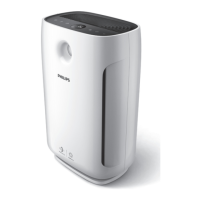
Switching on and o
1 Put the plug of the appliance in the
power socket.
2 Touch to switch on the appliance
(fig.i).
» The appliance beeps.
» The appliance operates under
the pollution mode by default.
» After measuring the air quality
for a short time, the air quality
sensor automatically selects the
color of the air quality light.
» For AC2887, " " displays on
the screen when the appliance
is warming up. After measuring
the particle matters in the air,
the appliance goes to auto
mode with displayed on the
screen (fig. j).
3 Getting started
Installing lters
Note
• Make sure that the appliance is
unplugged before installing the filters.
Before using the appliance, remove all
packaging materials of the filters and
place the filters into the appliance as
described as follows.
Note
• Make sure that the side with the tag is
pointing towards you.
1 Remove all packaging materials of
the air purification filters (fig.c).
2 Pull the bottom part of the front
panel to remove it from the
appliance (fig.d).
3 Press the two clips down and pull
the pre-filter towards you (fig.e).
4 Put the unpacked air purification
filters back into the appliance
(fig.f).
5 Put the pre-filter back into the
appliance (fig.g).
Note
• Make sure that the side with the two
clips is pointing towards you, and that
all hooks of the pre-filter are properly
attached to the purifier.
6 To reattach the front panel, mount
the panel onto the top of the
appliance first (1). Then, gently push
the panel against the body of the
appliance (2) (fig.h).