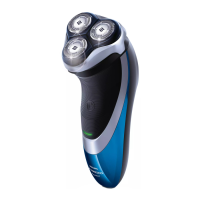
ENGLISH
Shaver Head Replacement Indicator
C ◗ The shaver head replacement indicator
symbol will light up orange continuously to
remind you to replace your shaving heads.
1 Turn shaver OFF, remove the charging plug
from the outlet and power cord from the
shaver.
C 2 Press the Shaver Head Release Button to
open the Shaver Head Assembly.
C 3 Pull the shaving unit off the shaver.
C 4 Turn the lock counterclockwise to unlock
(A) and remove the retaining frame (B).
C 5 Remove the shaving heads and place the
new shaving heads in the shaving unit.
Make sure that the two pointy edges of the head
fit exactly into the recesses.
24
ENGLISH
25
6 Replace the frame and turn the lock
clockwise until it locks into place.
C 7 Insert the notch of the shaving unit into
the slot in the top of the shaver (1) and
then close the shaving unit (2).
C 8 Press and hold the on/off button for at
least 5 seconds to reset. The orange shaver
head replacement indicator symbol will go
out.
NOTE: If the shaving unit does not close smoothly,
make sure you inserted the shaving heads
properly and that the retaining frame is locked.
This shaver has no other user-serviceable parts.
For assistance call 1-800-243-3050.
Storage
◗ Be sure shaver is turned off. Remove cord
from outlet and shaver before storing in a
safe, dry location where it will not be crushed,
banged, or subject to damage.
◗ Do not wrap power cord around shaver when
storing.
◗ Store cord in a safe location where it will not
be cut or damaged.
1
2
5 sec.5 sec.
A
B

 Loading...