BDL5530QL
23
0001/0002
Options Exit
Photo
Photo
Video
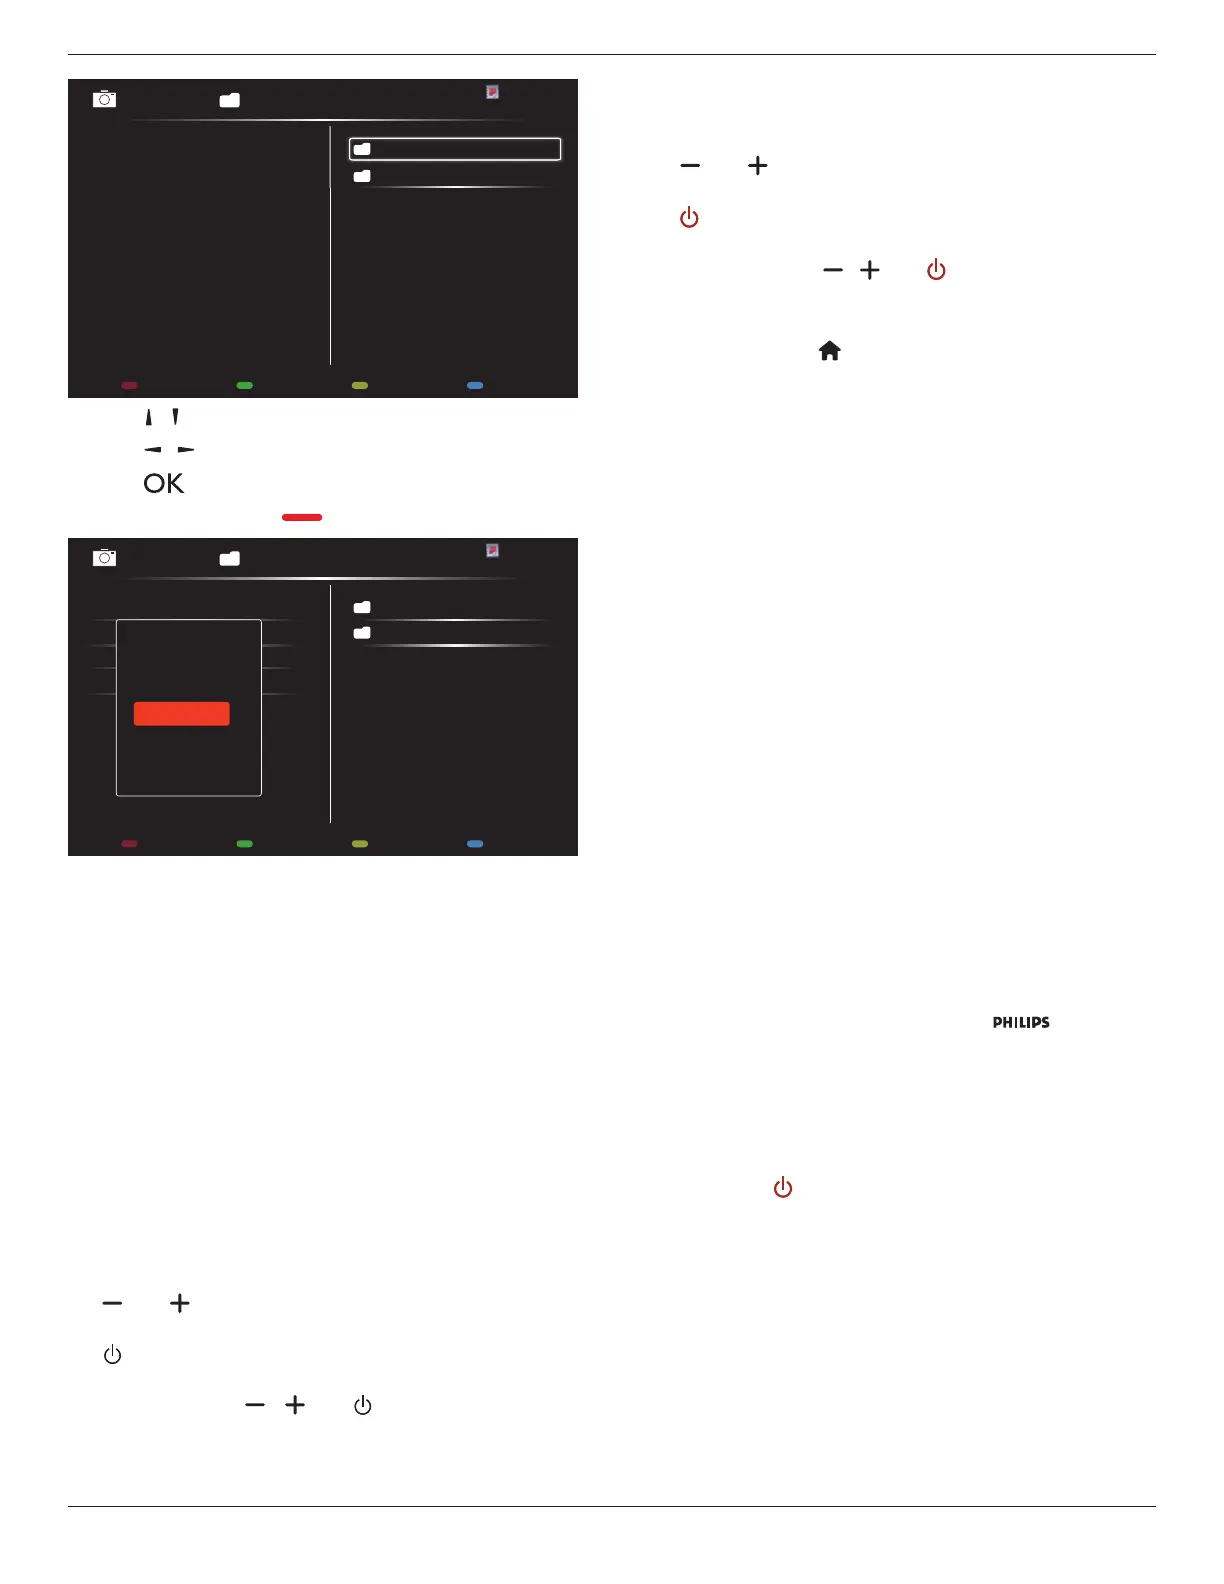
- Press [ ] [ ] buttons to choose les.
- Press [
] [ ] buttons to switch Playlist and File Manager.
- Press [
] button to set or clear the playlist.
7. To save the playlist, press [
] and choose
Save list
.
0004/0004
Options Exit
Photo
Photo
[..]
Movie.avi
\media\photo
Photo1.jpg
Photo2.jpg
Photo3.jpg
Sort
Recursive Parser
Media Type
Save list
NOTES:
• Each Playlist supports up to 30 les.
• Playlist will not be cleared after {Factorysettings}. You have to
manually remove the les or delete usb_schedulinglist.txt in the
USB.
Sleep timer
Switch off this display after a specied time.
OneWire
Connect and control your HDMI-CEC compliant devices through
HDMI port to this display with the same remote control.
Local KB lock
Choose to enable or disable the keyboard (control buttons) function of
the display.
• {Unlock}: Enable the keyboard function.
• {Lockall}: Lock all keyboard function.
• {Lockbutvolume}: Disable all the keyboard function except the
[
] and [ ] button.
• {Lockbutpower}: Disable all the keyboard function except the
[
] button.
• {Lockallexpectvolumeandpower}: Disable all the keyboard
function except the [
], [ ] and [ ] button:
RC lock
Choose to enable or disable the button function of the remote control.
• {Unlock}: Enable the keyboard function.
• {Lockall}: Lock all keyboard function.
• {Lockbutvolume}: Disable all the keyboard function except the
[
] and [ ] button.
• {Lockbutpower}: Disable all the keyboard function except the
[
] POWER button.
• {Lockallexpectvolumeandpower}: Disable all the keyboard
function except the [
] [ ] and [ ] POWER button:
NOTES:
• To disable the lock function from
Local KB lock
or
RC lock
item, press buttons [
] and 1 9 9 8 on the remote control
• Before using USB AutoPlay, create a new folder and name it “philips”.
Put all media les into the specic folder for AutoPlay.
Pixel shift
For video input sources, you may choose {On} to move the screen
image automatically to protect the display from “burn-in” or “after-image”
symptoms 30 seconds after not operating the display.
Smart power
Choose a backlight level to optimise dynamic power consumption and
picture contrast.
The options are: {Off}, {Standard}, {Medium}, {High}.
Wake on lan
Choose {On} and you can turn on the display by network.
Switch on state
Choose the display status used for the next time you connect the
power cord.
• {On} - The display will turn on when the power cord is connected
to a wall outlet.
• {Standby} - The display will remain Standby when the power cord is
connected to a wall outlet.
• {Last status} - The display will return to the previous power status
(on/off/standby) when removing and replacing the power cord..
Power LED Light
Choose {Off} to turn off the indicator.
Logo
Choose {Off} and the display will not display the
logo when
you switch on.
Advanced power management
Choose {On}. Then, when no signal, the display will automatically turn
off.
Source notication
When you press [
] POWER button to turn on the display from
standby mode or change the input signal, the information OSD is
displayed on the upper left corner of the screen.
Choose {Off} to turn off this function.
Factory settings
Reset all your customized settings to the factory defaults.