Connected to Internet
E
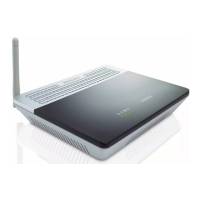
Enter Internet Service Provider settings
D
G Select your country and Internet
Service Provider (ISP) using
the information provided by your
ISP
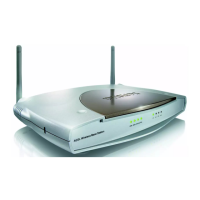
Once the installation completed,
the following screen will be
displayed.
G Click on Menu if you want to go
back to the menu screen
G Click on Continue
> A progress bar screen will be
displayed, your parameters will
be saved and you will be connected
to Internet
> The next screen will be displayed
If your ISP is not in the default
list, please select “Other”.
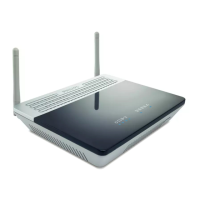
Secure your network
F
Your WiFi network is running
but not secured.
G Click on Set Encryption
> Your WiFi network will be secured
automatically
> You will not be able to choose your
Encryption key nor your network
name (SSID)
At any time you can retrieve your wireless security settings using your
installation CDROM on the computer where you installed your gateway and
by clicking on the security icon of the menu page.
Open Internet address
B
G Enter Internet address
For example: www.philips.com
G Select GO
3
Enjoy
A
Open Internet browser
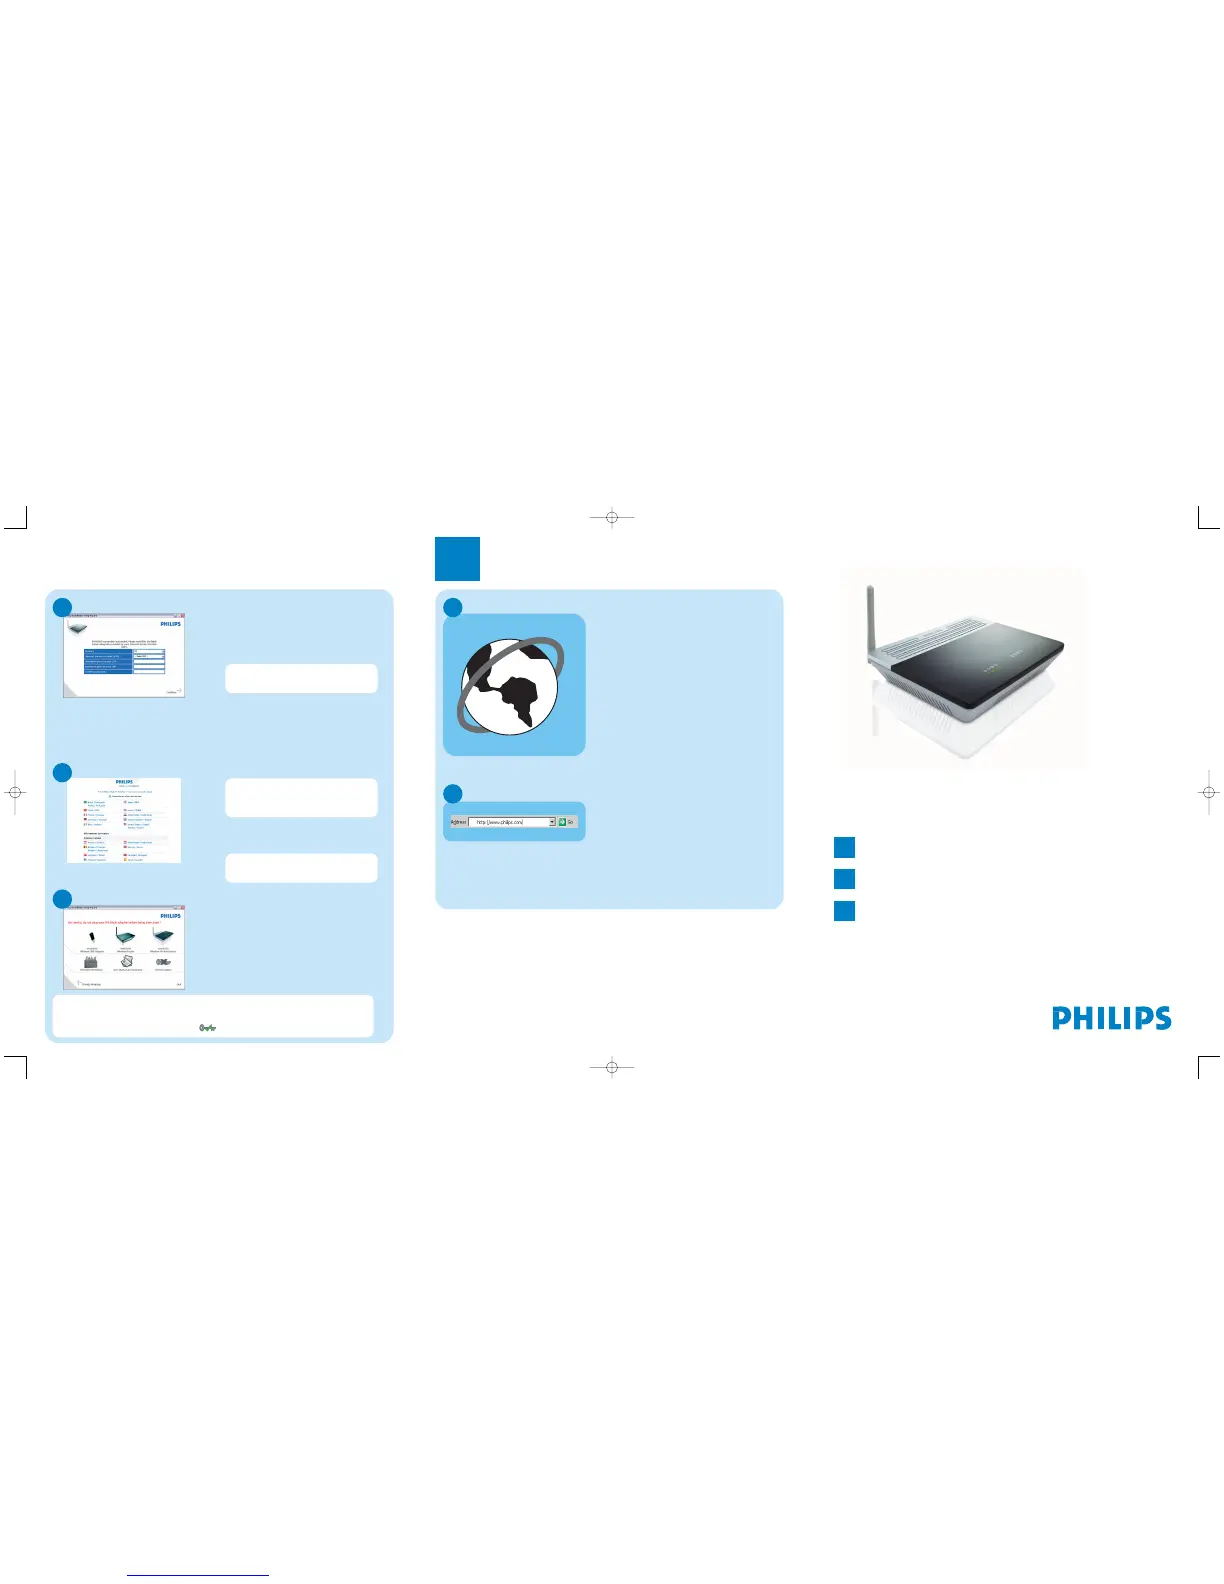
Wireless freedom
Enjoy the freedom of wireless networking.Your computer is
now ready for full use anywhere in your home.
Welcome to Philips!
Register your product and get support at
www.philips.com/welcome
Quick Start Guide
1
Install
2
Connect
3
Enjoy
CGA5722
Important information
Microfilters must be plugged in between the wall socket and all devices connec-
ted to your telephone line, this includes extension telephones, your ADSL
modem router and Sky box.Absence of a filter may result in a failure to connect
to broadband, interference such as buzzing noises that affect normal telephone
calls, or reduced broadband speed and performance.
 Loading...