- 20 -
4. Slide the humidier water tank back into the device, using the tracks on the bottom of
the water tank base for proper alignment and connection. Ensure that it is latched into
place before proceeding.
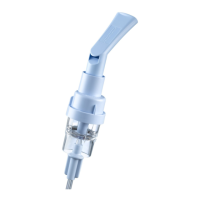
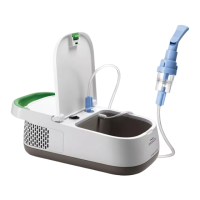
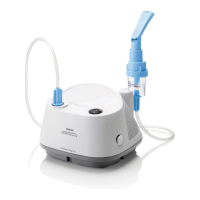
Installing/replacing the air lters
Caution: A properly installed, undamaged Philips Respironics reusable pollen lter
is required for proper operation.
The device uses a grey reusable pollen lter that can be rinsed and a blue disposable ultra-
ne lter. The reusable lter screens out normal household dust and pollens, while the ultra-
ne lter provides more complete ltration of very ne particles. The reusable lter must be in
place at all times when the device is operating. The ultra-ne lter is recommended for people
who are sensitive to tobacco smoke or other small particles.
The grey reusable lter is supplied with the device. A disposable blue ultra-ne lter may
also be included. If a lter is not installed when you receive your device, you must at least
install the reusable lter before using the device.
1. Remove the humidier water tank from the device. See the “Removing the humidier
water tank” section later in this manual.
 Loading...