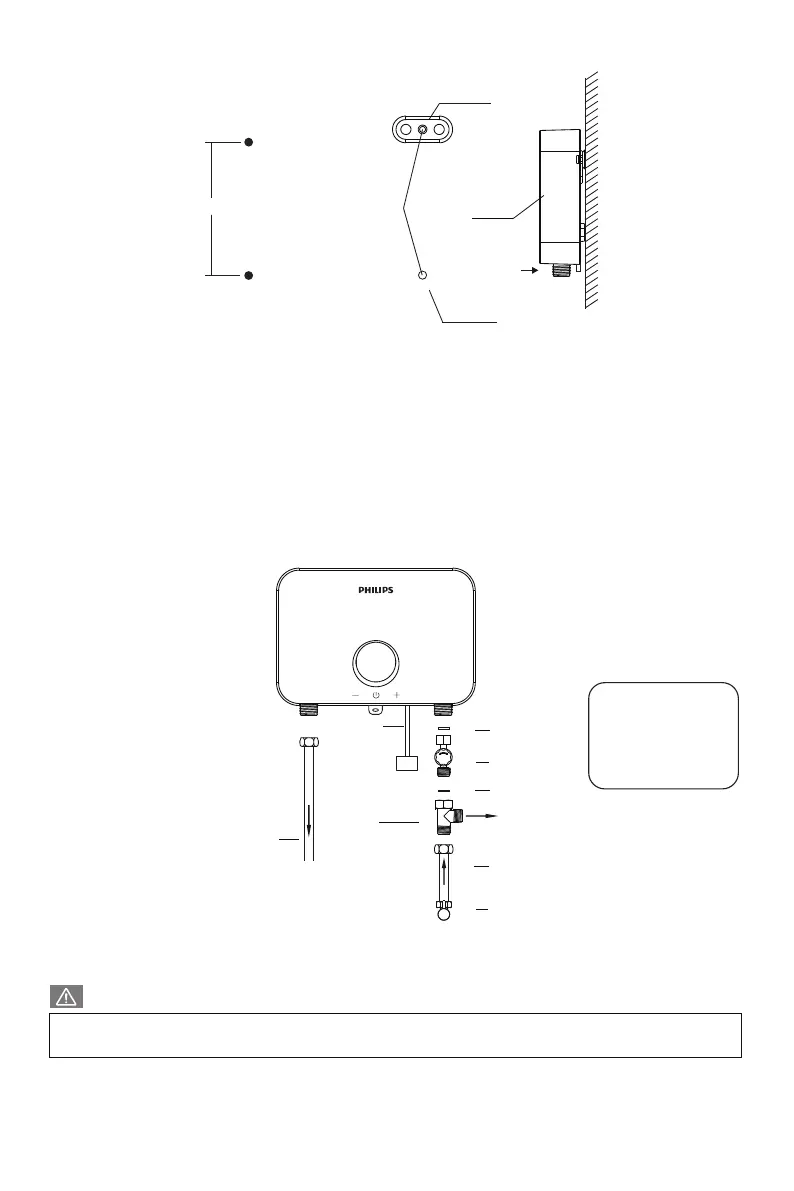
EasyManua.ls Logo

Philips Electrical - Method of Use

Philips Electrical
28 pages
Print Icon
To Next Page IconTo Next Page
To Previous Page IconTo Previous Page
Loading...
Figure D
Figure E
the back,
is
secure before releasing it to avoid falling.
Refer to (Figure E) to assemble the shower head. Determine its installation position, and use an impact 
6mm drill bit) to drill two 30mm deep holes on the load-bearing wall according to the positions of the two
ing screws.

in (Figure E).
Hanging plate
Machine
Lock
Screw

130mm
CAUTION

alled at the water intake (Valve to be prepared by user)..
Power cable
Leakage protection
switch
Tee
Cold water outlet
Cold water inlet

Hot water outlet


Flow valve
of
the water pipe are already
equipped with a sealing gasket,
there is no need to install this
sealing gasket again (the
braided pipe of this product is
already equipped with a sealing
gasket).
EN 7